Categories
LMN job aid

Performing a Takeoff in LMN

Accurate estimating is the cornerstone of profitability in landscaping. Whether you’re bidding on a residential patio or a commercial maintenance contract, a proper takeoff is the first and most critical step. In LMN (Landscape Management Network), takeoffs seamlessly integrate into the estimating workflow—automatically turning measurements into material, labor, and equipment costs. This job aid outlines the step-by-step process and pro tips to help estimators achieve precision and efficiency.

What Is a Takeoff?

A takeoff is the process of quantifying the physical dimensions of a landscaping job—like square footage for turf, linear feet for edging, or cubic yards for mulch—and converting them into cost components within an estimate. In LMN, takeoffs automate the population of estimate items, saving time and boosting accuracy.

Step-by-Step: Performing a Takeoff in LMN

1. Navigate to the Dashboard and Access Jobsite Measurement

  • Log in to LMN and go to the Dashboard.
  • From the dashboard, click on Jobsite Measurement.
  • Select New Measurement.

Takeoff

2. Select the Measurement Type

  • Choose the appropriate type for the measurement.
  • Enter Name

Takeoff

3. Locate and Measure the Area

  • To select the area, go to Maps and identify the specific area or location.
  • Use the map tools to collect the measurement data accurately.

Takeoff

4. Return to the LMN Jobsite and Enter Measurement Details

  • After collecting the measurement, go back to the LMN Jobsite screen.

5. Select the Area for Takeoff

  • Click on Measure Site.
  • This action redirects you to the Takeoff Dashboard.

6. Save the Measurement

  • On the Takeoff Dashboard, select the measured area.
  • Click Save to confirm.

7. Repeat for Additional Areas

  • Follow the same procedure for any additional areas that need to be measured.

8. Review Cost Summary

  • As takeoff items are linked, LMN updates the estimate.
  • Review:
    • Total labor hours
    • Material costs
    • Markups and profit margins

 Why Takeoffs Matter?

Performing takeoffs in LMN helps:

  • Eliminate guesswork in estimating.
  • Improve bid accuracy and win rates.
  • Align field expectations with actual time and material requirements.

A precise LMN takeoff sets the stage for profitable, professional landscaping estimates. By following these structured steps, you ensure consistent estimating standards and streamline your bid process. Takeoffs are not just a technical step—they’re the bridge between job vision and job execution.

Download a PDF version of the job aide here.

Categories
Accounting All

How HVAC Contractors Benefit from ERP System Integration

Running an HVAC business involves juggling many tasks. You must manage schedules, parts, invoices, and customer calls. Without a clear system, these tasks can overwhelm your team. That’s where an Enterprise Resource Planning (ERP) system makes a difference. When you connect your field operations, inventory, finance, and customer management into one system, you gain control, save time, and grow your business.

Streamlined Scheduling and Dispatch

A key challenge for HVAC contractors is scheduling service calls and installations. Without real-time data, technicians may wait on site for parts or find they lack the right tools. An integrated ERP system links your work orders to your schedule. When a job is entered, the system checks technician skills, parts availability, and location. Dispatchers see the best fit and assign the job in seconds. This process cuts travel time, avoids double-booking, and gets your team where they need to be—fast.

With ERP integration, technicians receive job details on their mobile devices. They see customer notes, prior service history, and any special instructions. They can accept or request a new job in real time. This instant communication helps your team stay on schedule and boosts customer satisfaction.

Better Inventory Management

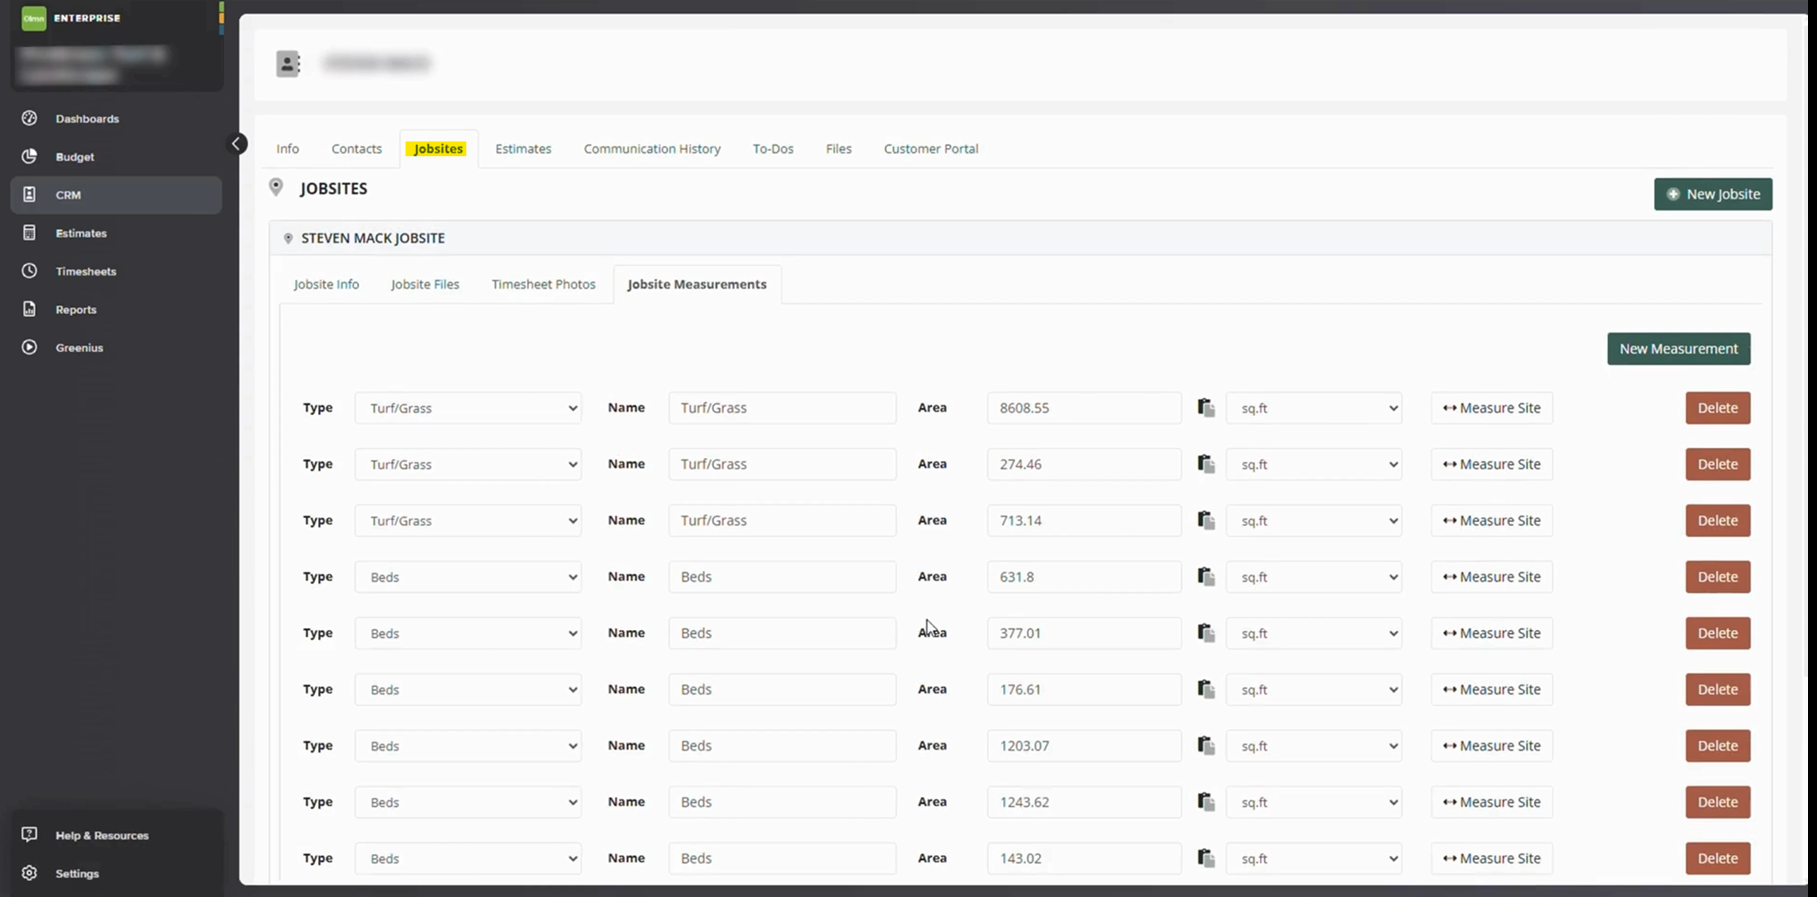
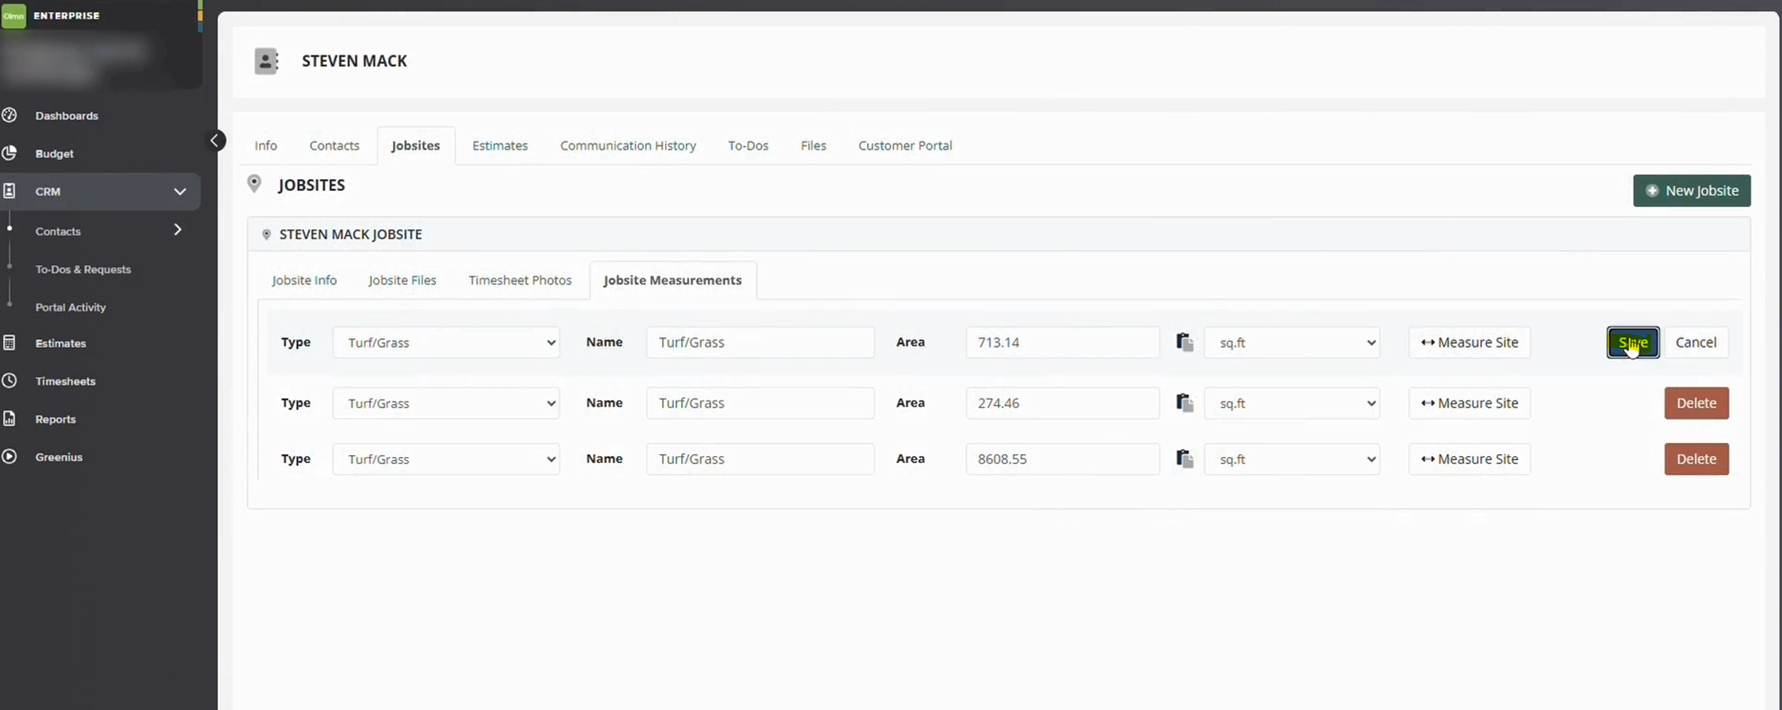
Keeping the right parts in stock is vital for HVAC work. If a key component is out of stock at your shop, you must order it and return later. This delay frustrates customers and eats into your profits. An ERP system tracks every part, tool, and supply across warehouses and vehicles. When a technician uses a part, the system updates inventory instantly. You see low stock alerts, track reorder points, and avoid emergency purchases.

ERP integration can also automate purchasing. When stock falls below a set level, the system can create purchase orders. It can send them to your preferred supplier, track delivery dates, and update cost records. This hands-off approach cuts manual work and ensures you always have what you need.

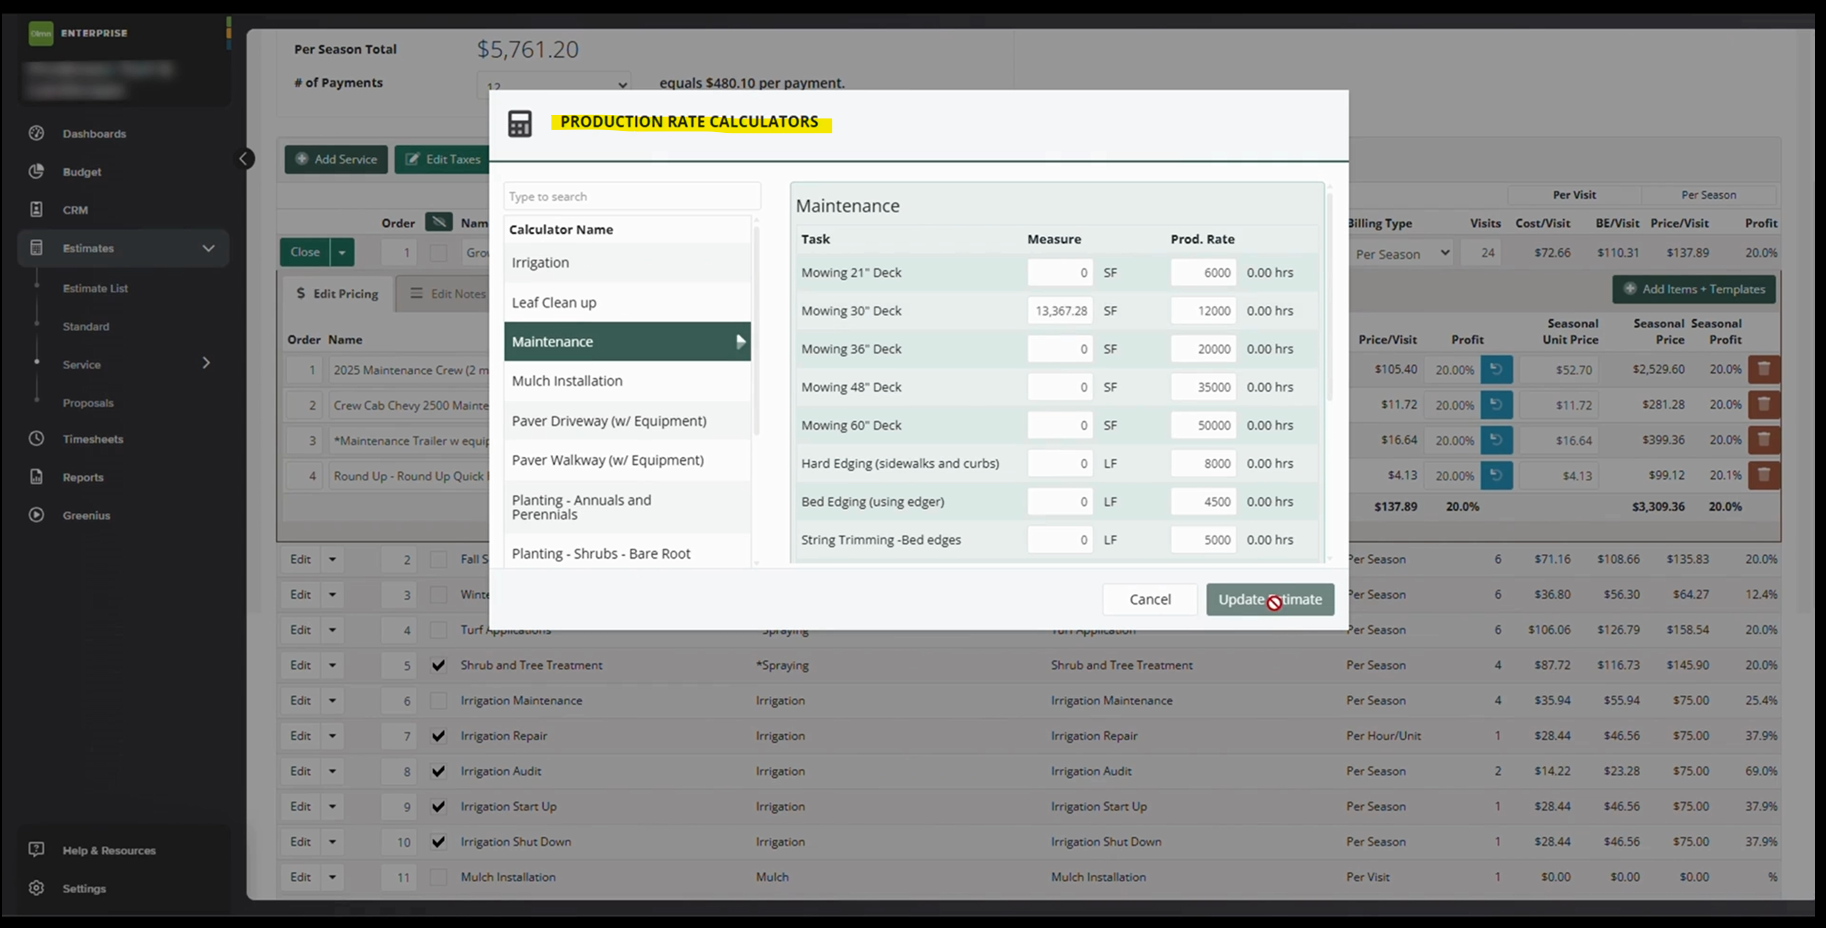
Accurate Financial Management

Managing finances is often a headache for HVAC contractors. You must track job costs, labor hours, and parts expenses. If your accounting system sits separate from your operations software, you waste time on double entry and risk errors. ERP integration brings your finances into one view. As soon as a job is invoiced, the system records revenue, updates receivables, and posts entries to your general ledger.

This real-time financial data helps you see which jobs make money and where costs climb. You can pull profit-and-loss reports, compare actual costs against estimates, and forecast cash flow with confidence. When tax time comes, your records are ready, and your CPA can work faster — saving you both time and money.

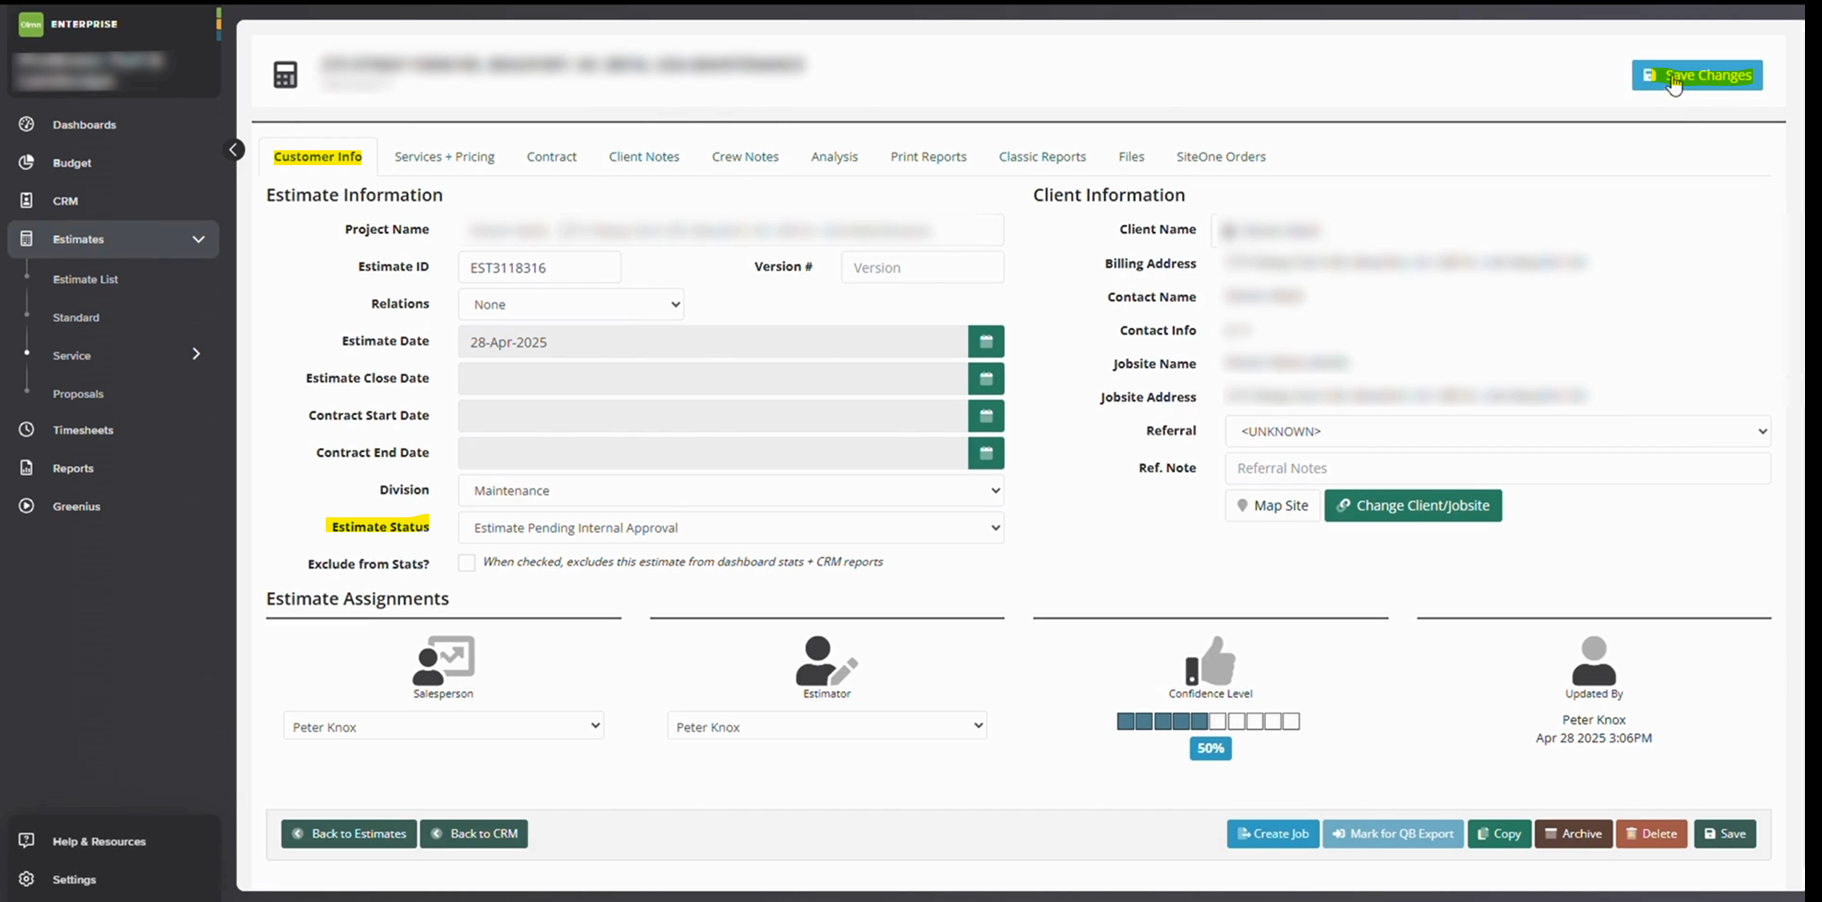
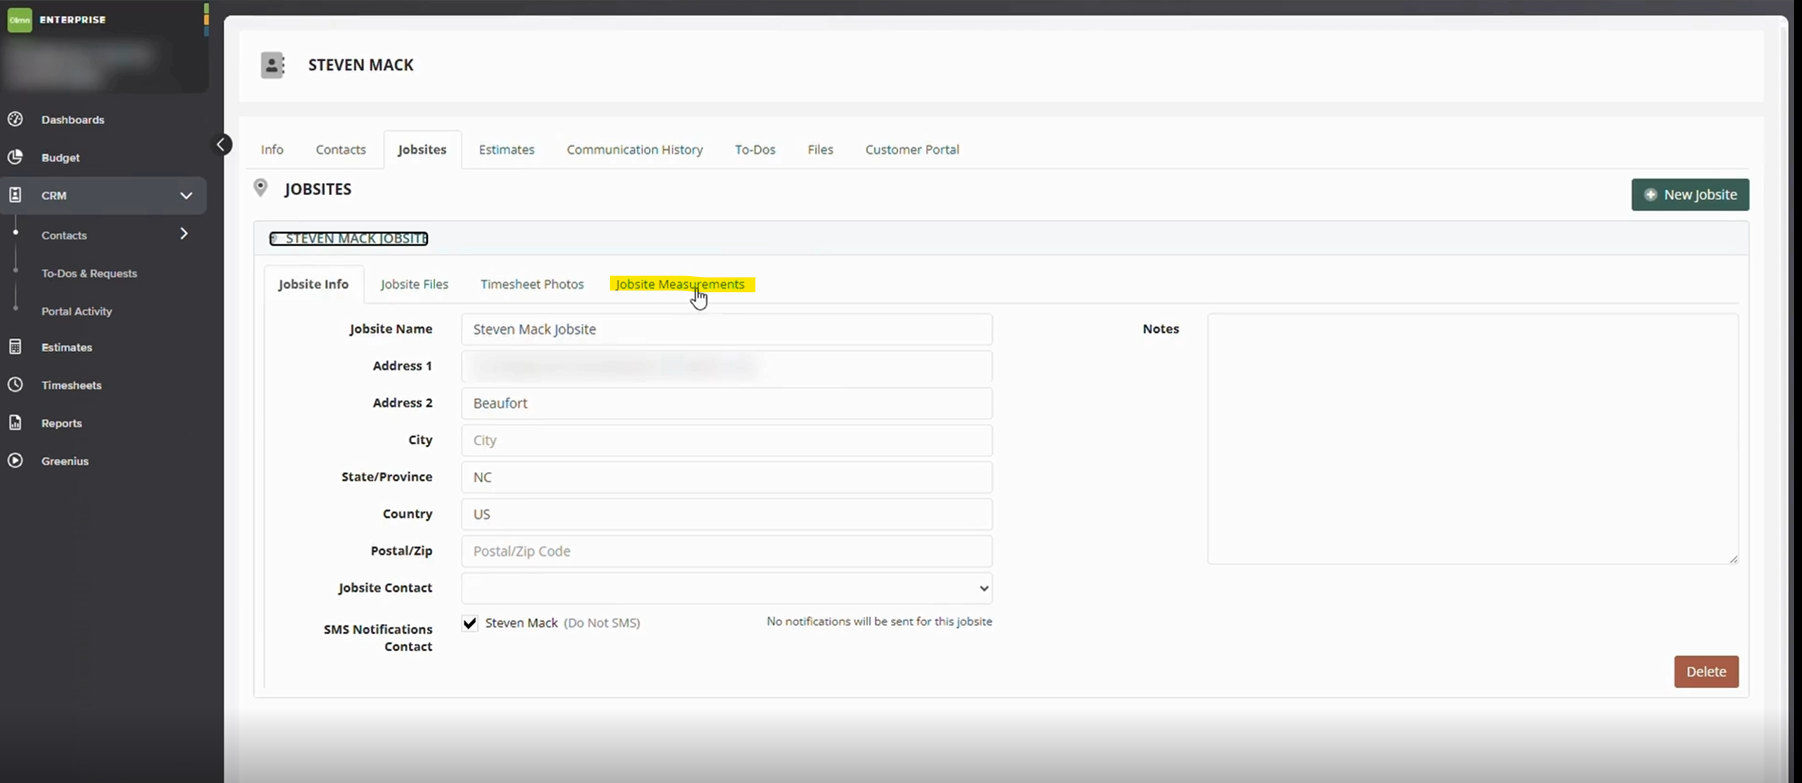
Enhanced Customer Relationship Management

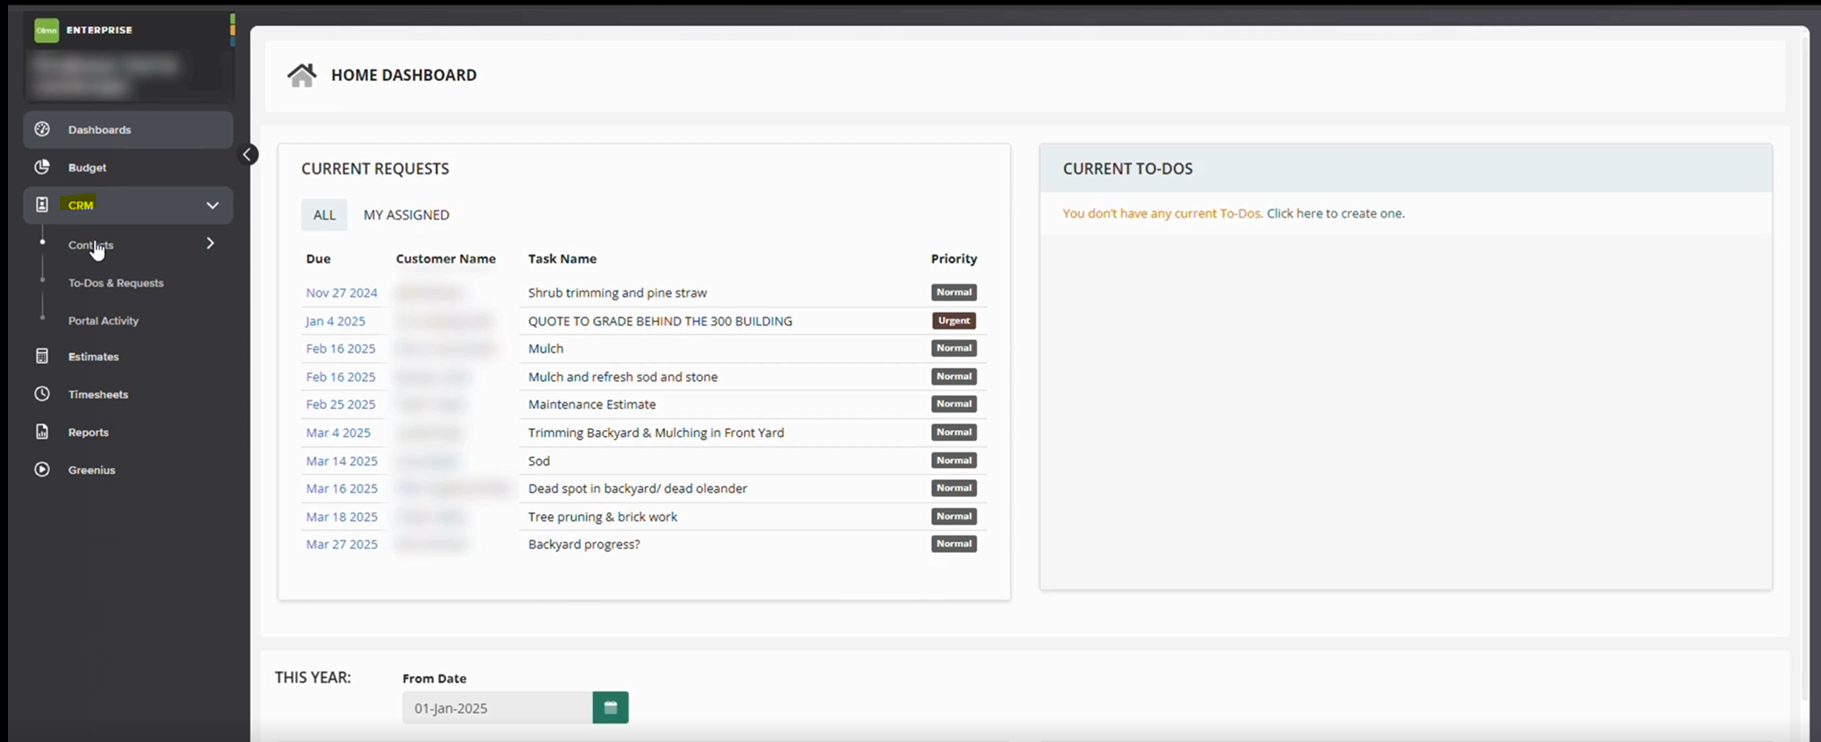
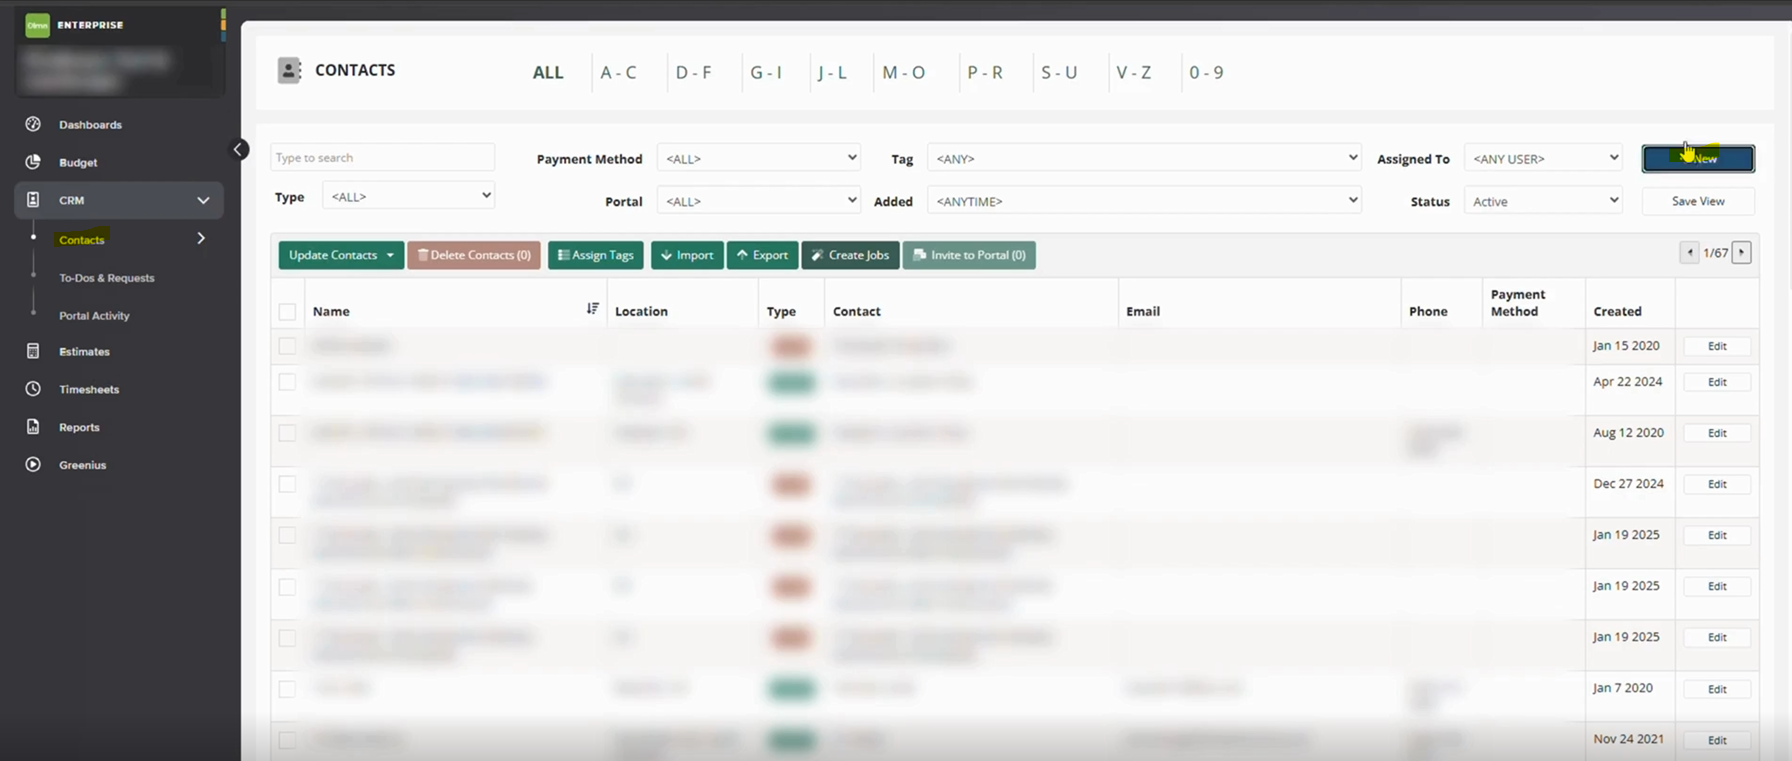
Customers expect fast, friendly service. They want clear communication from the first call through follow-up. An ERP system can include a built-in Customer Relationship Management (CRM) module. This module stores contact details, service history, and notes on preferences. When a customer calls, your team sees all their past work, any open issues, and their billing status.

With this context, your staff can answer questions, schedule preventive maintenance, and upsell upgraded systems or services in a helpful way. Automated reminders prompt you to reach out for routine filter changes or system check-ups. This proactive service builds loyalty and keeps your brand top of mind.

Real-Time Reporting and Analytics

Hearing “I don’t have time to pull that report” signals a need for better tools. ERP integration delivers dashboards and reports at the click of a button. You can view key metrics—job completion rates, average revenue per job, technician utilization, and inventory turns. When you spot a trend, you take action swiftly.

Perhaps a type of service is losing money, or a technician’s schedule has gaps. You see it and talk to your team. You adjust pricing, update training, or realign resources. With data at your fingertips, you make decisions based on facts rather than hunches.

Mobile Access for Field Teams

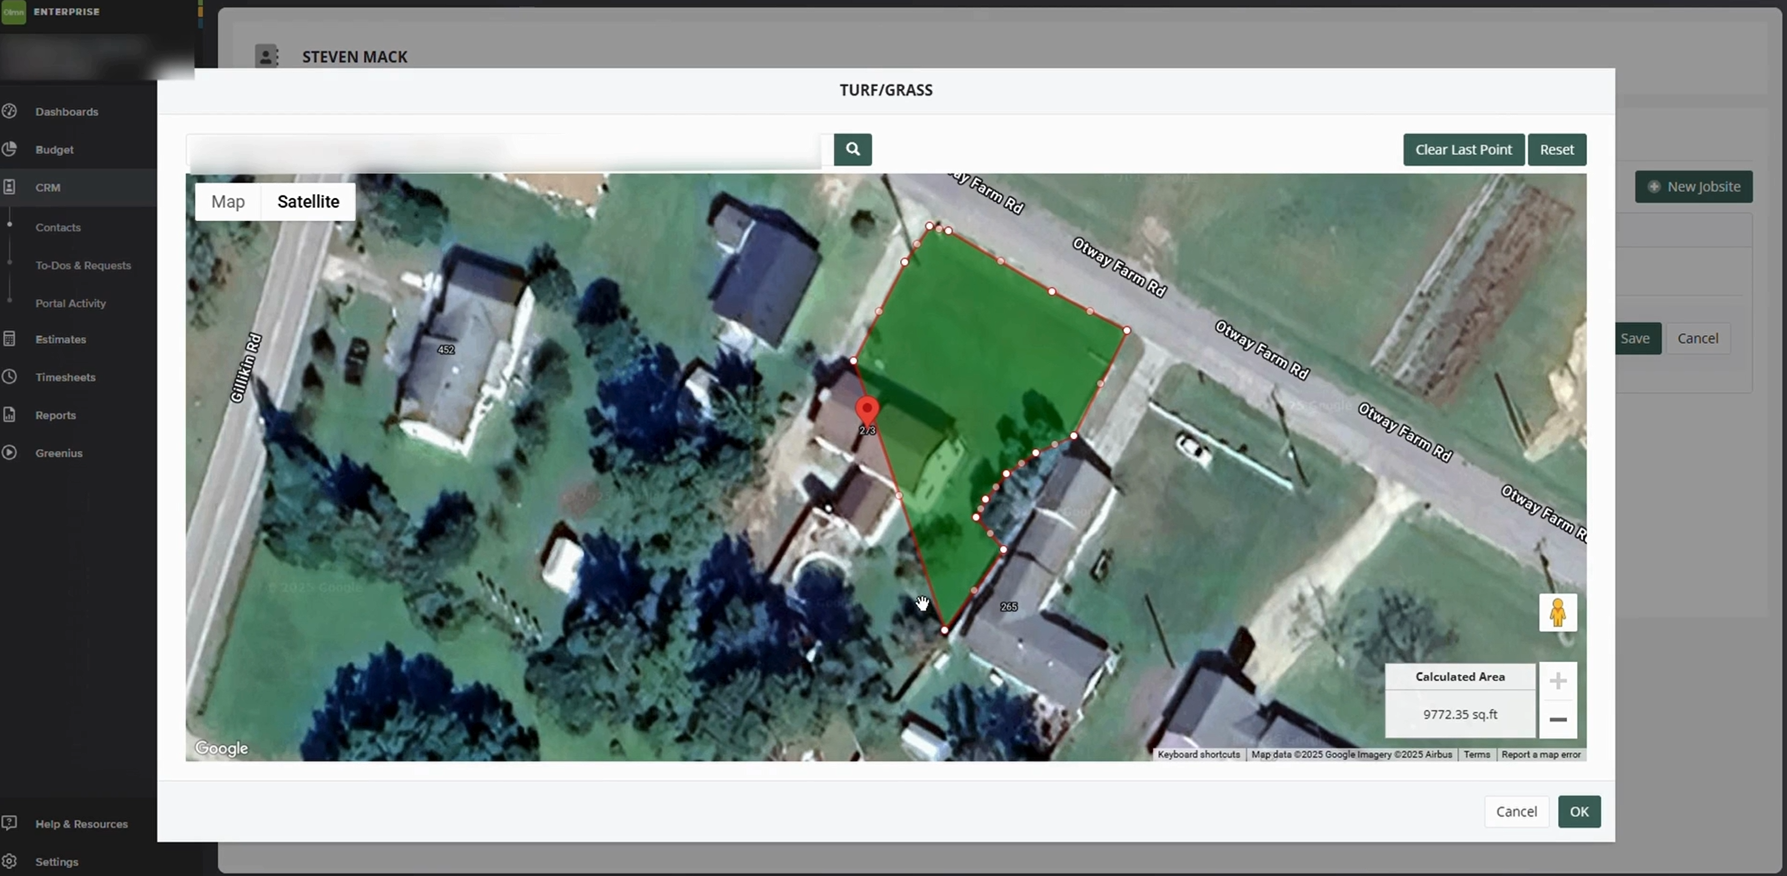
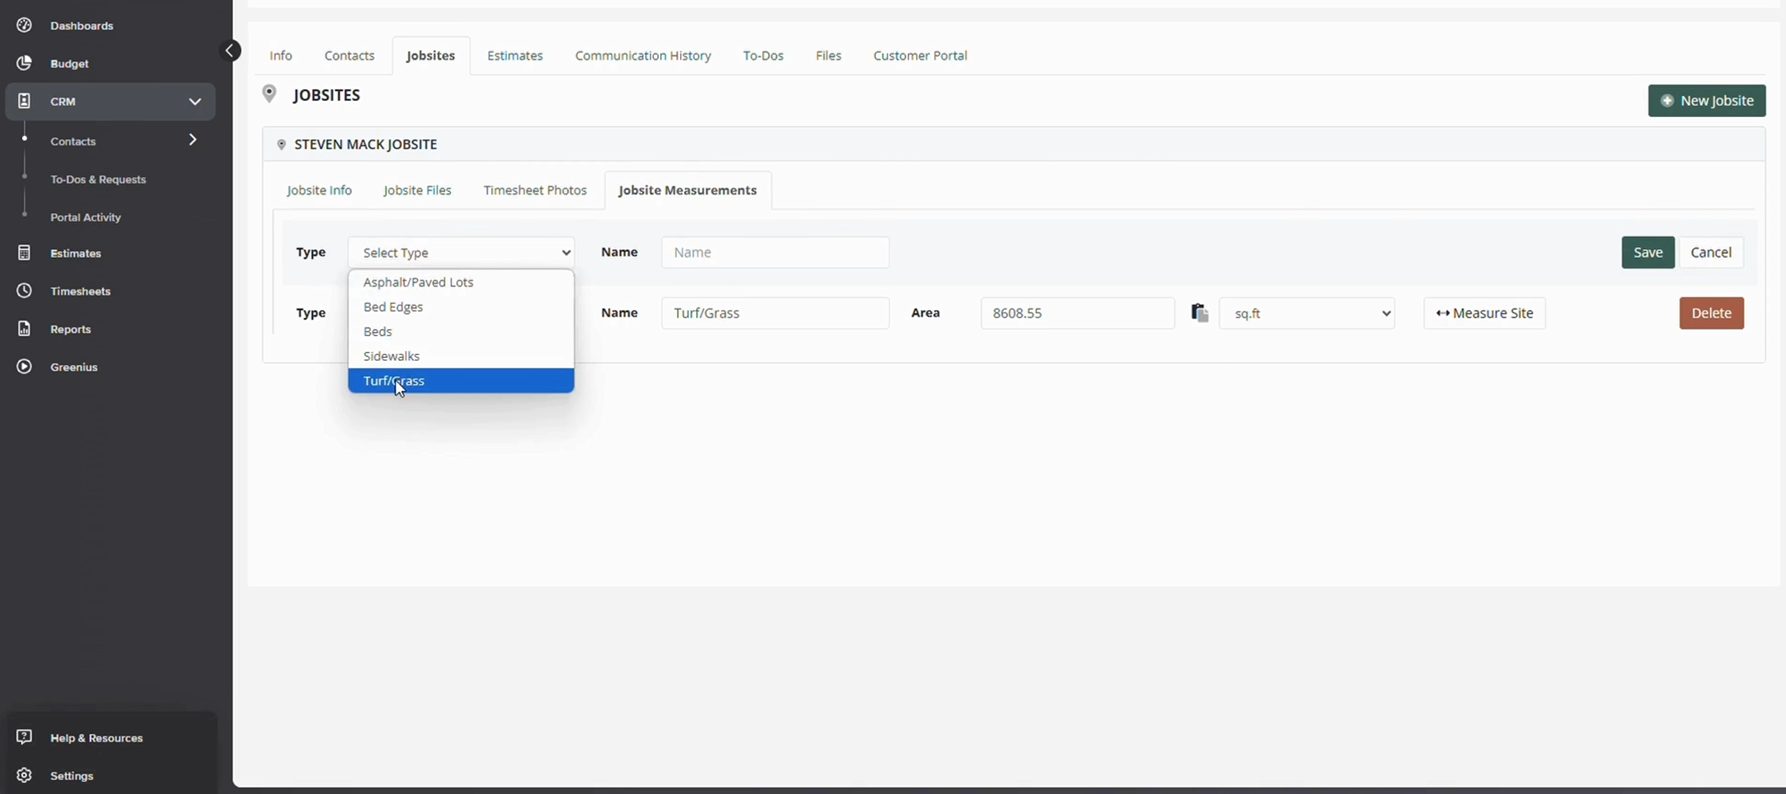
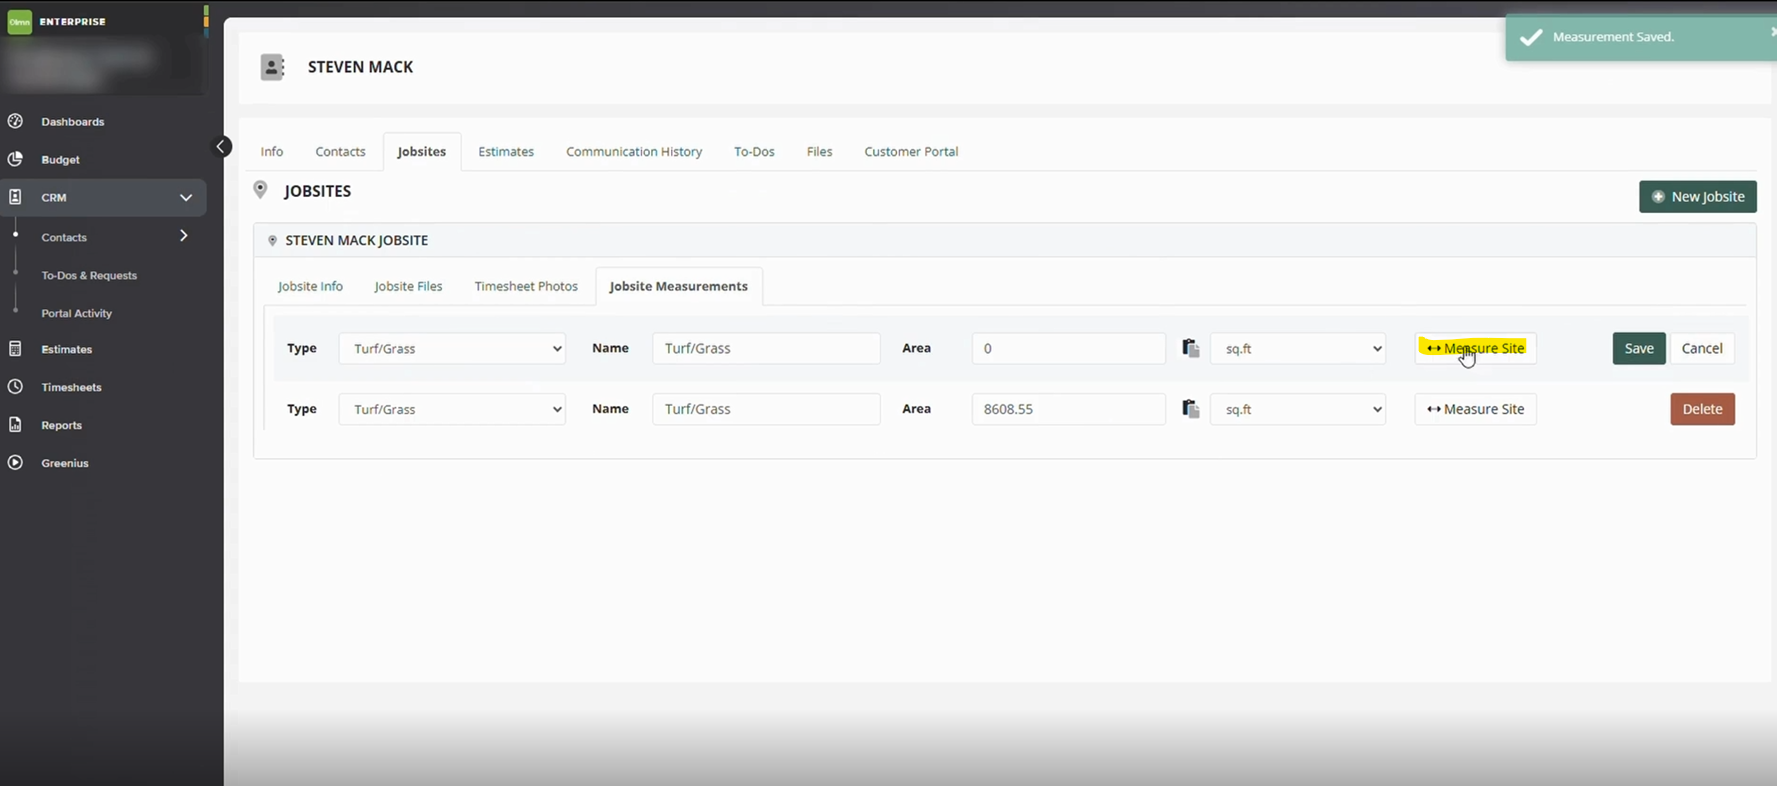
Modern HVAC work happens in the field. Your technicians need mobile access to job details, customer history, and parts availability. An ERP system with a mobile app puts all this data in their hands. They can open work orders, log their time, scan barcodes on parts, and capture customer signatures on the spot.

Mobile access also speeds invoicing. When a job is done, the technician creates the invoice on their device. The customer sees it, signs, and pays. This immediacy reduces billing lag and boosts cash flow.

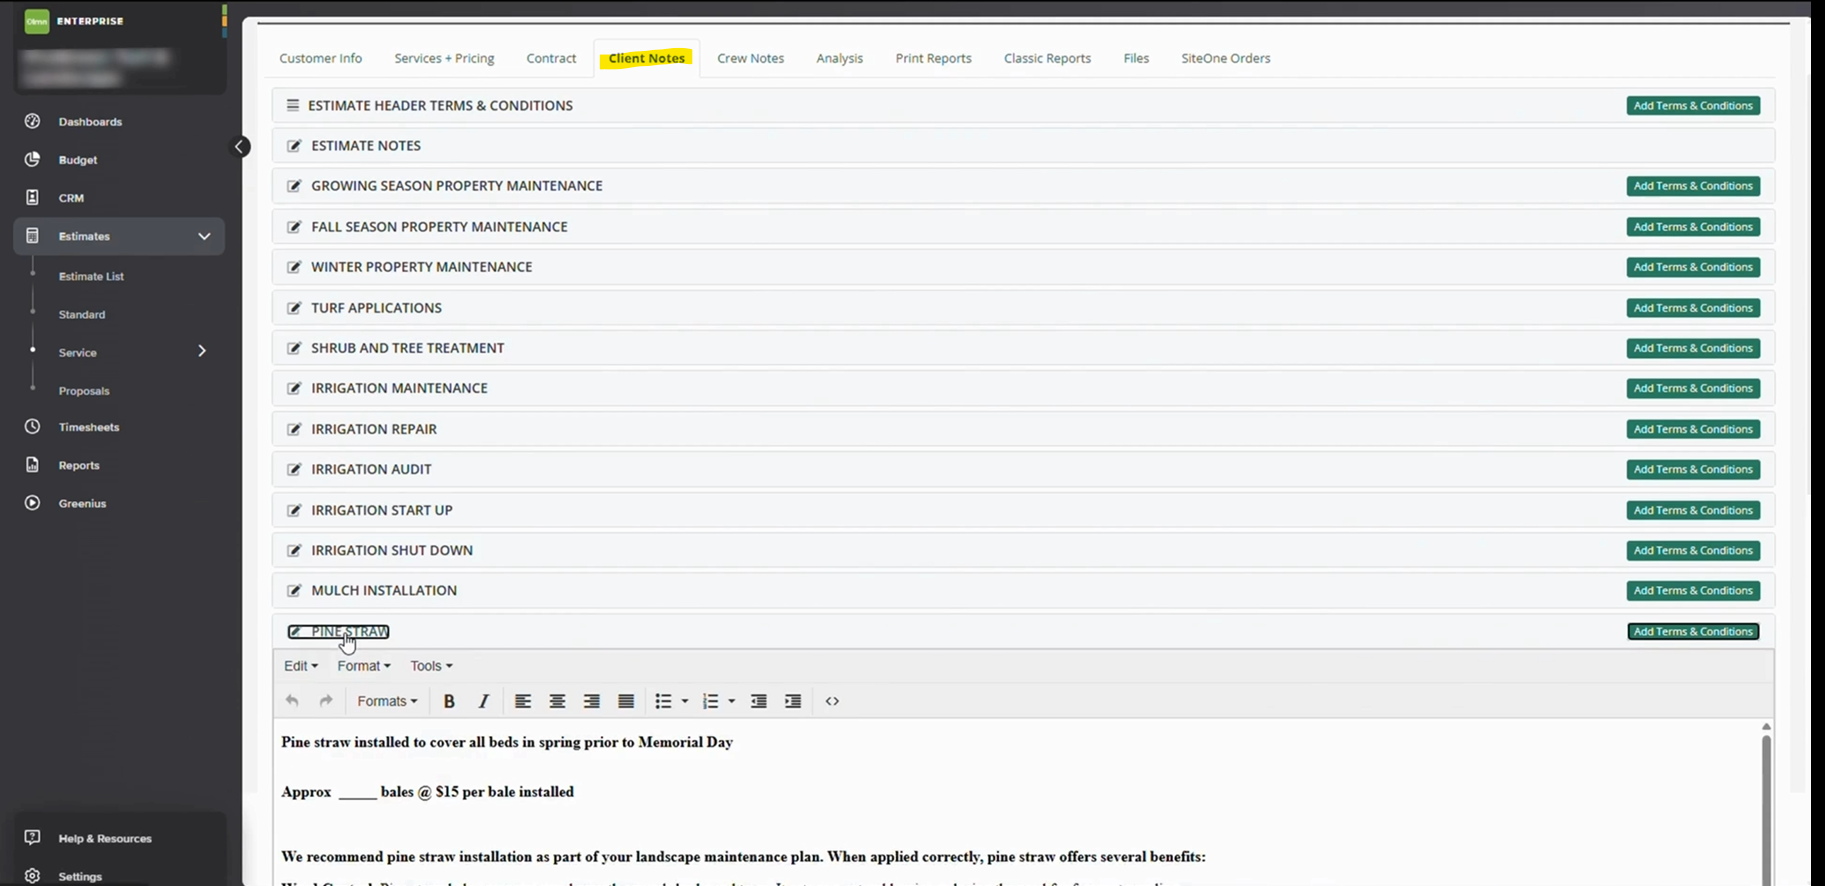
Improved Compliance and Documentation

HVAC contractors must follow safety codes, warranty rules, and environmental regulations. With ERP integration, you can attach compliance documents such as inspection certificates, warranty registrations, or safety checklists to each work order. If an auditor calls, you pull up the records instantly.

You also build trust with customers. When they see that you document every step, they know you take quality seriously. Over time, this trust leads to repeat business and strong referrals.

Scalability and Growth

As your business grows, complexity grows too. You add more technicians, expand service areas, or offer new services like duct cleaning or indoor air quality tests. An ERP system scales with you. You add new users and modules without rewriting your processes.

You also maintain consistency. Every technician follows the same workflow, every supervisor pulls the same reports, and every customer gets the same high level of service. This consistency supports your brand and ensures quality does not slip as you expand.

Best Practices for ERP Integration

To get the most from your ERP system, follow these steps:

  1. Define Clear Goals: Identify your pain points—slow scheduling, stockouts, billing errors—and set measurable targets.
  2. Choose the Right Solution: Pick an ERP system that fits an HVAC business, supports mobile access, and integrates with your existing tools.
  3. Plan Your Data Migration: Clean up your customer, inventory, and financial data before you import it. Accurate data means accurate reports.
  4. Train Your Team: Offer hands-on training sessions and quick reference guides. Make sure everyone understands new workflows.
  5. Monitor and Improve: Use system reports to track key performance indicators. Hold regular reviews to refine processes and address issues.

Bringing It All Together

ERP system integration transforms HVAC operations by linking scheduling, inventory, finance, and customer management. With real-time data, mobile access, and automated workflows, you free your team to focus on what they do best: solving HVAC problems and delighting customers. The result is a leaner operation, happier technicians, and healthier profits.

How Process-Smart Supports Your ERP Integration

At Process-Smart, we help HVAC contractors unlock the full power of ERP integration. We blend expert back-office support with deep industry knowledge. We clean and migrate your data, configure workflows to match your needs, and train your team for success. Once live, our 24/7 support team handles system updates, data syncing, and troubleshooting so you stay focused on your core work.

Our services include inventory management, financial operations, and ERP data synchronization. We even bridge service orders to your accounting platform, ensuring seamless month-end closes. With Process-Smart, you get a dedicated partner who keeps your system accurate, compliant, and ready for growth.

Ready to transform your HVAC business with ERP integration? Contact Process-Smart today and let our experts guide you every step of the way.

Categories
Job Aides

Metrics – Navigating, Editing, and Creating in Aspire

Metrics in Aspire allow you to track and visualize key data on your dashboard, helping monitor organizational performance. This guide provides a step-by-step process for understanding, creating, and editing metrics to ensure key data is effectively displayed and monitored.

Understanding Metrics

Metrics act like dashboard dials in a truck, allowing users to gauge business performance at a glance.

  • Locating Metrics: Metrics can be found in the middle column of your Aspire dashboard.
  • Purpose: They help track accounts receivable, work orders, labor hours, and other critical business aspects.

Steps:

1. Access Your Dashboard

  • Log in to your Aspire account.
  • Navigate to the main dashboard, where you can track and manage key metrics.

2. Open the “Purchase to Receive” Options

  • Locate the “Purchase to Receive” section in your dashboard.
  • Click on the three dots next to this section to open additional options.
  • From the dropdown menu, select New to begin creating a new metric.

Metrics

3. Choose “Advanced Search”

  • In the Element Type section, select Advanced Search to refine your search results and filter data efficiently.
  • Choose a saved list (e.g., work orders for the next 30 days).

Metrics

4. Apply the Search Filter

  • Navigate to the Search View section in the settings.
  • Select “Work Ticket | Irrigation Work Tickets Less Than 0% Gross Margin” to focus on underperforming tickets.
  • Ensure this selection helps identify trends and analyze work performance effectively.

Metrics

5. Define the Search Value

  • Go to the Search Value section.
  • Select “Actual Labor Hours” to track work effort and efficiency.
  • Metrics can be configured to track record count, price, or other business values.

Metrics

6. Set the Display Type

  • Navigate to the Display Type settings.
  • Choose from options like number, gauge, or progress bar to best visualize your data.
  • A gauge chart is recommended for tracking key performance indicators (KPIs) at a glance.

Metrics

7. Save and Review Your Settings

  • Review all selected options to ensure accuracy.
  • Click Save to finalize your metric setup.
  • Your new metric will now be available for monitoring and analysis.

Metrics

Editing Metrics

  • Modifying Existing Metrics: Hover over the metric, select “Edit”, and update search values or goals.
  • Adjusting Display Formats: Users can override ranges, set goals, and customize visual formats.

Best Practices for Managing Metrics

  • Keep 8-10 metrics per role to avoid cluttering the dashboard.
  • Collaborate with your team to decide which metrics are most essential.
  • Click into metrics for deeper insights, similar to checking why a truck’s check engine light is on.

Following these steps ensures that your Aspire dashboard displays the most relevant and actionable data. By effectively navigating, editing, and creating metrics, users can optimize business performance and streamline decision-making.

Download a PDF version of the job aide here.

Categories
Job Aides

Creating an Opportunity Template in Aspire

This job aid provides a simple, step-by-step guide to help users create an Opportunity Template in Aspire. Opportunity Templates streamline the estimating process for recurring or similar job types by standardizing labor rates, materials, and travel time. They also enhance consistency across proposals and save valuable time by eliminating the need to build estimates from scratch.

Steps to Create an Opportunity Template in Aspire

1. Go to Opportunities

  • Navigate to the Opportunities.

creating opp temp 1

2. Select the Source Opportunity

  • Search for and open the opportunity you want to use as a template.

creating opp temp 2

3. Open the Options Menu and Save as Template

  • Click the three-dot menu in the upper-left corner of the screen.
  • Select Save as Template from the dropdown options.

creating opp temp 3

4. Assign Template Access by Branch & Save the Template

  • In the Save Opportunity Template screen, choose the branches that should have access to this template.
  • For Work Order templates, optionally check the Quick Ticket Template box if applicable. This option is not available for Contract opportunities.
  • Click Save to complete the process.
  • The template will automatically adopt the name of the original opportunity. If needed, you can rename it later under the Administration settings.

creating opp temp 4

By following these simple steps, you can create Opportunity Templates that promote consistency, accuracy, and efficiency in your estimating workflow. Templates are a smart way to save time and improve proposal quality across your organization.

Download a PDF version of the job aide here.

Categories
Accounting All

Flexible FAaaS: Replace Traditional Accounting Models in 2025

In 2025, businesses are expected to begin to move away from old-fashioned accounting methods and migrate towards Flexible FAaaS—Finance & Accounting as a Service—instead of in-house teams or fixed contracts. This shift will happen because FAaaS offers faster service, lower cost, and better control. In this article, we explain what Flexible FAaaS means, why it works, and how it will reshape accounting in 2025. 

What Is Flexible FAaaS?

Flexible FAaaS stands for Finance & Accounting as a Service. It means that a company outsources its finance and accounting work to a third-party provider. The provider handles tasks such as bookkeeping, payroll, invoicing, tax filings, and financial reporting. Unlike traditional models, Flexible FAaaS adapts to the company’s needs. Companies pay for the services they use, when they use them. Services and resources can be scaled up or down each month as needed, and long-term contracts and fixed fees are avoided. Companies receive expert support without hiring full‐time staff.

Flexible FAaaS uses cloud technology and secure data connections to provide real-time access to financial data. Team members can log into dashboards, review reports, and approve transactions from anywhere. The service provider uses automation to handle routine tasks. A human team steps in to review exceptions, answer questions, and provide guidance. This mix of machines and people delivers accuracy, speed, and a personal touch to accounting practices.

Why Traditional Accounting Models Fall Short

Traditional accounting relies on in-house teams or rigid outsourcing contracts. Under this model, a company hires employees or is required to sign multi-year agreements.  A company must pay fixed salaries, benefits, or monthly fees, decreasing flexibility and increasing overhead costs. In-house teams need hardware, software, and office space. Business leaders must manage hiring, training, and turnover.

Rigid outsourcing contracts lock companies into a set scope. If your business grows, you face new fees or renegotiations. If your business slows down, you still pay full price. Under this model it becomes quite easy to lose control over costs and timelines, and delays are inevitable while you work to scale up or down. Paper invoices, manual approvals, and batch reporting slow down month-end closing and planning.

Traditional models also limit access to expertise. Small businesses may not have the budget to hire a senior accountant to manage these processes in-house. They may not have a tax specialist on call. In a fast-changing world, businesses need up-to-date knowledge of new rules, tools, and best practices. Old models make it hard to adapt.

The Rise of Flexible FAaaS in 2025

In 2025, business leaders will look for solutions that match their fast-moving needs. They will want a service that can flex with their growth, scale back when needed, and add new functions on demand. Flexible FAaaS meets these needs.

First, cloud adoption reached near-universal levels in 2024. Companies already use cloud tools for sales, marketing, and operations. Extending the cloud to finance and accounting just makes sense. It removes on-premise servers, manual file transfers, and paper, providing real-time data and secure access.

Second, automation and AI tools have matured. By 2025, these tools handle invoice processing, bank reconciliations, and expense categorization with high accuracy. Human teams focus on analysis, strategy, and problem solving. This blend speeds up close cycles, cuts errors, and lowers cost.

Third, the workforce changed during the pandemic. Remote and hybrid work became normal. Companies learned to manage teams across time zones. They embraced digital collaboration and asynchronous approvals. This shift proved that a remote FAaaS model can deliver high quality and strong service levels.

Key Advantages of Flexible FAaaS

1. Cost Control and Predictability

With Flexible FAaaS, companies know what they will pay. FaaaS provides the ability to choose only the services needed, allowing businesses to avoid fixed monthly staff costs, including benefits and office overhead. Companies can save on software licenses and hardware, as well as reduce variable costs by scaling down when work slows. They gain budget certainty with clear, itemized service fees.

2. Speed and Agility

Flexible FAaaS providers use automated workflows. They clear invoices and reconcile accounts in real time. They close books faster, often within days of month-end. They generate financial statements and key metrics on demand. This speed lets companies spot trends, adjust plans, and seize opportunities faster than ever before.

3. Access to Expertise

A Flexible FAaaS team brings together junior staff, senior accountants, tax experts, and financial analysts. Businesses tap into this full spectrum of talent without hiring each person full time. This comes with get guidance on new accounting standards, tax regulation changes, and industry best practices, allowing companies to benefit from years of combined experience across many clients.

4. Enhanced Compliance and Security

Reputable FAaaS providers follow strict data security and compliance standards. They use encryption, multi-factor authentication, and regular audits. They maintain SOC 2 or ISO 27001 certifications. Companies gain peace of mind that their financial data is safe and compliant with rules like SOX or GDPR. These standards also reduce the risk of human error in manual processes.

5. Seamless Technology Integration

Flexible FAaaS teams connect to existing ERP, CRM, or billing systems. They work within your technology stack without disrupting it. They set up automated data feeds between your bank and accounting software. They use dashboards that integrate multiple sources of truth. Companies avoid duplicate data entry and enjoy a unified view of operations and finance.

How Flexible FAaaS Enhances Decision-Making

Real-time financial data drives better decisions. With traditional models, companies wait weeks for month-end reports, then create business plans based on stale data. With Flexible FAaaS, they get daily or weekly reports on cash flow, burn rate, and profitability, leading to the ability to forecast more accurately and adjust course quickly.

Your team can run scenario analyses—such as the impact of price changes, new hires, or  marketing campaigns—on demand. The FAaaS team handles the heavy lifting of data gathering and model building while company leaders focus on strategy and implementation, not spreadsheets.

Overcoming Common Concerns

Some leaders worry that outsourcing finance and accounting means losing control. Flexible FAaaS addresses this by providing direct access and transparency. Decision makers get a dashboard with real-time status updates on every task. They have visibility to open invoices, pending approvals, and upcoming deadlines and can drill into details or request custom reports.

Others fears may be hidden costs. A good FAaaS partner offers clear service catalogs and tiered pricing. You know exactly what each service costs and can add or remove modules as the needs of your business change, avoiding surprise fees at year-end.

A third concern is data security. Top FAaaS providers adopt bank-grade security measures. They segment customer data, encrypt in transit and at rest, and conduct regular penetration tests. They also sign strict NDAs and comply with relevant regulations.

Preparing for the Shift in 2025

To move smoothly to Flexible FAaaS, companies should take several steps now:

  1. Audit Current Processes
    Map existing accounting workflows. Identify manual steps, bottlenecks, and points of high error. Evaluate which tasks can be automated or outsourced.


  2. Assess Technology Landscape
    Inventory current systems—ERP, payroll, invoicing, expense management, and reporting tools. Check for API capabilities and integration options.


  3. Define Service Needs
    Decide which accounting functions can be outsourced. Common starting points include accounts payable, bank reconciliation, and expense processing. Plan to add payroll, tax filings, or financial analysis later.


  4. Set Goals and Metrics
    Determine success criteria: cost savings percentage, close-cycle time, error reduction rate, or team satisfaction. Use these benchmarks to evaluate FAaaS providers.


  5. Choose the Right Partner
    Look for a FAaaS provider with strong U.S. references, clear pricing, and a track record in your industry. Ask about their security certifications, team structure, and onboarding process.


  6. Plan the Transition
    Work with your provider to develop a phased rollout plan. Start with non-critical processes to build trust and refine workflows, then expand to core functions once you are comfortable.


  7. Train Your Team
    Ensure your internal staff knows how to interact with the FAaaS team and dashboard. Clarify roles for approvals, escalations, and exceptions, fostering a culture of collaboration.

Case Study: A Small Tech Startup’s Success

Consider a small tech startup that struggled with manual accounting. It used three full-time accountants and spent 10 days closing the books each month. By shifting to Flexible FAaaS in early 2024, the startup reduced monthly close time to two days. It cut accounting costs by 40% and gained direct access to a senior tax specialist. The startup now spends more time on strategy and less on data entry. It also receives weekly financial insights that guide product pricing and hiring decisions.

The Future of Accounting in 2025

By 2025, Flexible FAaaS is expected to increase in popularity with businesses of all sizes. Advances in AI and machine learning will further automate routine tasks. Providers will offer on-demand services—such as 24/7 cash-flow alerts and instant audit readiness checks. Businesses will see the benefits of treating finance not as a back-office function, but as a strategic partner. They will focus on growth, innovation, and customer value, while FAaaS teams handle the numbers.

Why Process-Smart Makes the Perfect FAaaS Partner

Process-Smart pioneered the flexible FAaaS model for small and mid-sized businesses. We blend cutting-edge automation with a human-in-the-loop approach. Our services include:

  • Accounts Payable & Receivable
  • Bank Reconciliation & Close Support
  • Payroll & Tax Filings
  • Financial Reporting & Analysis
  • ERP & CRM Integration

We secure your data with SOC 2 compliance and daily backups. We assign a dedicated team that knows your business. Business leaders log into our portal to see real-time updates, approve transactions, and download reports. Businesses only pay for the services they use—no surprises.

Ready to move your accounting to the cloud?

Contact Process-Smart today to learn how our Flexible FAaaS can save time, cut costs, and provide the financial insights your company needs to thrive in 2025 and beyond.

Categories
Job Aides

Issues – Creating, Updating, and Completing in Aspire

Managing issues efficiently in Aspire is crucial for smooth operations in accounts receivable. This guide outlines the steps to create, update, and complete an issue in the Aspire dashboard. Follow these instructions to ensure accurate issue tracking and resolution.

Creating an Issue

Issues in Aspire allow for efficient tracking and resolution. Below are the steps to create a new issue in the system:

1. Access Your Dashboard and Click on “New”

    • Log in to your Aspire account.
    • Navigate to the dashboard where you can manage issues.
    • In the Aspire dashboard, click on the “New” button.
    • Select “New Issue” from the dropdown menu to begin creating an issue.

Issues

2. Mention Assigned To, then Set Priority and Mention Due Date 

    • Specify the person responsible for handling the issue.
    • Choose the priority level for the issue (e.g., High, Medium, Low).
    • Enter the deadline by which the issue should be resolved.

Issues

3. Add What the Issue is Regarding, Select Category and Mention Opportunity (if applicable)

    • Provide relevant details about the issue to ensure clarity.
    • Choose a category for the issue (e.g., “Complaint”).
    • If applicable, select “Create New Opportunity” to associate the issue with an opportunity.

Issues

4. Enter Subject

    • Provide a clear and concise subject for the issue.
    • If client inclusion is needed, check the box at the top of the form.

Issues

5. Click Save

    • After filling out all the necessary information, click Save to log the issue into the system.
    • Review the issue created on the dashboard.

Issues

By following these steps, you can efficiently create, update, and complete issues in Aspire. Proper issue management helps maintain accuracy in accounts receivable, ensuring seamless workflow and improved resolution tracking.

Download a PDF version of the job aide here.

Categories
Job Aides

Creating an Appointment in Aspire 

Appointments in Aspire help organize communication and task management, especially when handling accounts receivable. By scheduling clear and timely meetings with relevant stakeholders, you ensure better follow-ups, accountability, and workflow efficiency. This job aid walks you through the simple steps to create an appointment within Aspire.

Steps to Create a New Appointment in Aspire

1. Click on the Plus Icon on the Aspire Dashboard and Select New Appointment

  • Navigate to the main dashboard.
  • Click on the “+” icon.
  • Select New Appointment from the dropdown menu.

Appointment

2. Enter What It’s ‘Regarding’ and Add Attendees

  • Fill in the Regarding field to specify the appointment’s purpose.
  • Add relevant Attendees to ensure appropriate involvement.

Appointment

3. Enter Start and End Dates

  • Set the Start Date and End Date for the appointment.
  • Ensure the timeframe reflects the actual meeting or task duration.

Appointment

4. Enter the Subject Line and Then Write Notes

  • Type a clear Subject Line summarizing the appointment.
  • Use the Notes section for important details or discussion points.

Appointment

5. Click on Save

  • Review all filled fields.
  • Click Save to finalize and schedule the appointment.

AppointmentCreating appointments in Aspire ensures proper scheduling and documentation for accounts receivable activities. Following these simple steps helps maintain clarity, improve collaboration, and keep important financial tasks on track.

Download a PDF version of the job aide here.

Categories
Job Aides

Creating a Change Order on Work Order Opportunities

This job aid provides a simple, step-by-step guide to help users create a Change Order on existing Work Order Opportunities in Aspire. A Change Order allows teams to add or update services after an opportunity is already in production. This is especially useful when your customer requests extra work beyond the original estimate. The following instructions ensure you can apply these changes quickly and accurately within the Aspire system.

Steps to Create a Change Order on Work Order Opportunities

1. Go to Opportunities and Search for the Opportunity

  • Go to Opportunities.
  • Search the opportunities by opportunity number.

Opportunities

2. Click on Add Change Order

  • Click the three-dot menu beside Save.
  • Select Add Change Order and click Save.

Opportunities

3. Enable the Change Order

  • Scroll down and tick the
  • Change Order checkbox.

4. Add Optional Enhancements

  • Go to Estimate → Optional Services.
  • Add each service: Enhancement: Enhancement                                                                                                                                                       Mulch Installation                                                                                                                                                                           Irrigation Repairs
  • For each, search “labor” and select Enhancement Labor (Hide) (E).

5. Update Quantity for Each Optional Service

  • Adjust the quantities for each of the optional services you added, as required.

6. Click on Estimate Complete

  • On the upper-right side, click the three dots.
  • Select Estimate Complete from the dropdown menu.

Opportunities

7. Click on Won

  • Again, click the three dots.
  • Select Won, and then click Confirm to finalize the change order.

Opportunities

By following these simple steps, you can create and process Change Orders in Aspire with ease. This ensures that updates or additions to work orders are reflected accurately in both your estimates and billing. Properly managing change orders helps keep your records clean, your customer’s expectations clear, and your accounts receivable accurate.

Download a PDF version of the job aide here.

Categories
Job Aides

Creating Tasks in Aspire

Effectively managing tasks in Aspire helps streamline workflows and ensure important activities are completed efficiently. This job aid provides step-by-step instructions on how to create and track tasks in Aspire.

Steps to Create a Task in Aspire:

1. Log in to Aspire

  • Access your Aspire account.
  • Navigate to the Tasks section from the Quick Menu.

tasks

2. Add a New Task

  • Select the contact in the “Assigned To” field.
  • Choose the “Regarding” option from the dropdown menu.
  • Select the Start Date and Due Date for the task.
  • Choose the Priority and Category of the task.
  • Enter a Subject for the task.
  • Add a note if necessary.
  • Click “Save” to finalize the task. The task is now saved successfully.

tasks

3. Manage and Complete Tasks

Return to the Aspire dashboard and navigate to the “Activities” section to find created tasks.

  • Go to the “Activities” section.

Use the search function to locate the task by entering its “Regarding” details. This will display the task for tracking and management.

  • Select the newly added task.
  • Click “Save” to update the task status.

Managing and Completing Tasks:

  • Tasks will remain on your To-Do List until marked as complete.
  • Completed tasks stay linked to their associated records for tracking purposes.
  • Use dashboard views to monitor and manage tasks efficiently.

Effectively utilizing tasks in Aspire helps maintain organized workflows and ensures timely completion of internal activities. Following these steps will enhance task management within your organization.

Download a PDF version of the job aide here.

Categories
Job Aides

Tracking Month-Over-Month Earned Revenue Percentage in Aspire

Managing earned revenue in Aspire helps track financial performance over time. By updating the earned revenue percentage for work tickets, accounts receivable teams can gain insights into revenue generated each month.

This guide provides step-by-step instructions to modify and analyze earned revenue in Aspire.

Process Flow

1. Open Aspire Tab and Go to Work Tickets

  • Log in to Aspire and navigate to the main dashboard.
  • Go to the “Work Tickets” section to search for the relevant work ticket using the assigned Opportunity Number or Contract Number.

Revenue Percentage

2.  Enter Your Work Ticket Number

  • Use the search bar to enter the work ticket number and find the specific job-related ticket.

Revenue Percentage

3. Click on the Work Ticket and Access Options

  • Once the correct work ticket is located, open it and access additional options by selecting the three dots next to the “Save” button.

4. Edit Earned Revenue Option and Add Revenue Month and Amount One by One

  • From the dropdown menu, choose “Edit Earned Revenue” to update the revenue details.
  • Enter the revenue details by adding the month and corresponding revenue amount. 
  • Click “Save” to apply changes.

5. Click Save to Save the Work Ticket

  • Ensure all updates are stored by clicking “Save” on the work ticket.

6. Reopen the Same Work Ticket, Go to Edit Earned Revenue, and Then Edit and Increase Revenue Amount

  • Reopen the work ticket, navigate back to the “Edit Earned Revenue” option, and adjust the revenue amount as needed.

Revenue Percentage

7. Click Save and Save the Work Ticket

  • After making the necessary changes, click “Save” again and confirm the updates by saving the work ticket.

8. Review Revenue Percentage Updates

  • The updated revenue amount will reflect in the earned revenue percentage, showing the increase compared to the previous month.

By following these steps, users can efficiently track and update earned revenue in Aspire. This process ensures accurate financial insights, allowing accounts receivable teams to monitor month-over-month revenue changes and make informed decisions.

Download a PDF version of the job aide here.