Categories
Job Aides

Over/Under Revenue Reporting in Aspire

This job aid provides a step-by-step guide for generating and adjusting Over/Under Revenue reports in Aspire’s accounts receivable module. It ensures invoiced amounts align with earned revenue. Use this guide to streamline your reporting tasks and maintain accurate financial records.

Steps to Generate and Adjust Over/Under Revenue Reports

  1. Click on Reports
  • Navigate to the “Reports” section from the main menu.

Over/Under

  1. Select Standard Reports
  • From the list of available reports, choose “Standard Reports.”

Over/Under

  1. Select the Date Range to All Time
  • Adjust the date range filter to “All Time” to include all records.

Over/Under

  1. Scroll Down to the Bottom and Select the Over/Under of the Last Report Revenue
  • Locate the “Over/Under” section at the bottom of the report page and select the relevant report.

Over/Under

  1. Click on the Display Icon Right Side of Filter
  • Use the display icon to open the report customization options.

  1. Delete the Field Names
  • Remove any existing field names to prepare for customization.

Over/Under

  1. Click on Select, Add Field Names Such As Job Type, Start Date, End Date, Adjust Over and Under, Then Click Apply
  • Select and add the following field names:
  • Job Type
  • Start Date
  • End Date
  • Adjust Over and Under
  • Click “Apply” to save the changes.

  1. Click on Sorting Icon  and Sort as Per Opportunity Number in Ascending Order
  • Open the sorting menu using the up and down arrow icon.
  • Arrange the report data by “Opportunity Number” in ascending order.

  1. Again Click on Sort Icon and Select End Date in Ascending Order and Click Apply
  • Perform a second sort by “End Date” in ascending order. Click “Apply” to finalize.

Following these steps ensures your Over/Under Revenue reports are accurate and customized for effective analysis. Properly adjusted reports provide clarity on earned and invoiced revenue, enabling better financial decision-making.

Download a PDF version of the job aide here.

Categories
Job Aides

Sales Commission Report in Aspire

The Sales Commission Report in Aspire helps track commission payments based on sales performance. This report is essential for accounts receivable to determine unpaid amounts, payment dates, and commission eligibility. Follow the steps below to generate and export the report.

Steps to Generate the Sales Commission Report

1. Login to Aspire Dashboard then Go to Reports and Select Standard Reports

  • Log in to Aspire.
  • Navigate to the dashboard.
  • Click on the “Reports” section.
  • Select “Standard Reports” from the list.

Sales Commission

2. Click on Sales Commission

  • Find and select “Sales Commission” from the available reports.

Sales Commission

3. Sort and Select Default Search System Then Click on Filter

  • Choose the “Default Search System.”
  • Click on the “Filter” option.

Sales Commission

4. Enter Desired Field Name Such as Unpaid Amount And Date Paid Then Select the Duration and Click Apply

  • Type in the specific field name, such as “Unpaid Amount.”
  • Enter the “Date Paid.”
  • Choose the required time period for the report.
  • Apply the selected filters to generate the report.

Sales Commission

5. Click on the Icon Left to Three Dots, Now Click on Three Dots

  • Find the small icon located to the left of the three-dot menu and click it.
  • Click on the three-dot menu for additional options.

Sales Commission

6. Select Export to Excel All Fields

  • Choose “Export to Excel – All Fields” to download the complete report.

Sales Commission

By following these steps, you can efficiently generate and export the Sales Commission Report in Aspire. This report helps in tracking commissions, verifying unpaid amounts, and ensuring accurate payouts based on company policies. Once exported, the data can be reviewed, formatted, and sent for approval before processing payroll.

Download a PDF version of the job aide here.

Categories
Job Aides

Pivot Tables: How to Build Pivot Reports

Pivot tables help organize and analyze financial data efficiently. In Aspire, you can use pivot reports to track purchases and allocations in accounts receivable. This job aid provides step-by-step instructions to build a pivot report using the purchase pivot table.

Steps to Build a Pivot Report

1. Go to Aspire Dashboard and Navigate to Reports

  • Log in to Aspire and access the main dashboard.
  • Locate the “Reports” section in the menu.

Pivot Reports

2. Select Standard Reports and Scroll Down to Purchase Pivot Table

  • Click on the “Standard Reports” option.
  • Scroll through the available reports and select “Purchase Pivot Table.”

Pivot Reports

3. Click Above Additional Category and Select Show Field List

  • In the pivot table interface, click the section above “Additional Category.”
  • Choose “Show Field List” to reveal available data fields.

4. Add Purchase Unit Type and Allocation Unit Type

  • Find Purchase Unit Type and Allocation Unit Type in the field list.
  • Drag these fields into the field list to include them in the report.


5. Expand Data Fields for Better Analysis

  • Click on the added fields and select “Expand All.”
  • This action will display a more detailed breakdown of purchase data.

6. Add Divisions into the Field List

  • Locate “Divisions” in the field selection panel.
  • Click and drag “Divisions” into the field list area to organize data accordingly.

7. Save and Export the Pivot Report

  • Click on the save icon to store your customized pivot report.
  • Select “Export to Excel” to download the report for further analysis or sharing.

8. Review all the details of the Pivot Table in the reference Excel sheet.

Pivot reports in Aspire allow for better financial tracking and data analysis. By following these steps, you can create, customize, and export purchase pivot tables to manage accounts receivable more effectively.

Download a PDF version of the job aide here.

Categories
Accounting All

Enhancing Business Efficiency: The Strategic Advantage of Outsourcing Accounts Payable with Process-Smart

Managing accounts payable (AP) is a core function of any business. Paying vendors on time, keeping financial records accurate, and maintaining cash flow stability are essential to daily operations. But for many companies, handling AP in-house is a costly, time-consuming burden that pulls focus away from growth.

Outsourcing Accounts Payable to a trusted provider like Process-Smart is a strategic move for businesses looking to cut expenses, improve efficiency, and minimize errors. With tailored AP solutions, seamless software integration, and a mix of automation and expert oversight, Process-Smart transforms how businesses handle their payables.

The Real Cost of Managing AP In-House

1. High Operational Costs Add Up Fast

Running an internal AP department isn’t cheap. It requires dedicated staff, payroll expenses, training, office space, and costly software. These fixed costs keep rising as a business grows, challenging scalability.

2. Processing Errors and Payment Delays Create Bigger Problems

Manual data entry, misfiled invoices, and approval delays slow everything down. Late payments lead to penalties and strained vendor relationships. Duplicate or incorrect payments cause financial discrepancies that take time and effort to fix.

3. Compliance Risks Can Lead to Costly Penalties

Maintaining tax laws, audit requirements, and financial regulations is complicated. Errors in AP records or non-compliance with reporting standards can trigger legal issues and hefty fines.

4. Cash Flow Disruptions Hurt Business Growth

A mismanaged AP process can throw off cash flow forecasting, making it harder to plan expenses or take advantage of early payment discounts. Poor visibility into liabilities creates financial instability.

Why Outsourcing Accounts Payable Is a Smarter Strategy

1. Lower Costs Without Sacrificing Quality

Outsourcing eliminates the need for full-time staff, office space, and expensive software. With Process-Smart, businesses get top-tier AP services at a fraction of the cost, allowing them to reinvest savings into growth.

2. Access to Experienced AP Professionals and Cutting-Edge Technology

Process-Smart brings in AP specialists who understand industry best practices and leverage automation tools to streamline workflows. Businesses benefit from faster, more accurate invoice processing without building expertise in-house.

3. Better Accuracy, Compliance, and Fraud Prevention

With Process-Smart managing AP, businesses get 99.9% accuracy in financial processing, full regulatory compliance, and built-in fraud detection measures to prevent unauthorized transactions.

4. More Time to Focus on Growth

By outsourcing Accounts Payable to Process-Smart, businesses free up internal teams to focus on high-value priorities like revenue generation, customer relationships, and strategic expansion.

24/7 Support

Business runs around the clock and so does Process-Smart. Our dedicated AP specialists are on call 24/7, ensuring invoices get processed, vendors get paid, and operations never skip a beat. Whether it’s a late-night approval or an urgent payment issue, we provide real-time support with immediate resolution. No delays, no excuses – just unmatched reliability, day or night.

Scalable During High-Demand

Business growth shouldn’t mean backlogs. Process-Smart scales instantly to handle high-volume invoice processing, seasonal spikes, and sudden surges in demand – without sacrificing speed or accuracy. No need to hire, train, or overburden your internal team; our infrastructure expands seamlessly, delivering consistent performance under any workload. Your business moves fast. So do we.

Data Confidentiality and Security

Process-Smart enforces bank-grade security protocols, with end-to-end encryption, multi-factor authentication, and secure VPN integrations to protect every transaction. Our strict compliance measures exceed industry standards, preventing fraud, unauthorized access, and breaches before they happen. With Process-Smart, your data stays locked down – no exceptions, no compromises.

How Process-Smart Optimizes AP for Maximum Efficiency

1. Custom-Tailored AP Solutions for Every Business

Process-Smart doesn’t use a one-size-fits-all approach. Every outsourcing Accounts Payable solution is customized to fit your company’s size, industry, and financial workflow, ensuring a seamless transition.

2. Business Process Analysis to Remove Bottlenecks

Through detailed workflow analysis and structured operating procedures, Process-Smart identifies inefficiencies, eliminates approval delays, and streamlines invoice processing for faster turnaround times.

3. Seamless Integration with Major Accounting Software

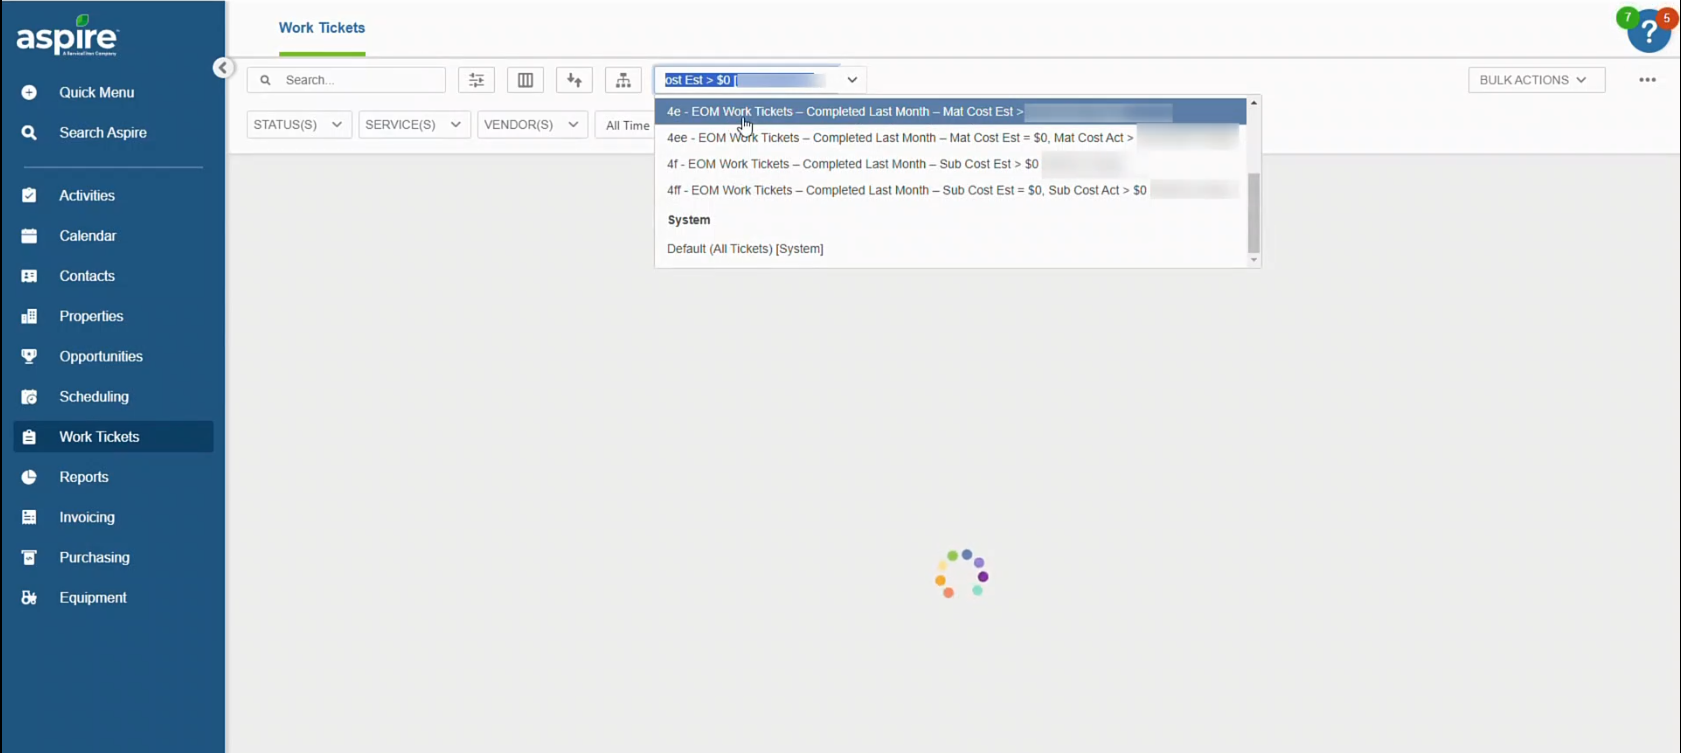
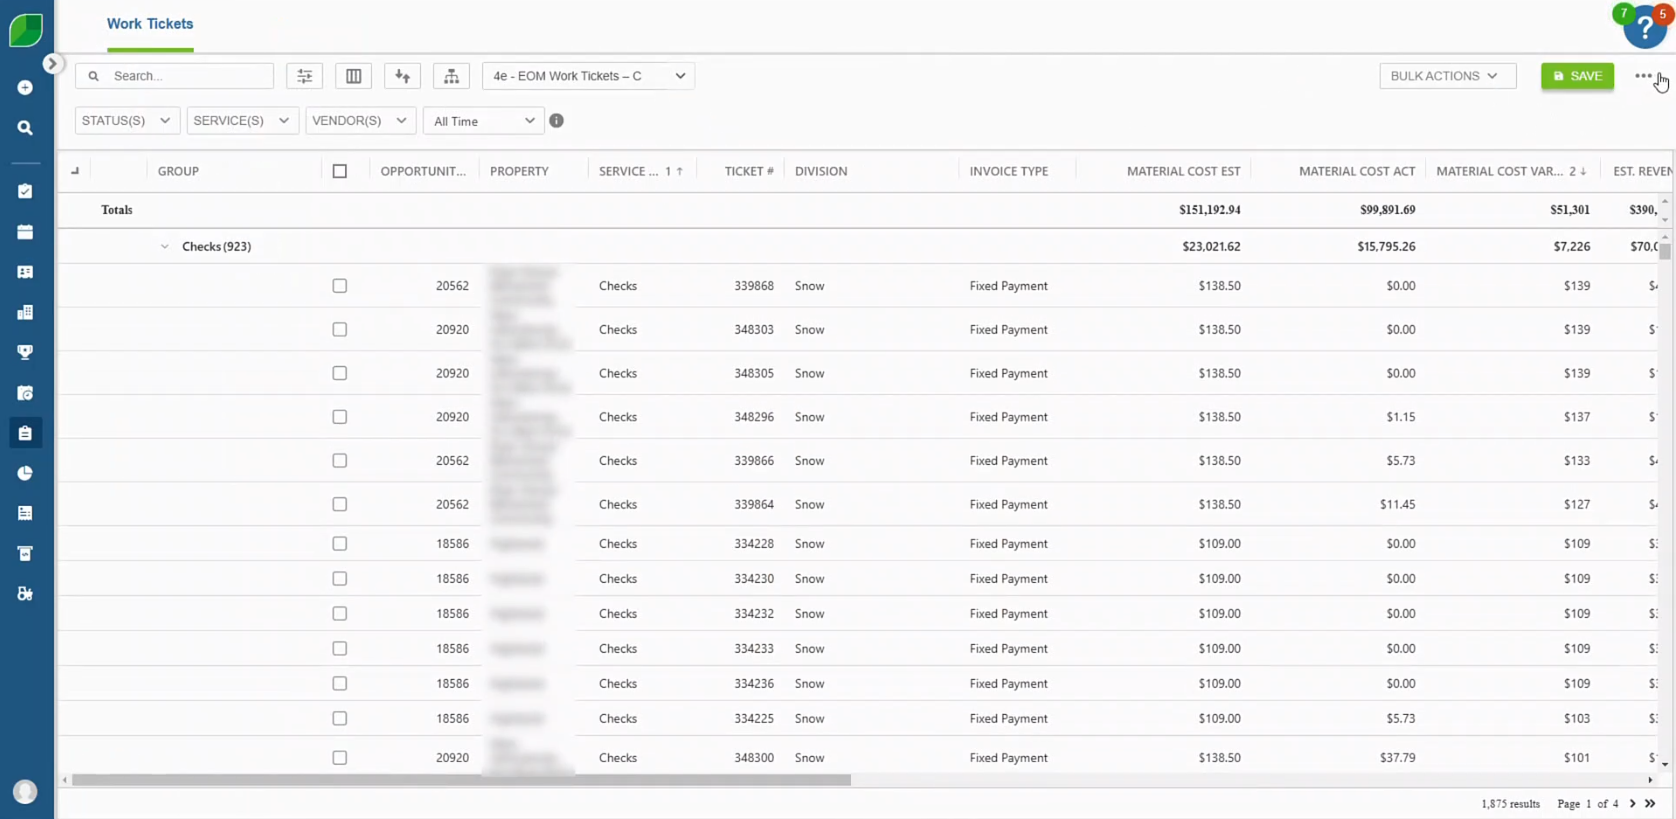
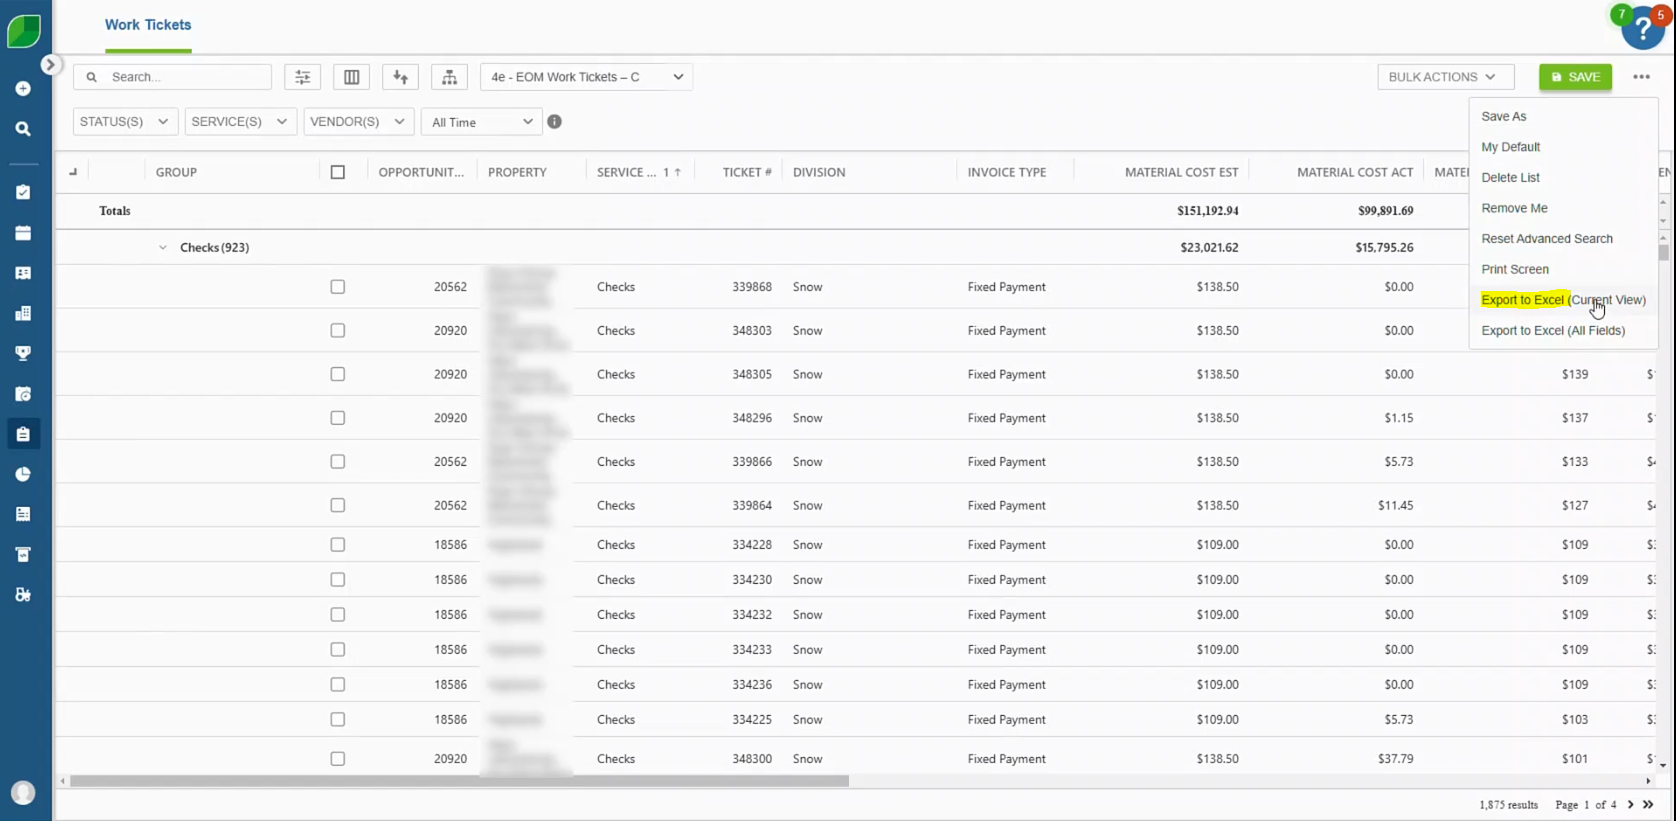
Process-Smart connects directly to Netsuite, QuickBooks, Aspire, and other ERP platforms using secure VPNs, ensuring real-time financial data updates without disruptions.

4. Balancing Automation with Human Oversight

While AI-driven automation speeds up invoice processing and reduces errors, expert accountants oversee transactions to ensure accuracy, handle exceptions, and maintain compliance.

Key Features of Process-Smart’s Accounts Payable Services

1. End-to-End AP Management

Process-Smart handles everything from invoice receipt to payment processing, including:

  • Invoice verification – Checking invoices for accuracy before processing.
  • Purchase order matching – Ensuring all invoices align with approved purchase orders.
  • Secure payment processing – Managing vendor payments through encrypted, fraud-protected channels.
  • Financial reporting – Keeping accurate, up-to-date records within accounting software.

2. Deep Expertise in Industry-Leading Accounting Platforms

With extensive experience in Netsuite, QuickBooks, Aspire, and other ERP solutions, Process-Smart seamlessly integrates with existing financial operations for error-free, real-time accounting.

3. Guaranteed Trust, Reliability, and Security

Unlike gig-based outsourcing, Outsourcing Accounts Payable with Process-Smart ensures businesses get a dedicated, highly trained AP team with a track record of consistent, high-quality service. Clients receive transparent reporting and round-the-clock support.

Why Process-Smart Is the Best Choice for AP Outsourcing

Managing accounts payable in-house is expensive, inefficient, and full of risks. Process-Smart offers a more brilliant, cost-effective way to handle AP with higher accuracy, seamless ERP integration, and guaranteed compliance.

With a proven track record, industry expertise, and cutting-edge automation, Process-Smart gives businesses the tools to streamline AP, improve cash flow, and free up resources for growth.

Process-Smart is the clear choice for companies ready to cut costs, boost efficiency, and eliminate AP headaches.

Categories
Job Aides

End-Of-Month Work Ticket Variance in Aspire

Managing work ticket variances at the end of the month is crucial for maintaining accurate financial records and ensuring proper cost tracking in Aspire. This job aid provides a step-by-step guide on accessing and reviewing work ticket details for accounts receivable purposes. 

One key aspect of this process is reviewing estimated subcontractor costs versus actual subcontractor costs. Identifying work tickets with significant cost variances—either over or under $2,000 (any amount)—helps ensure accurate reporting and prevents misleading profitability figures. Proper review and adjustments will ensure that financial records reflect true expenses and maintain compliance with accounting best practices.

By following these instructions, you can efficiently locate necessary information for follow-ups, reporting, and variance resolution.

Steps to Review End-Of-Month Work Ticket Variance in Aspire

1. Access Aspire Dashboard

  • Open your web browser and navigate to Aspire.
  • Log in with your credentials.

2. Navigate to Work Tickets

  • Locate the menu on the left-hand side of the dashboard.
  • Click on the “Work Tickets” option.

Work Ticket Variance

3. Open Work Ticket List

  • Click on the dropdown menu to view available work tickets.
  • Select the relevant work ticket for review.

Work Ticket Variance

4. Review Estimated Sub Costs vs. Actual Sub Costs

  • Identify work tickets with subcontractor costs.
  • Review the following categories:
    • Work Tickets with Sub Costs.
    • Work Tickets with Sub Costs and No Estimated Sub Costs.

5. Export Work Ticket Data

  • Click on the three-dot menu in the upper-right corner of the work ticket window.
  • Select “Export Excel (Current View).”
  • The file will begin downloading to your device.

6. Open and Analyze the Excel Sheet

  • Locate the downloaded Excel file on your computer.
  • Open the file using Microsoft Excel or a compatible spreadsheet application.

7. Review Variance Details

  • Identify work tickets with an over or under variance of $2,000.
  • Ensure accuracy—if a work ticket is completed with no sub cost, it may appear more profitable than it actually is.
  • Verify entries—if a work ticket is completed with no estimate but booked sub costs, it can cause concerns, especially for maintenance or construction-fixed projects.
  • All work tickets with variances are compiled into a single report, detailing their specific costs, and sent to the accounts team to resolve any discrepancies.

Work Ticket Variance

Reviewing end-of-month work ticket variances in Aspire is essential for accurate financial reporting and cost management. By ensuring that estimated and actual subcontractor costs align, you can prevent discrepancies that may impact profitability analysis. Regular monitoring and adjustments will help maintain financial integrity and improve decision-making for future projects.

Download a PDF version of the job aide here.

Categories
Job Aides

Report Extraction in Aspire

This job aid guides you through the process of extracting reports in Aspire, enabling you to access, format, and analyze critical data for insightful decision-making. Aspire’s report extraction process is essential for obtaining valuable insights into landscaping services, including opportunities, work tickets, and property data. By following these steps, you can efficiently generate reports tailored to various divisions, such as Design and Build, Enhancement, Lighting, and Sound.

Step-by-Step Instructions for Report Extraction in Aspire

1. Login and Access the Report Tool

  • First, log in to Aspire.
  • Start by clicking on the work tickets.

Report Extraction

2. Filter the Required Data

  • In the filter bar, search for the report you want to extract.

3. Export Data to Excel

  • Click on the three dots menu (typically in the top-right of the filtered results).
  • Select “Export to Excel” to download the data in Excel format.
  • Open the downloaded Excel file, copy all content, delete the existing data, and paste again to ensure data consistency.

4. Format the Excel Report

  • Change the font of the data to “Calibri” and align all text to the center for a uniform appearance.
  • Select the “All Other Sales” tab at the bottom to view various sales categories.

5. Analyze Using Pivot Tables

  • Click on any sales type, then navigate to the “Pivot Table Analyze” option in the Excel header.
  • Choose “Change Data Source” and confirm by clicking “OK.”
  • Click “Refresh” to update all pivot tables with the latest data.

This job aid provides a structured approach to report extraction in Aspire, helping you obtain insights into properties, work tickets, and other landscaping service data. Following these steps ensures accurate and well-organized reports, assisting stakeholders in making data-driven decisions across various landscaping divisions.

Download a PDF version of the job aide here.

Categories
Job Aides

Mastering Invoice Previews with Web Report Designing

Our comprehensive report services cater to all your needs, from writing and designing to publishing custom reports upon request. With our intuitive Report designing, you can effortlessly define data sources, create datasets, run queries, and configure layouts for data regions and fields. Each report is customized to meet the specific requirements of our clients, ensuring a perfect fit for your unique needs.

This job aid will guide you through the process of previewing an invoice in the Web Report Designing. By following these simple steps, you’ll be able to quickly and easily access the invoice information you need.

Steps:

1. Open the Web Report Designing

  • Begin by navigating to the Web Report designing. This is your primary tool for accessing and previewing invoice data.

Web Report

2. Click on “Preview”

  • Once inside the Web Report designing, locate and click the “Preview” option. This will open the area where you can enter specific invoice details.

Web Report

3. Enter the “Invoice Number”

  • In the designated field, type in the “Invoice Number” you wish to preview. Ensure the number is accurate to retrieve the correct invoice.

Web Report

4. Click on “Submit”

  • After entering the invoice number, click on the “Submit” button. This will generate a preview of the invoice based on the information provided.

Web Report

By following the steps outlined in this guide, you can efficiently preview invoices using the Web Report designing, streamlining your workflow and ensuring accuracy in your reporting. Whether you’re customizing layouts or running data queries, our tools are designed to make the process straightforward and user-friendly. With these insights, you’re now equipped to access the invoice information you need quickly and with confidence.

Download a PDF version of the job aide here.

Categories
Job Aides

Graphic Designing in Aspire

Graphic design plays a crucial role in creating impactful visual content that communicates effectively and enhances brand identity. At Process-Smart, our approach to graphic design is both strategic and creative, ensuring that each design is tailored to meet specific business needs while maintaining a cohesive and engaging look.

This guide will take you through our graphic design process, focusing on how we create custom email templates for Aspire Marketing Pro. Whether you’re requesting a new template or refining an existing one, follow these steps to ensure a smooth and effective design workflow with us.

Steps to Create or Edit an Email Template:

1. Click on “Marketing Pro”

Start by navigating to the “Marketing Pro” section in Aspire.

2. Go to “Email Template”

Next, select the “Email Template” option where you will either create a new template or edit an existing one.

3. Choose a Blank Template

If you are designing a new template, select a blank template to start fresh.

4. Click on “Rows”

In the editor, click on “Rows” to add the structure for your email. Rows will help organize the layout of your content.

5. Drag and Drop the Row  & Choose the Color of the Row

Hold and drag the selected type of row to your template. Position it where you would like it to appear. Customize the row by selecting its color. This will allow you to match your email’s design with your brand’s theme.

6. Go to “Content” and Select Fonts, Colors, and Sizes

Once your row is set, go to the “Content” section where you can further customize your email. In the “Content” section, you can choose the font type, font color, and size. You can also make other adjustments to ensure your email looks professional and consistent with your brand.

7. Repeat for Each Section

Continue adding rows and customizing content until your template is complete. Once you have finished all the edits, click on “Preview” to view the graphics. Then, click “Save.

Graphic design is a powerful tool for enhancing brand visibility and creating meaningful connections with your audience. At Process-Smart, we are dedicated to delivering custom design solutions that not only meet your specific requirements but also drive engagement and success.

By following these simple steps, you can efficiently design a new email template or make changes to an existing one. Aspire’s intuitive system allows you to fully customize your email to suit your marketing needs. This flexibility ensures that your emails reflect your brand while staying visually appealing and well-organized.

Download a PDF version of the job aide here.

Categories
Job Aides

Bulk Emailing Your Customers With Aspire

Efficient communication with your customers is vital for managing accounts receivable effectively. Aspire’s bulk email feature streamlines this process by allowing you to send messages to multiple contacts directly from the Contacts Search List.

This job aid provides step-by-step instructions on how to:

  1. Select specific contacts or filter contacts with common criteria.
  2. Use Aspire’s tools to send targeted bulk emails efficiently.

By following this guide, you’ll maximize your communication efforts and enhance customer engagement with ease.

Steps to Send Bulk Emails

1. Go to Aspire Dashboard
Log in to your Aspire account at Aspire to access the dashboard.

2. Click Contacts
Navigate to the “Contacts” section in the menu to access the list of customer contacts.

Bulk Emailing

3. Click on the Select All Box Beside ‘First Name’
Select the checkbox located next to “First Name” to highlight all displayed contacts.

Bulk Emailing

4. Move to Bulk Actions and Select Bulk Email Contacts
In the upper-right corner, click on the “Bulk Actions” dropdown and choose the “Bulk Email Contacts” option.

5. Enter ‘To’ and ‘From’ Fields, Subject, and Message

    • To: Ensure the recipients’ email addresses populate automatically.
    • From: Select the sender’s email address.
    • Subject: Enter a meaningful subject line for the email.
    • Message: Compose the body of your email, including any important details.

6. Attach Any File You Want to Include
If necessary, use the attachment option to include a file with your email.

7. Click Send
Once you review the details, click “Send” to distribute the email to your customers.

By following these simple steps, you can send bulk emails effectively using Aspire, streamlining your accounts receivable process and ensuring timely communication with customers.

Download a PDF version of the job aide here.

Categories
Job Aides

Efficient Invoice Management on the Aspire Platform

Efficiently managing invoices is important for smooth business operations. It involves the swift and accurate validation of vendor invoices to ensure they are seamlessly integrated into your financial systems. 

Our workflow uses Acumatica validation and Aspire mapping to guarantee precision in invoice processing.

This guide is designed to help you through the process of recording a new payment for an invoice on the Aspire platform. You can follow these simple steps to ensure your payments are accurately recorded and streamlined with your financial management tasks.

Steps to Record a New Payment

1. Go to ‘Invoicing’ and select ‘Invoices’

  • Log in to your Aspire account.
  • Navigate to the ‘Invoicing’ section on the dashboard.
  • Click on ‘Invoices’ from the dropdown menu.

Invoice

2. Paste your invoice number in the search bar

  • Copy the invoice number you need to record a payment for.
  • Paste the invoice number in the search bar to locate the invoice.

Invoice

3. Hover over ‘Quick Menu’ on the sidebar and click on ‘New Payment’

  • Move your cursor to the ‘Quick Menu’ located on the sidebar.
  • Click on ‘New Payment’ to start the payment recording process.

Invoice

4. Paste the invoice number again and click ‘Apply’

  • Paste the invoice number in the appropriate field.
  • Click on the ‘Apply’ button to proceed.

Invoice

5. Select the branch and add the payment date

  • Choose the appropriate branch from the dropdown menu.
  • Enter the payment date in the designated field.

Invoice

6. Add the reference number

  • Enter the reference number for the payment.

Invoices

7. Copy and paste the property name from ‘Invoices’ in the ‘Regarding’ section

  • Locate the property name associated with the invoice in the ‘Invoices’ section.
  • Copy the property name.
  • Paste the copied property name into the ‘Regarding’ section.
  • Select the exact name of the property from the options provided.

Invoice

8. Click ‘Save’

  • After ensuring all details are correctly entered, click the ‘Save’ button to record the payment.

Invoices

These steps help you to easily and accurately record a new payment for an invoice on the Aspire platform to keep your invoicing system organized and up-to-date. 

Efficient invoice management, supported by tools like Acumatica validation and Aspire mapping helps your business operations run smoothly.

Download a PDF version of the job aide here.