
Creating and managing routes in Aspire’s scheduling module is essential for organizing crews and efficiently assigning tasks. Routes define which crew members will work on specific tasks for a given period and help visualize work on the Schedule Board. This guide will walk you through the steps needed to create a new route, assign crew members, and customize its settings to meet your team’s needs in Aspire.
Steps to Create a New Route:
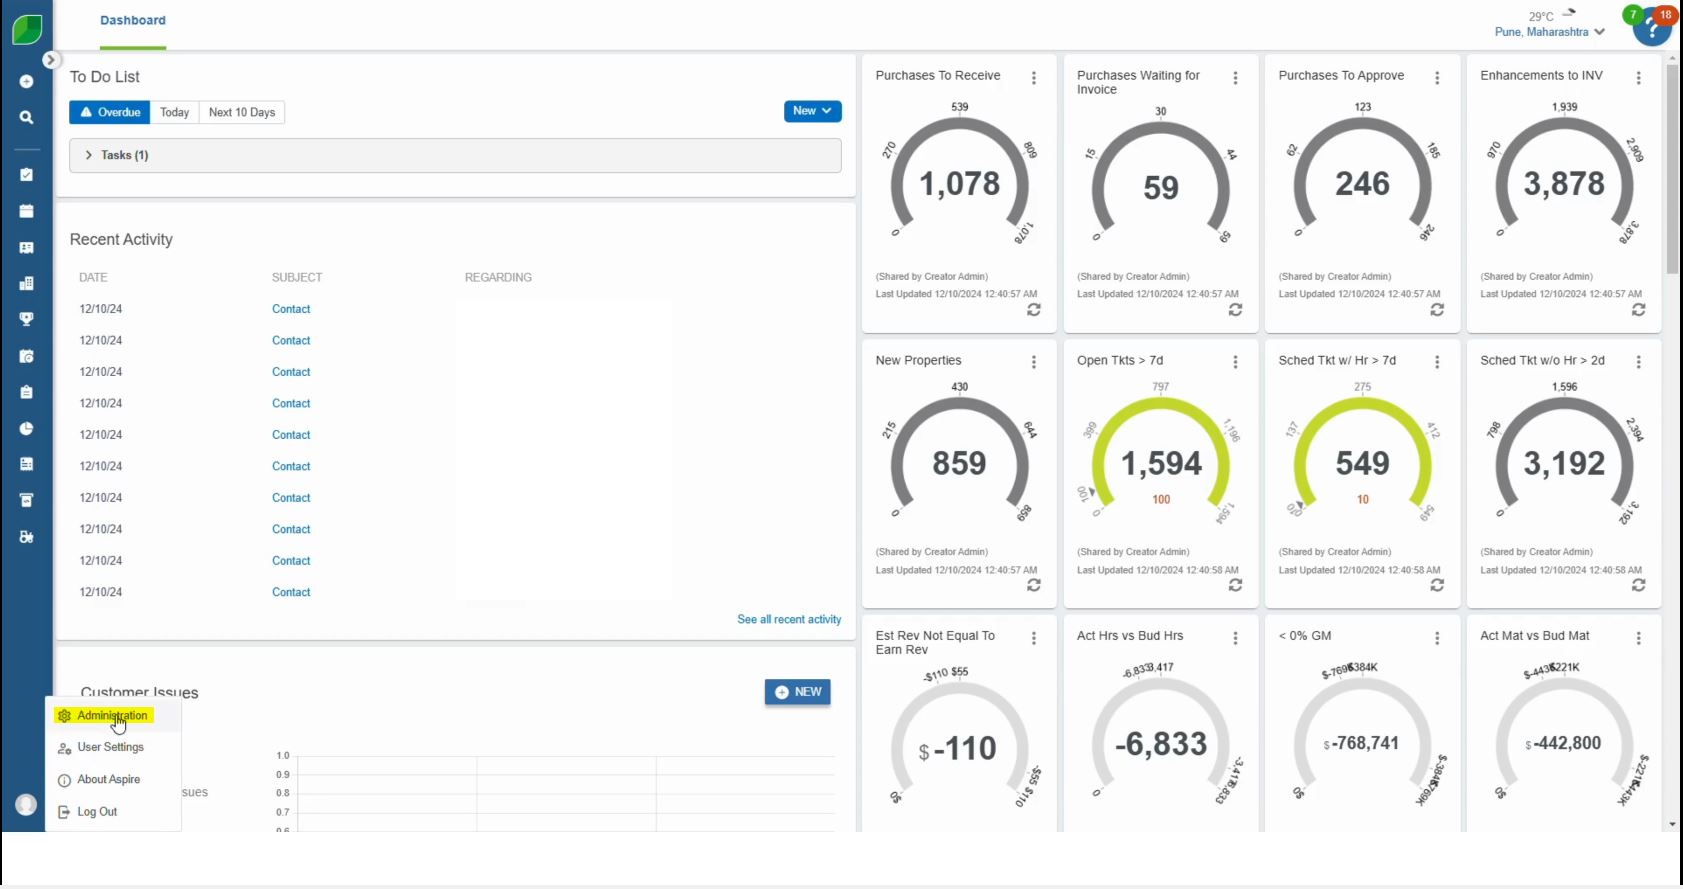
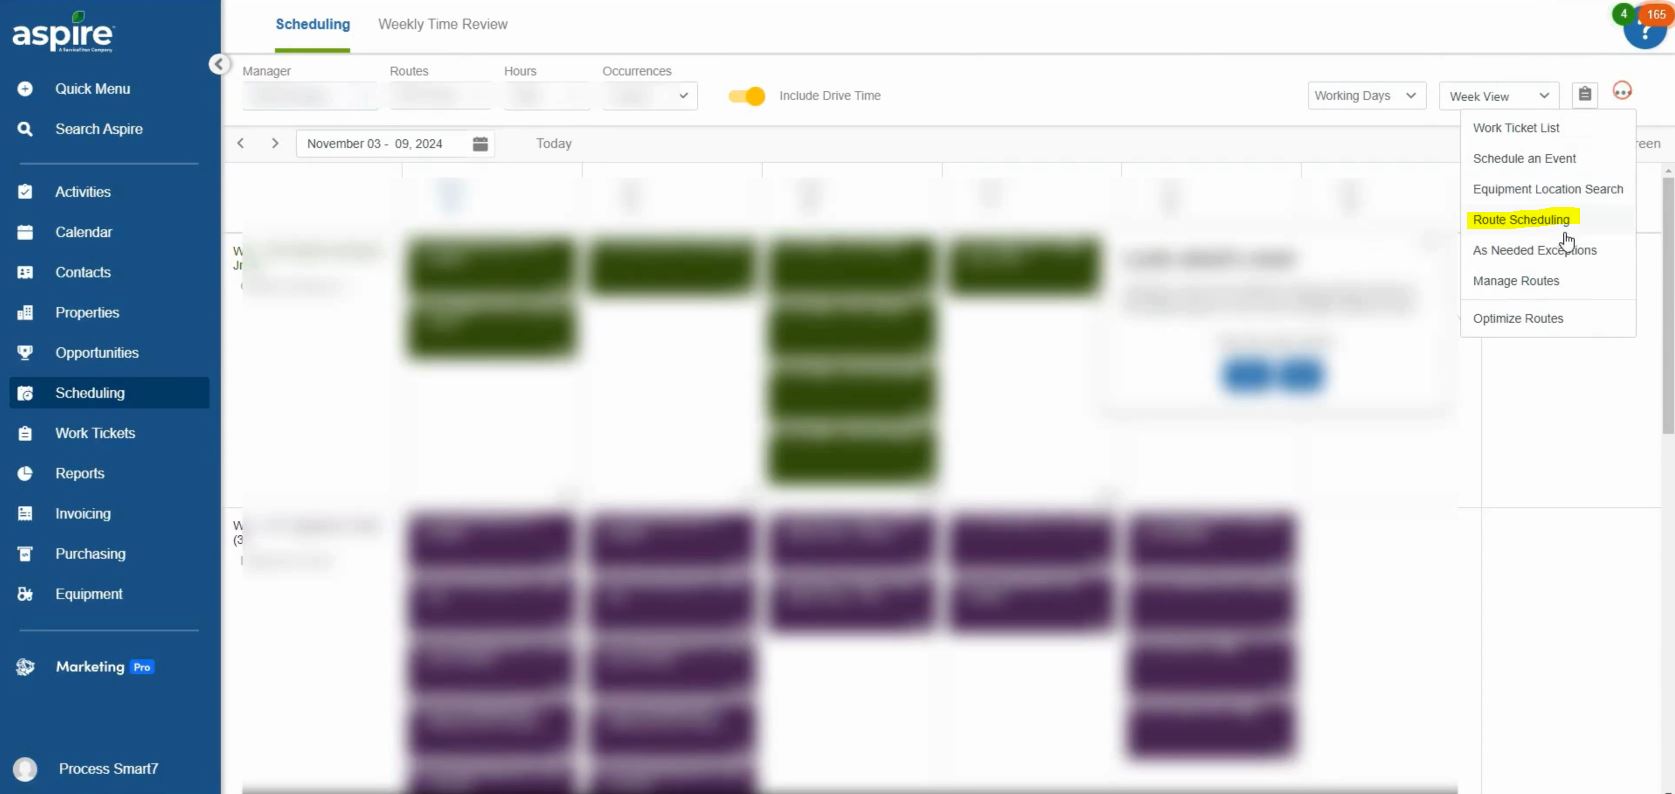
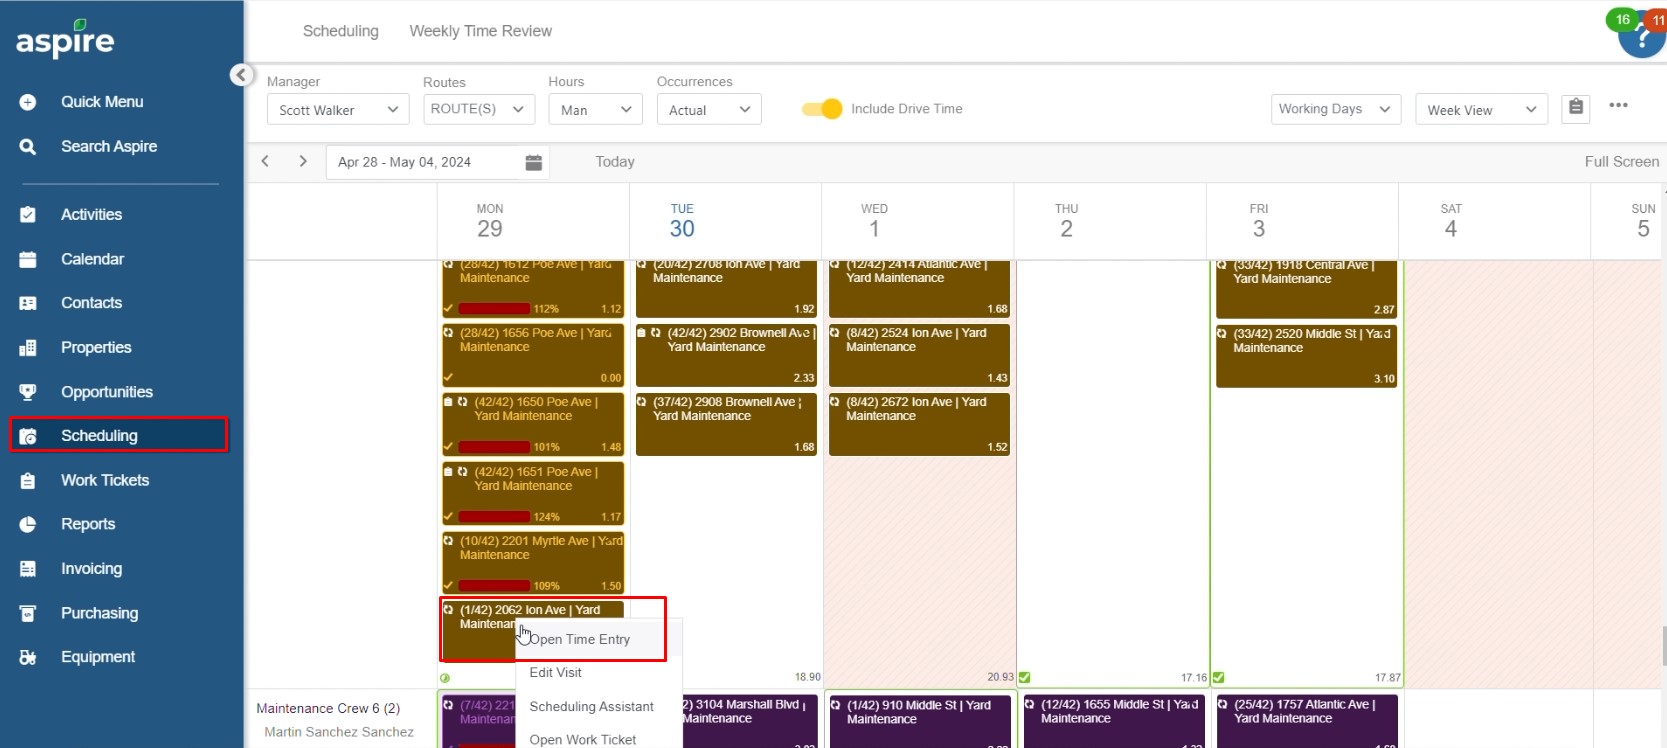
1. Access the Scheduling Module:
- Begin by going to the Scheduling section within Aspire. In the top right, click on the three dots to open additional options.
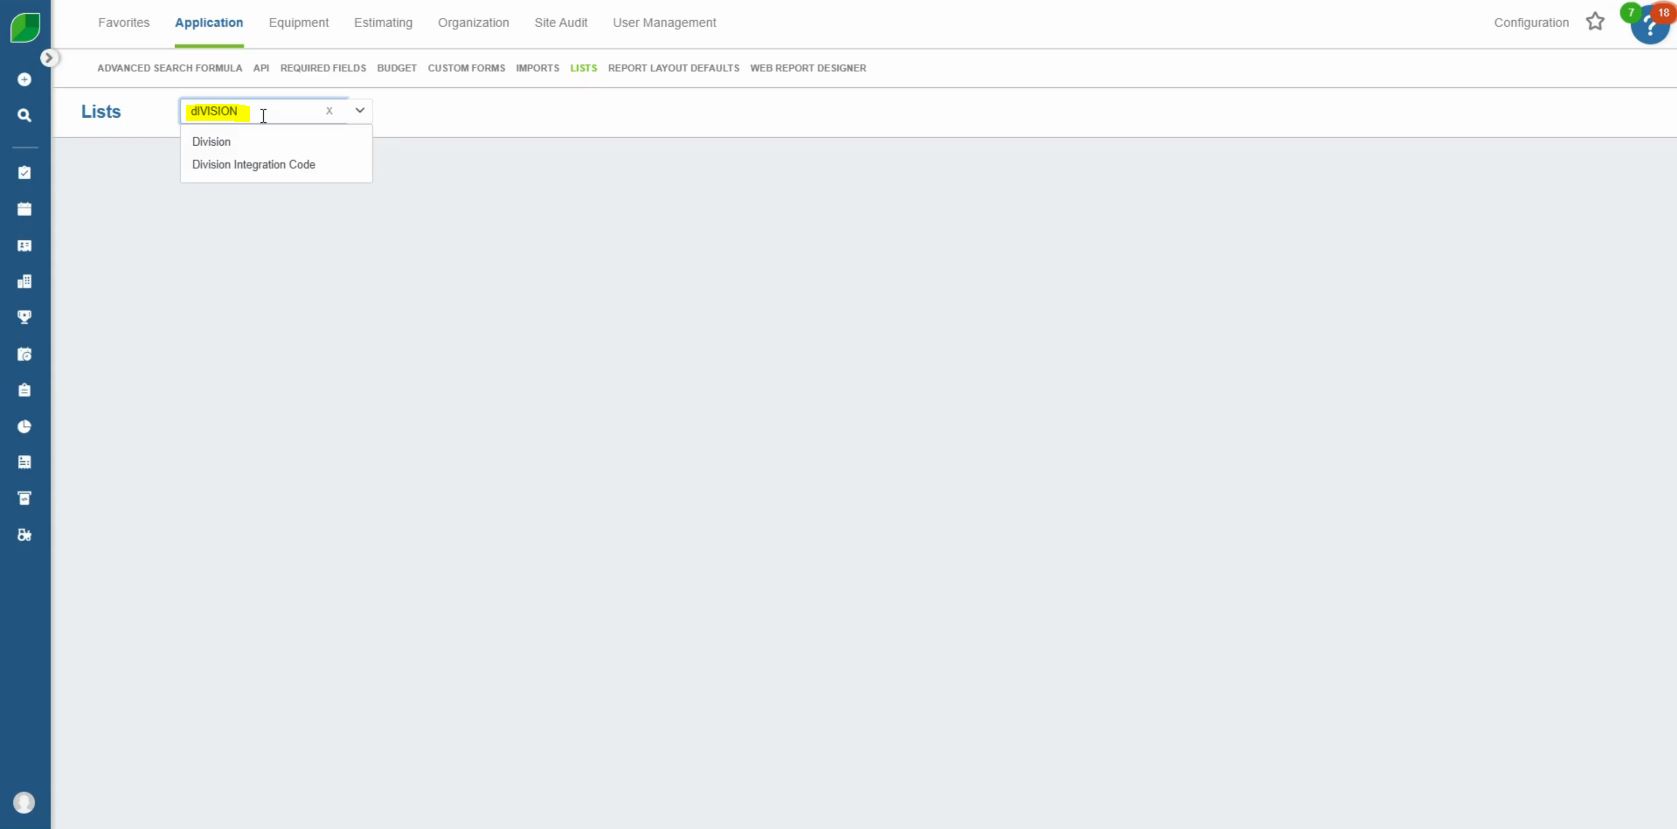
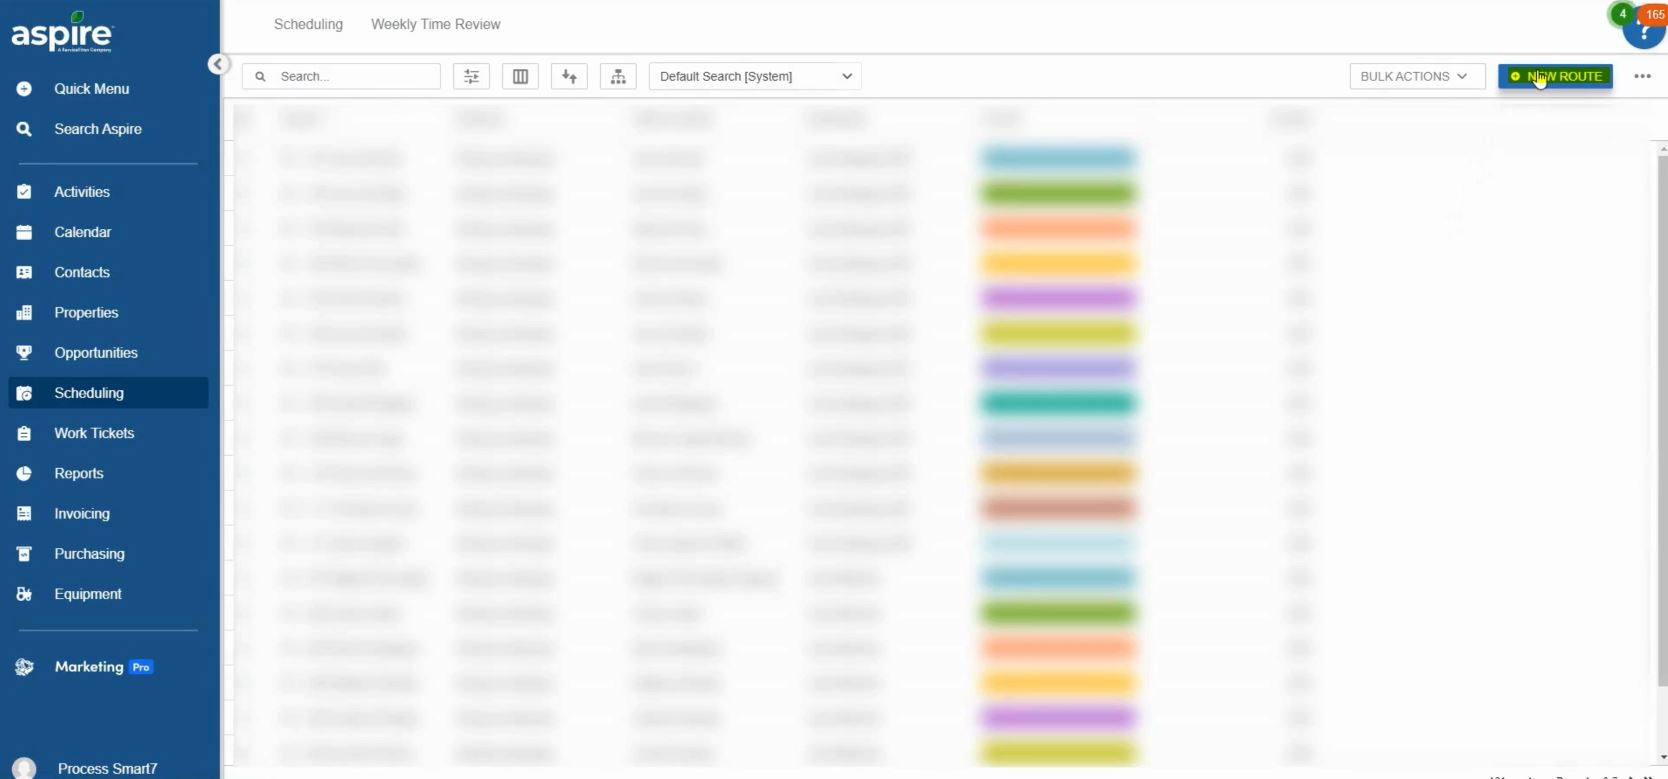
2. Select Manage Route:
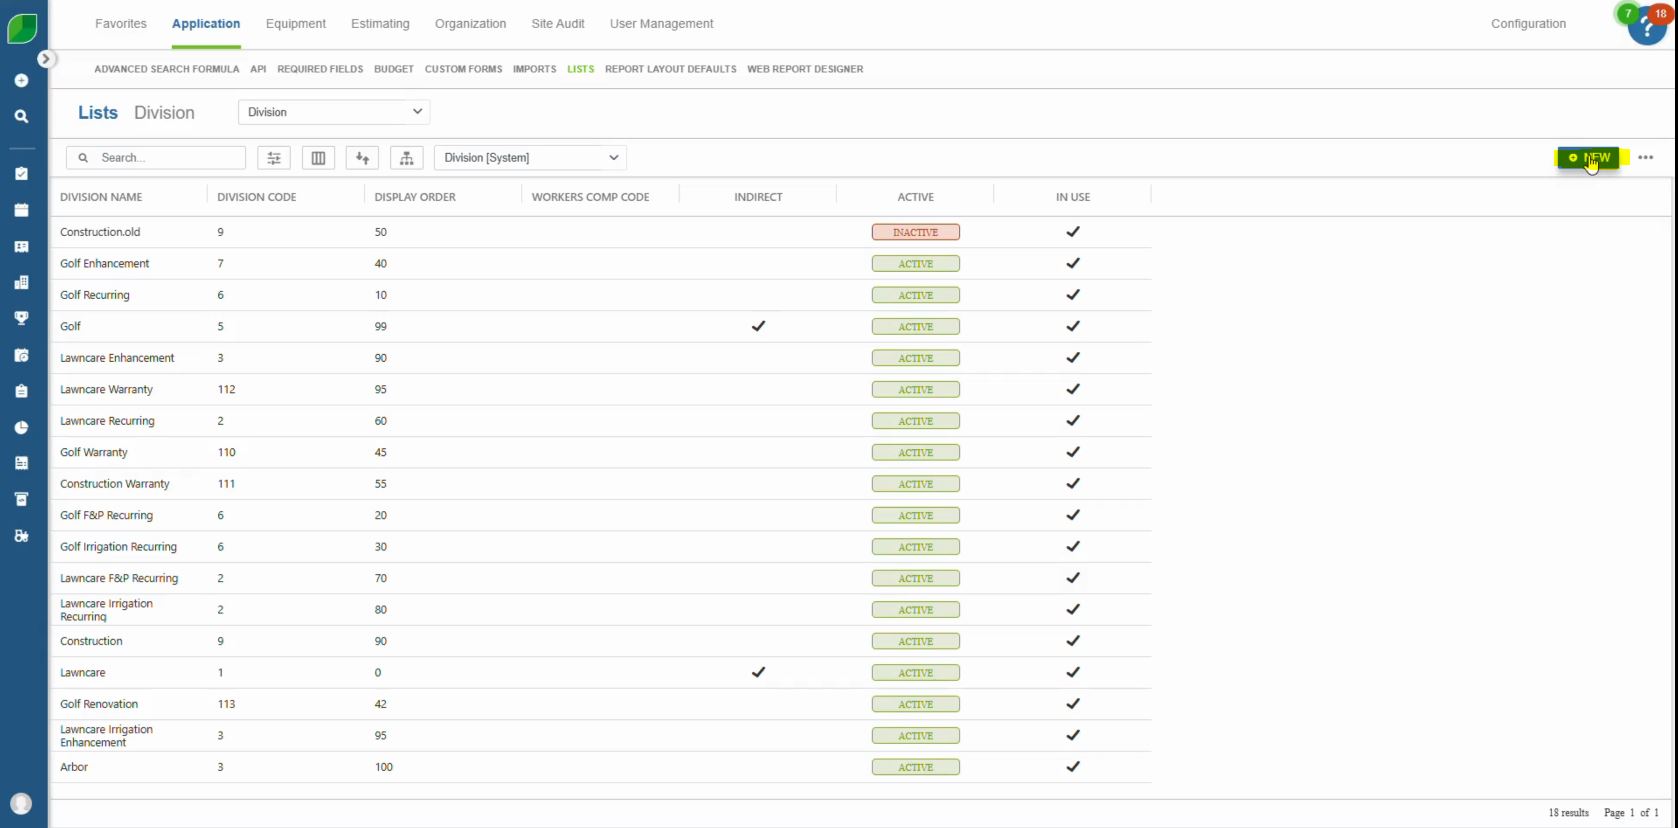
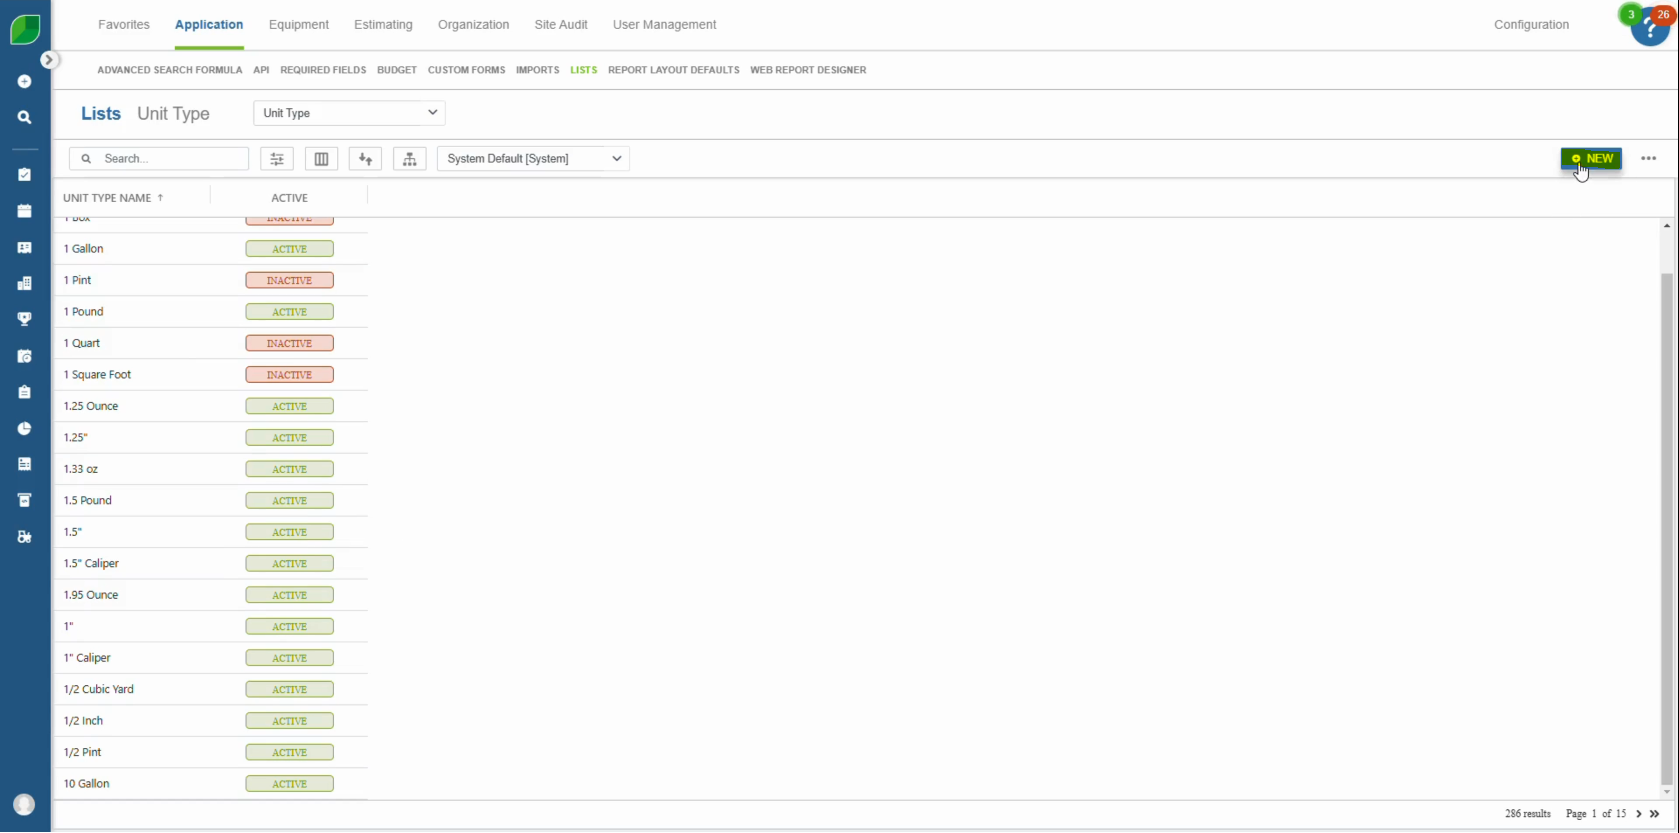
- From the dropdown, choose “Manage Route.” On this screen, click “New Route” to start setting up a new route.
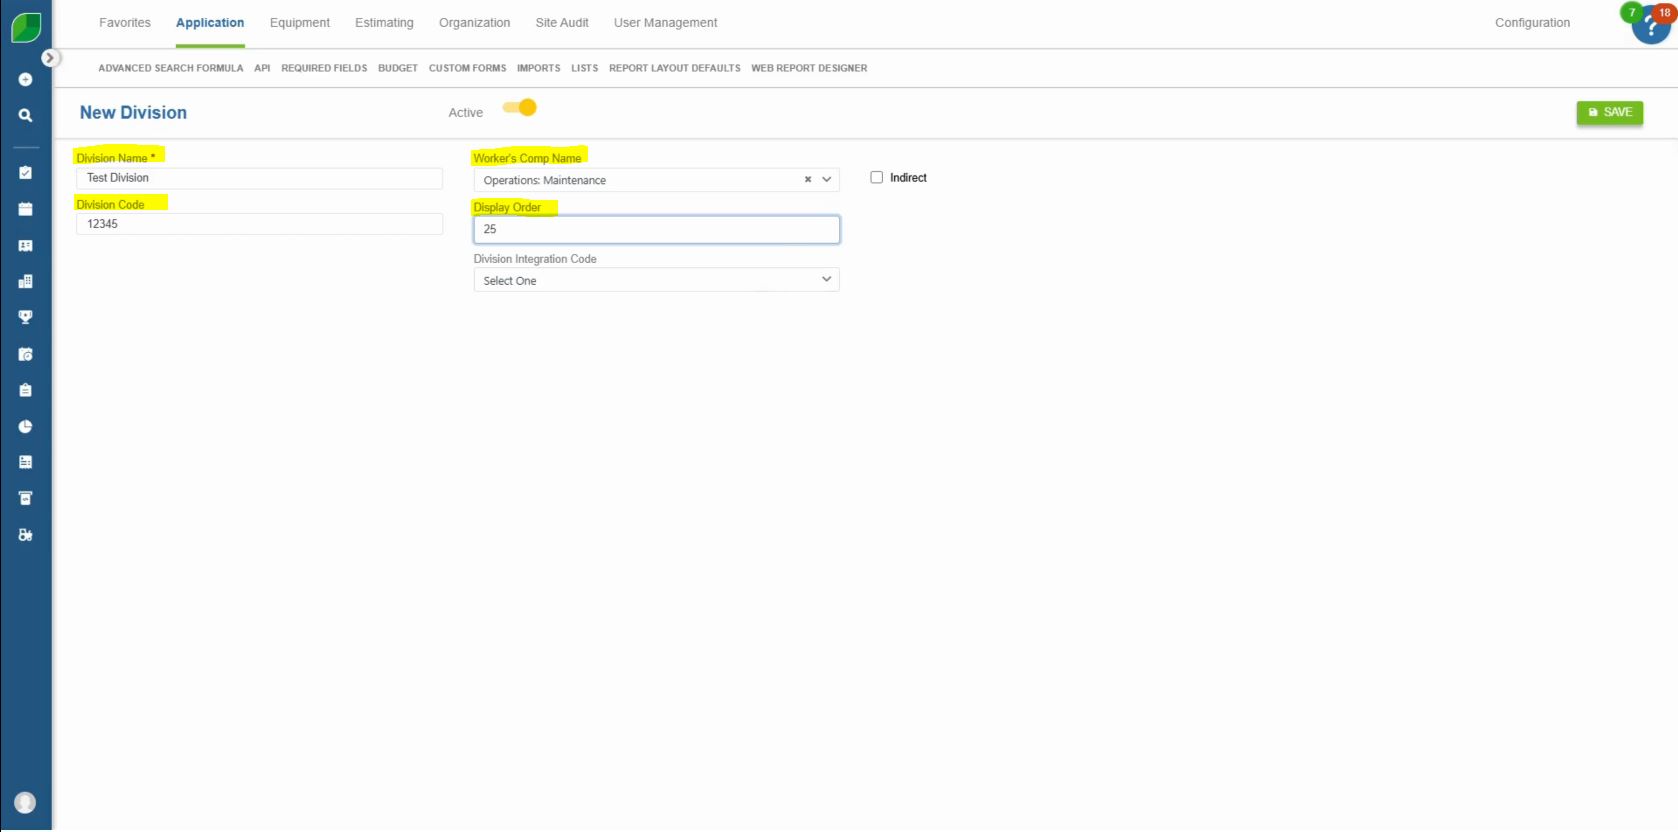
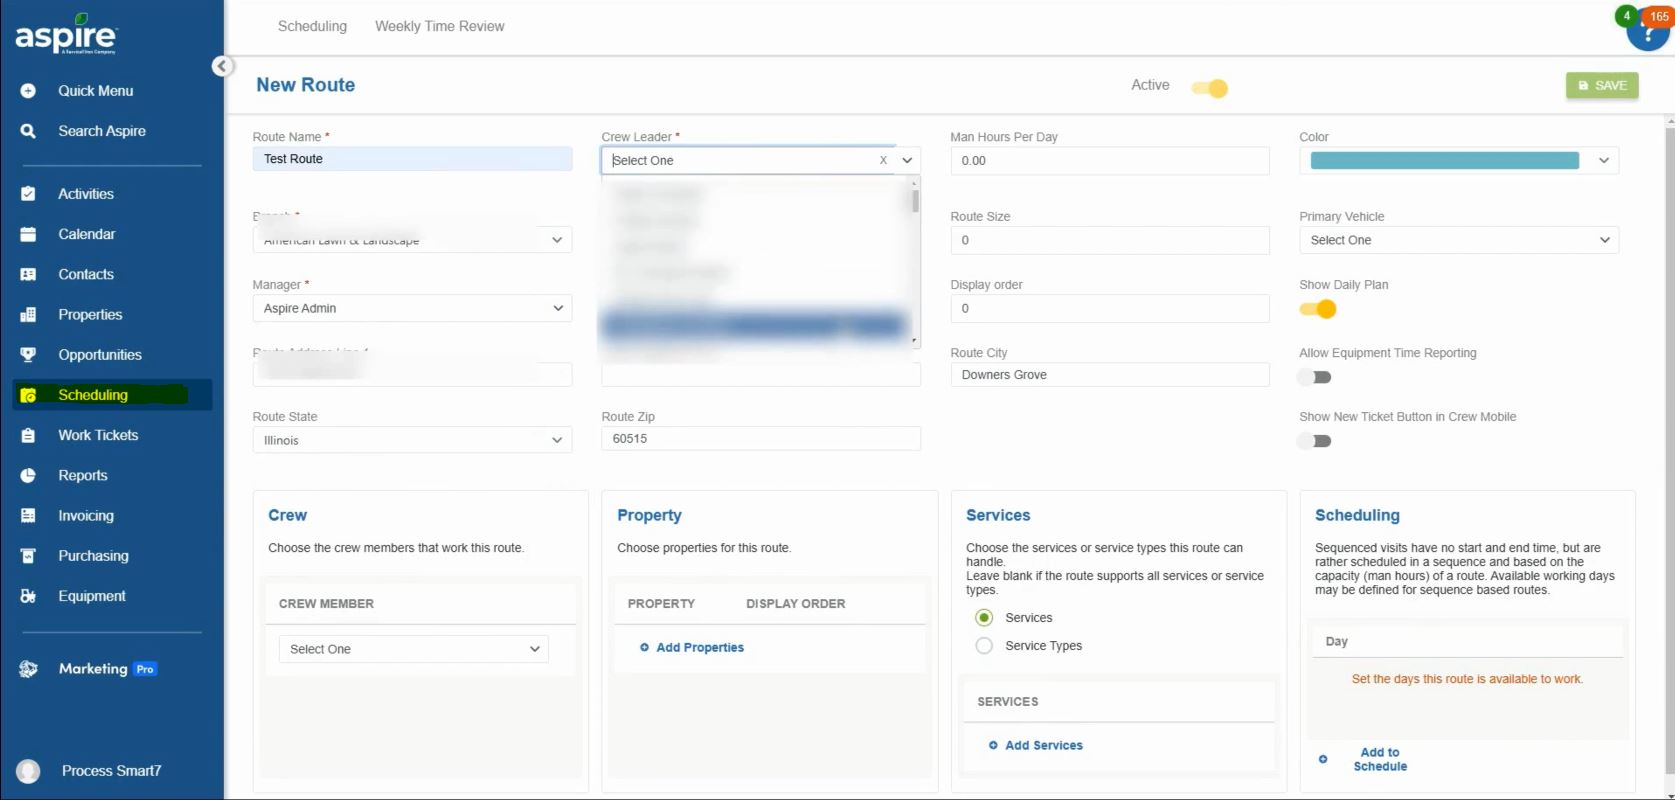
3. Enter Route Details:
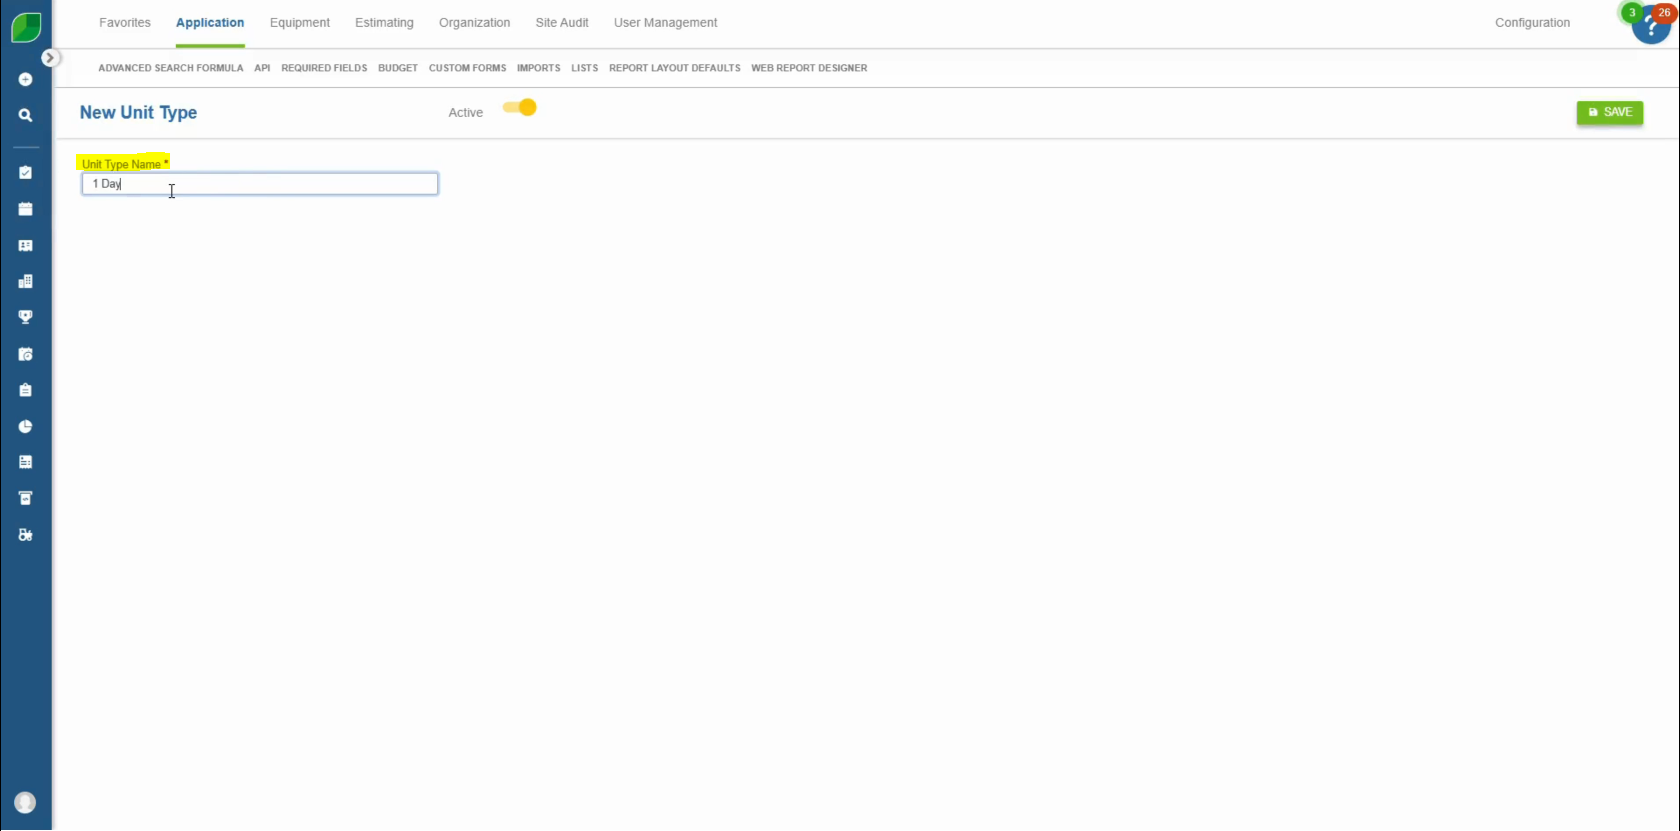
- Route Name: Input a unique and recognizable name for the route.
- Manager and Crew Leader: Choose the manager who will oversee the route and the crew leader responsible for supervising the work. Remember, only one crew leader can be assigned per route.
- Man Hours: Specify the daily man hours each crew member is expected to work.
- Crew Members: Select team members who will be part of this route.
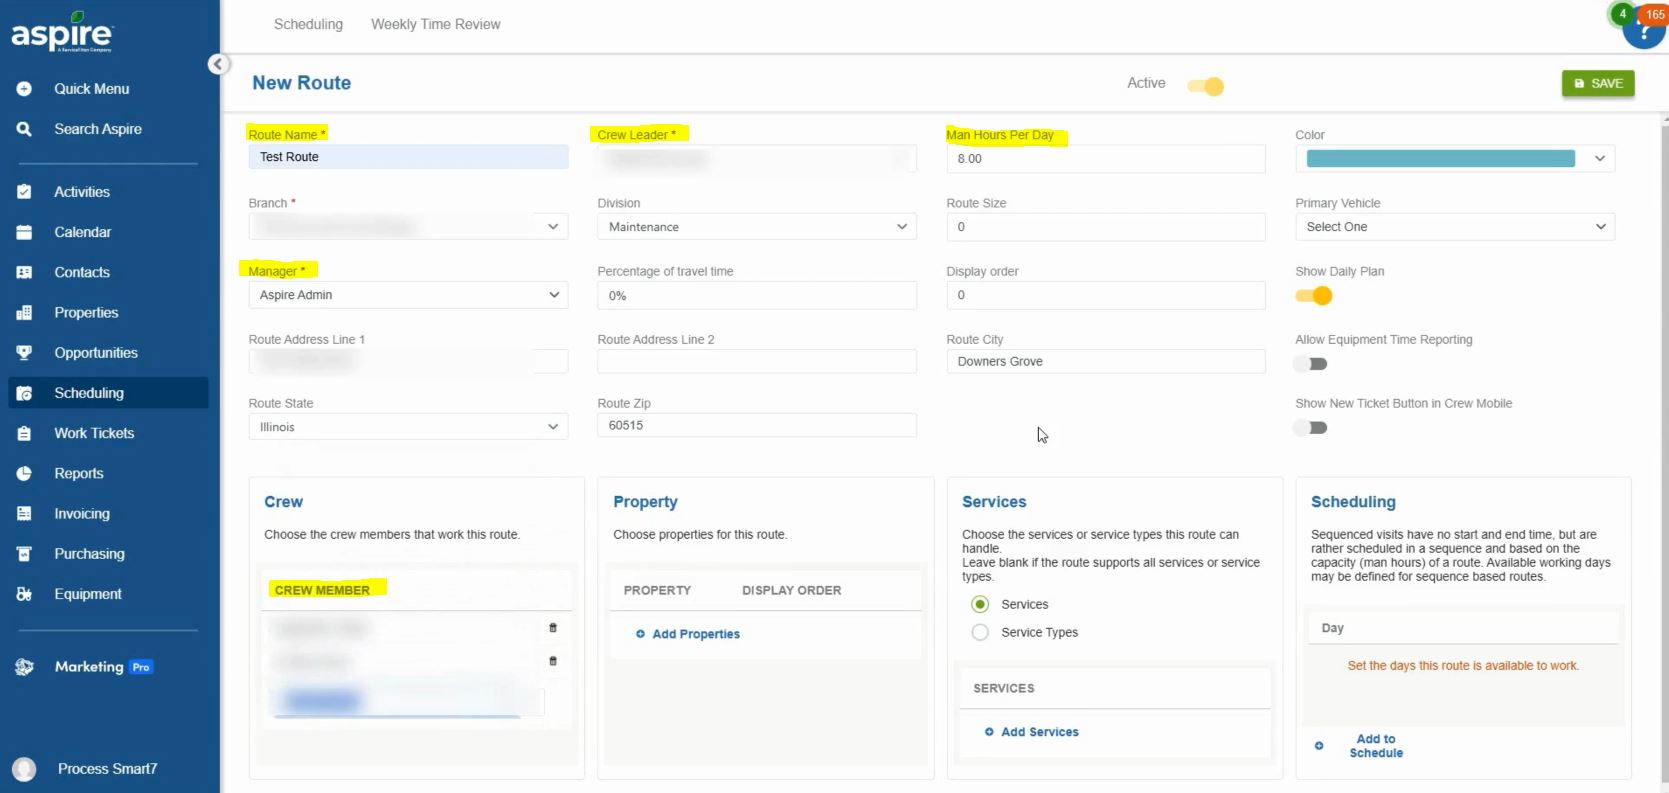
4. Customize Display Settings:
- Daily Plan: Untick the “Show Daily Plan” option if you prefer not to display the daily material plan to the crew leader.
- Route Color: Choose a distinct color for the route to make it easily recognizable on the Schedule Board.

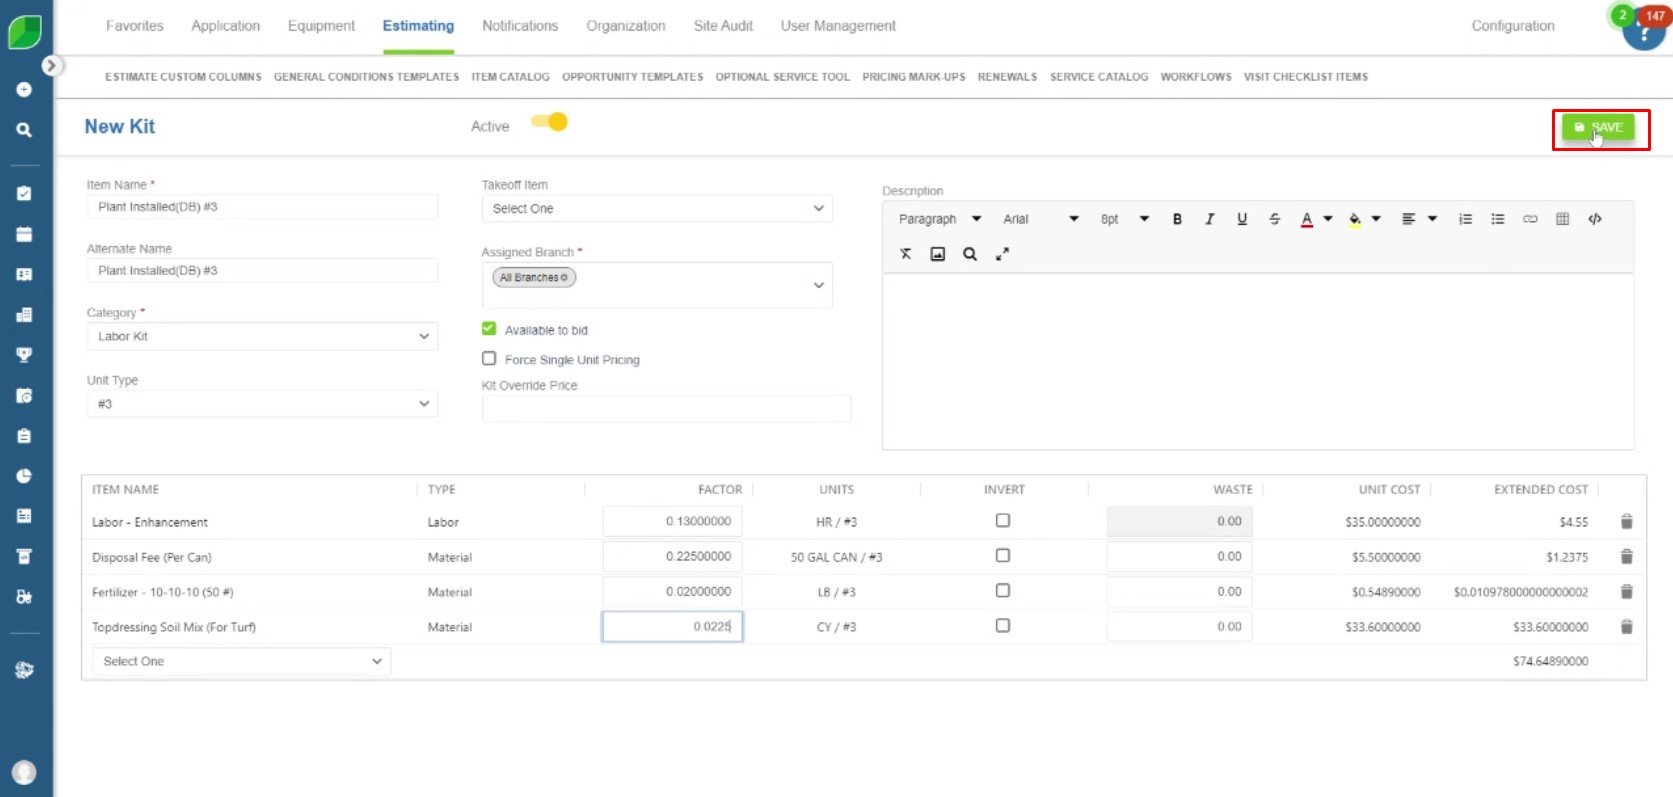
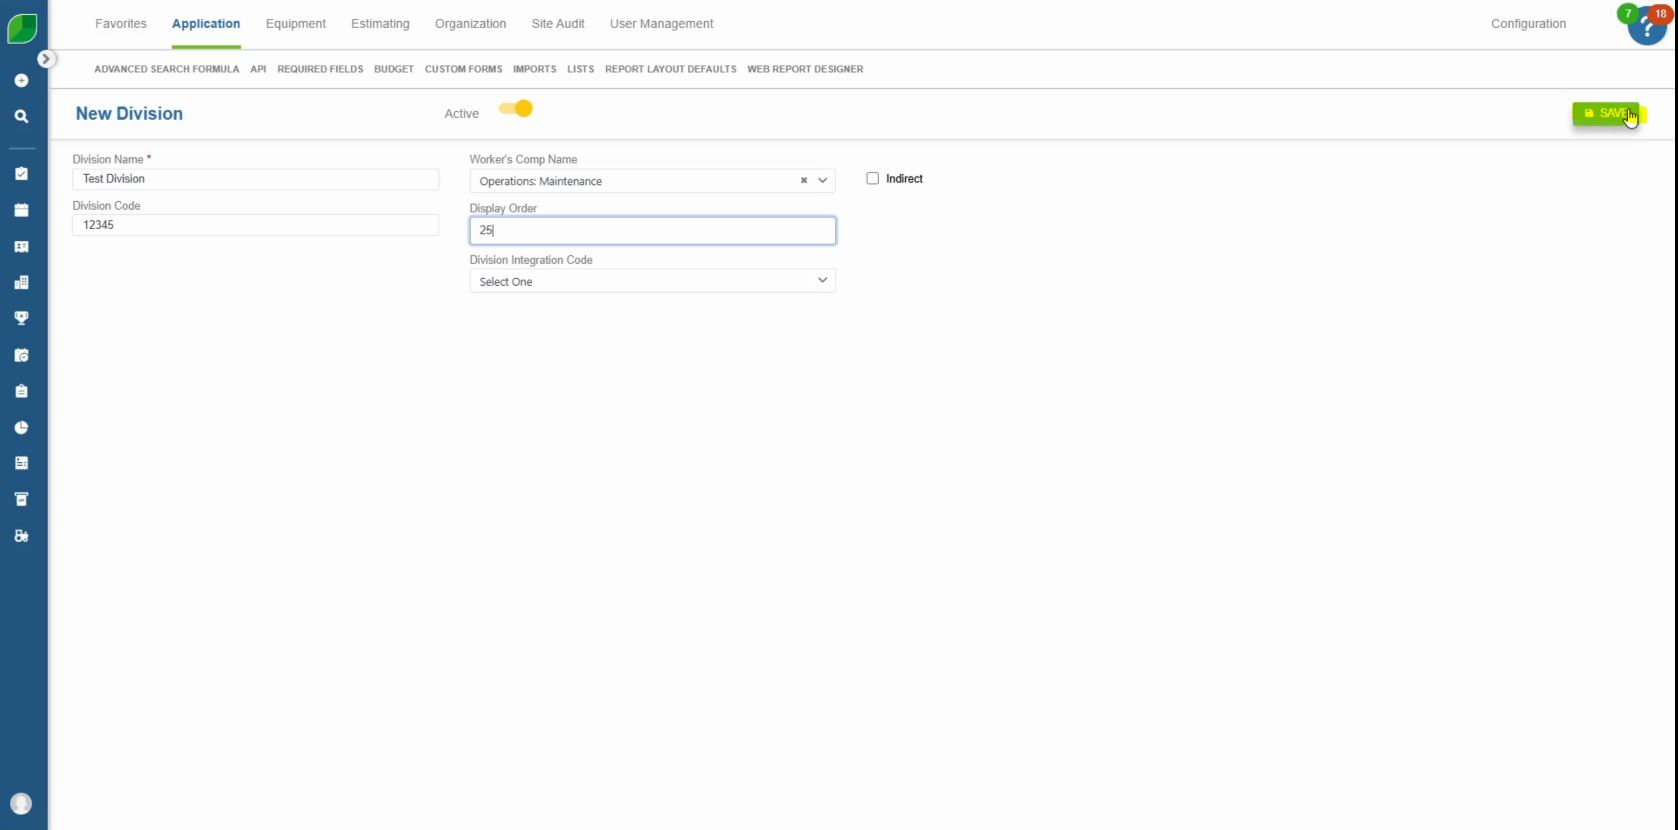
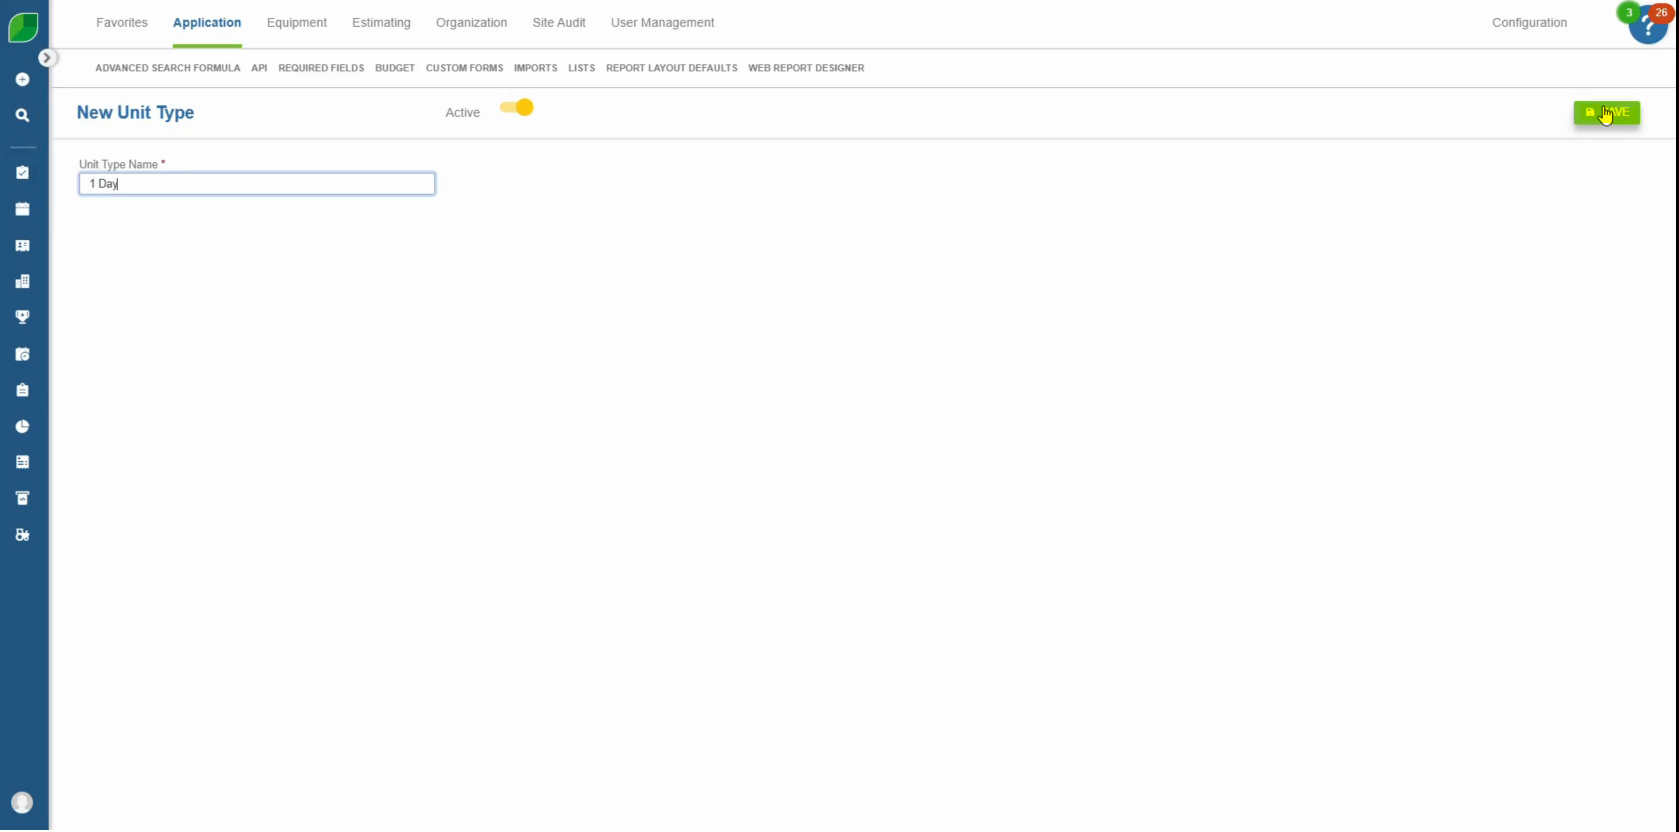
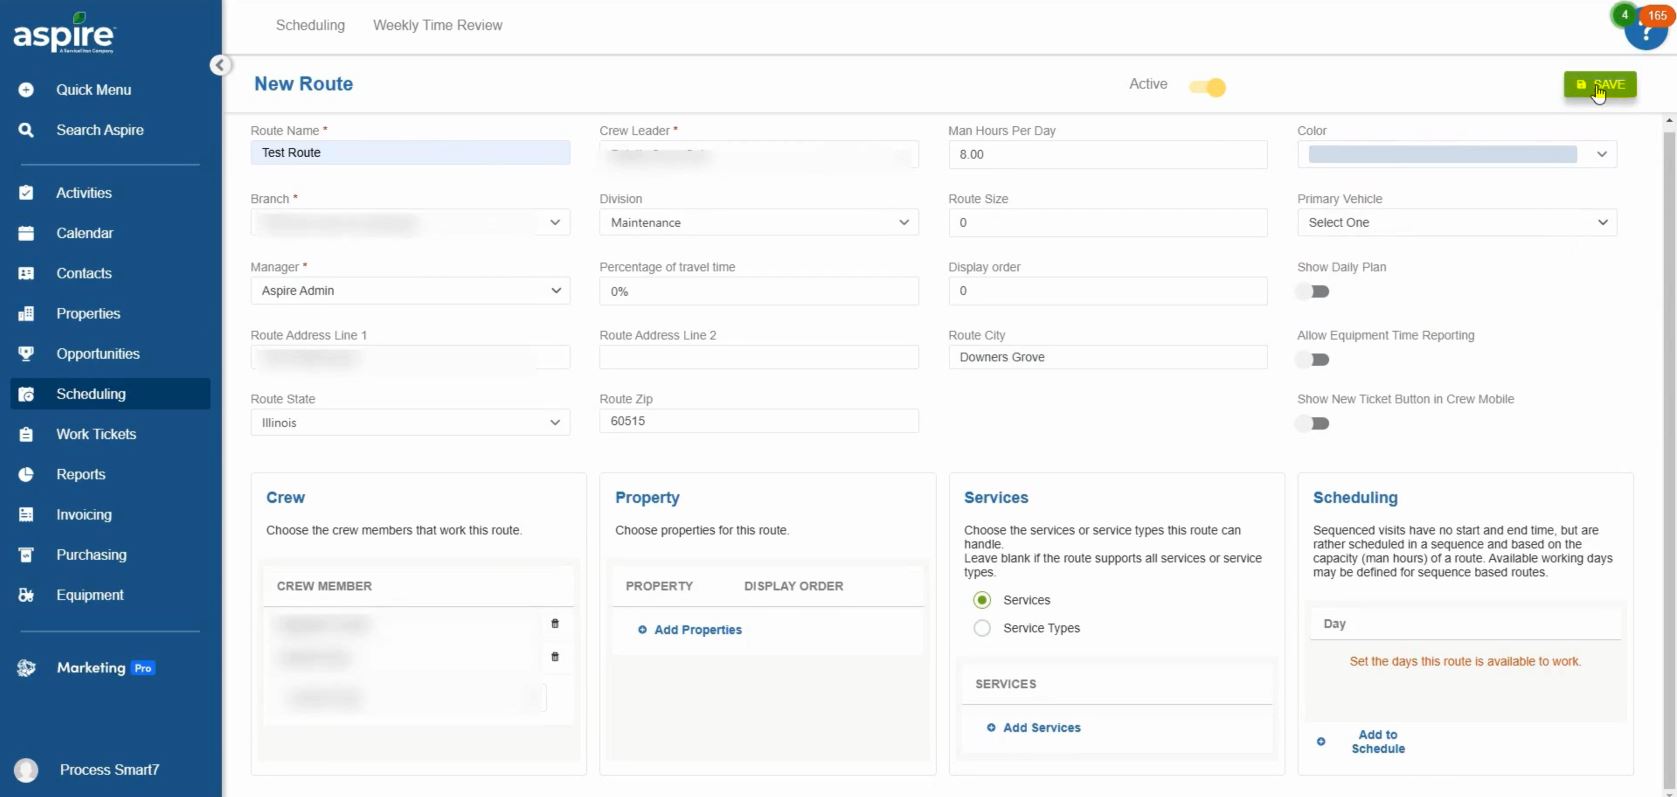
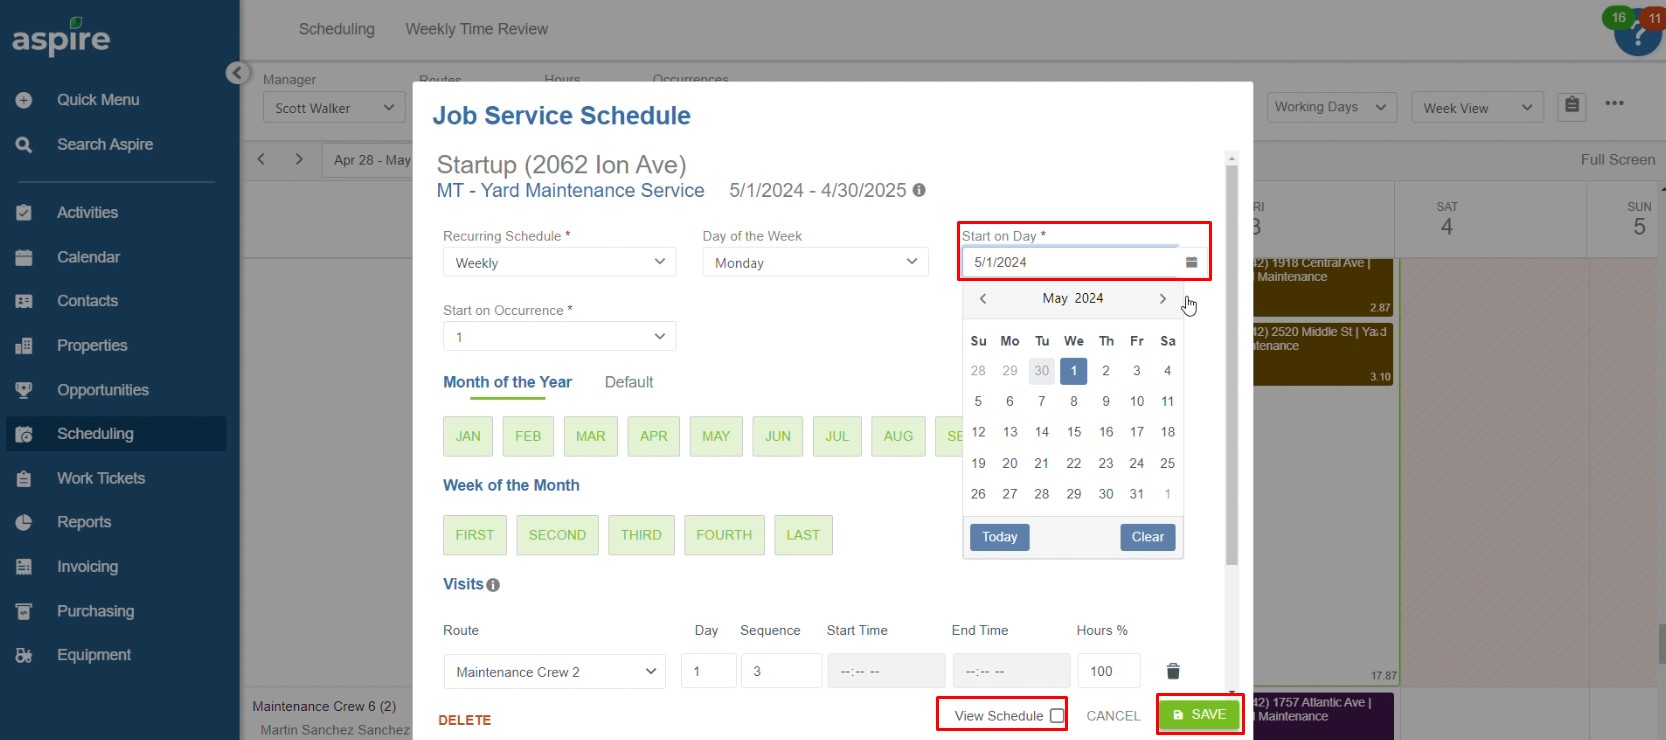
5. Save the Route:
- Once all details are entered, click “Save” in the upper right corner to create your new route.
Following these steps will help you efficiently set up and manage routes for your crews within Aspire’s scheduling system. Properly configured routes ensure organized crew assignments and optimized scheduling, enhancing your team’s productivity and making it easier to manage resources on the Schedule Board.
Download a PDF version of the job aide here.


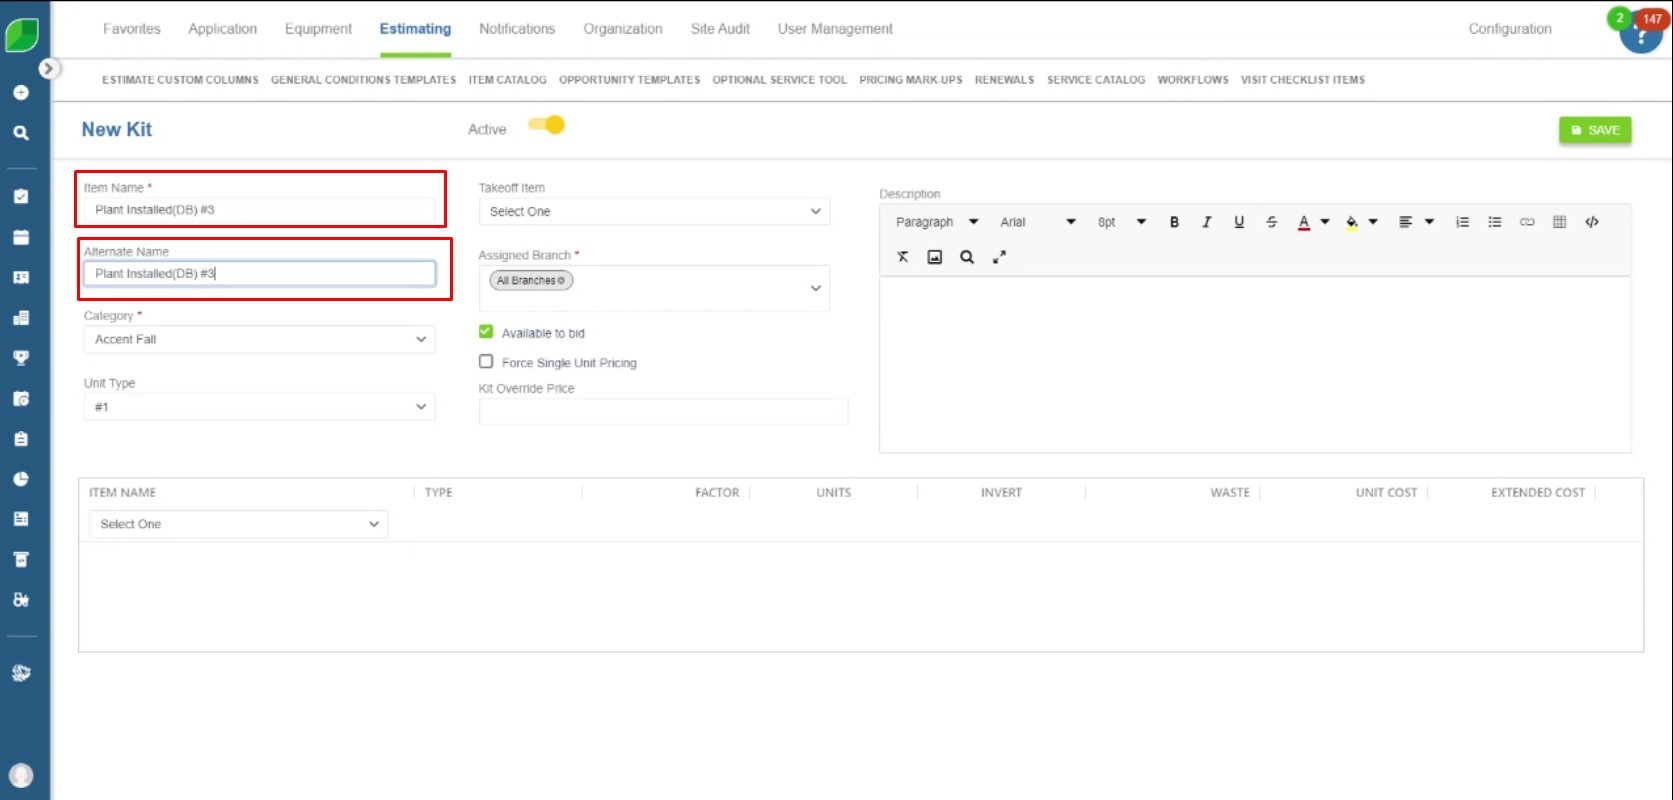
 2. Enter the name in ‘Item Name’ and ‘Alternate Item Name’
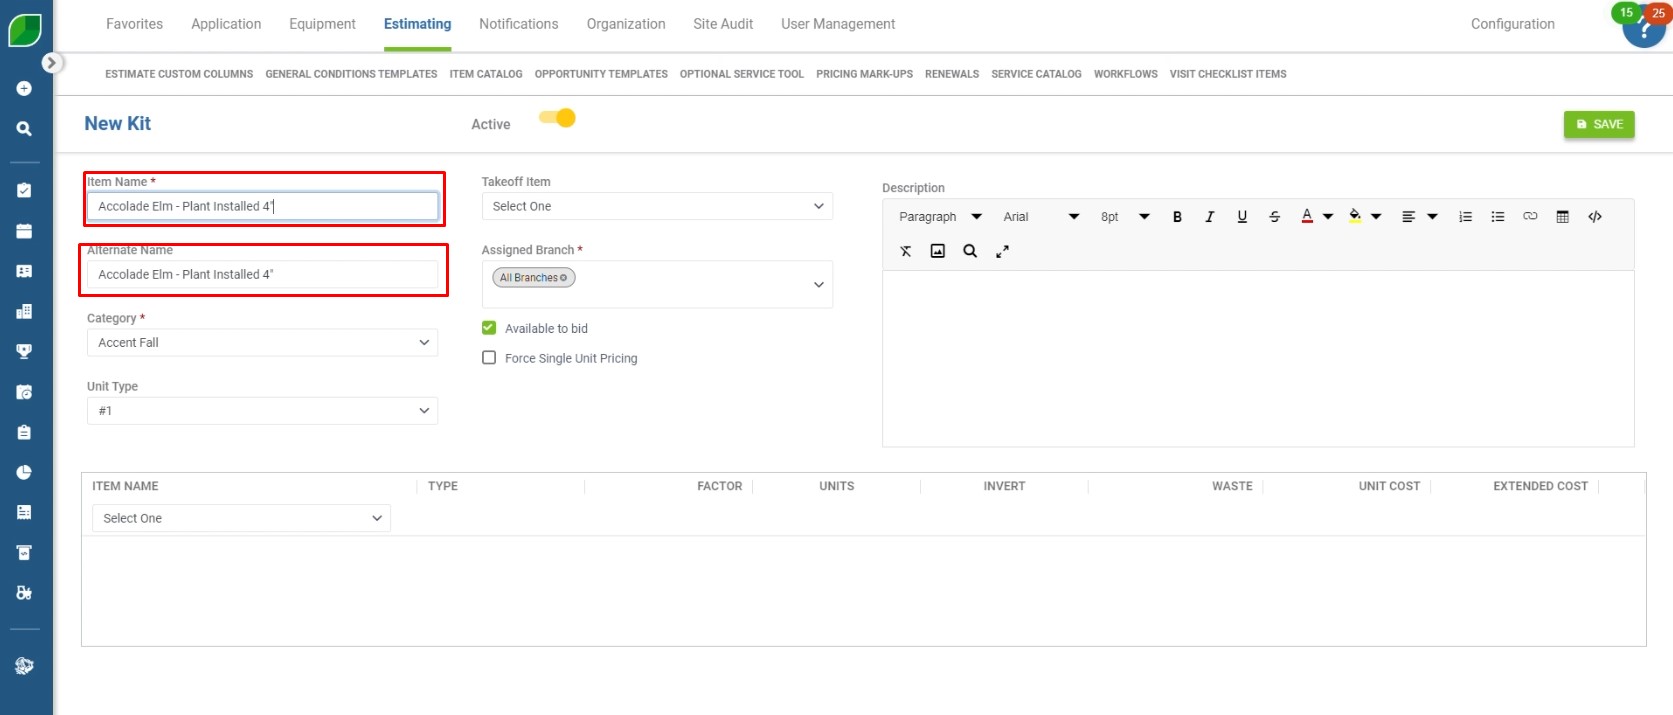
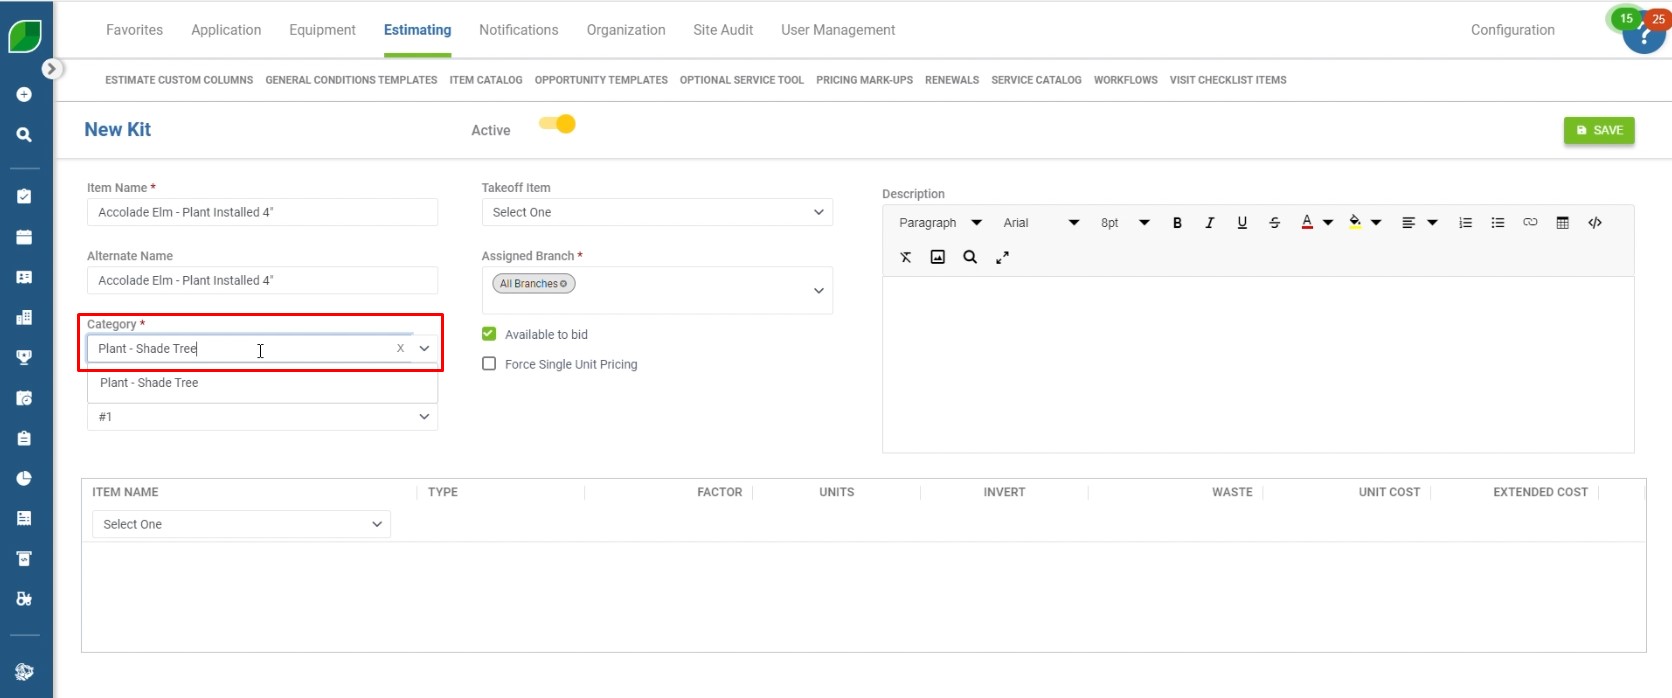
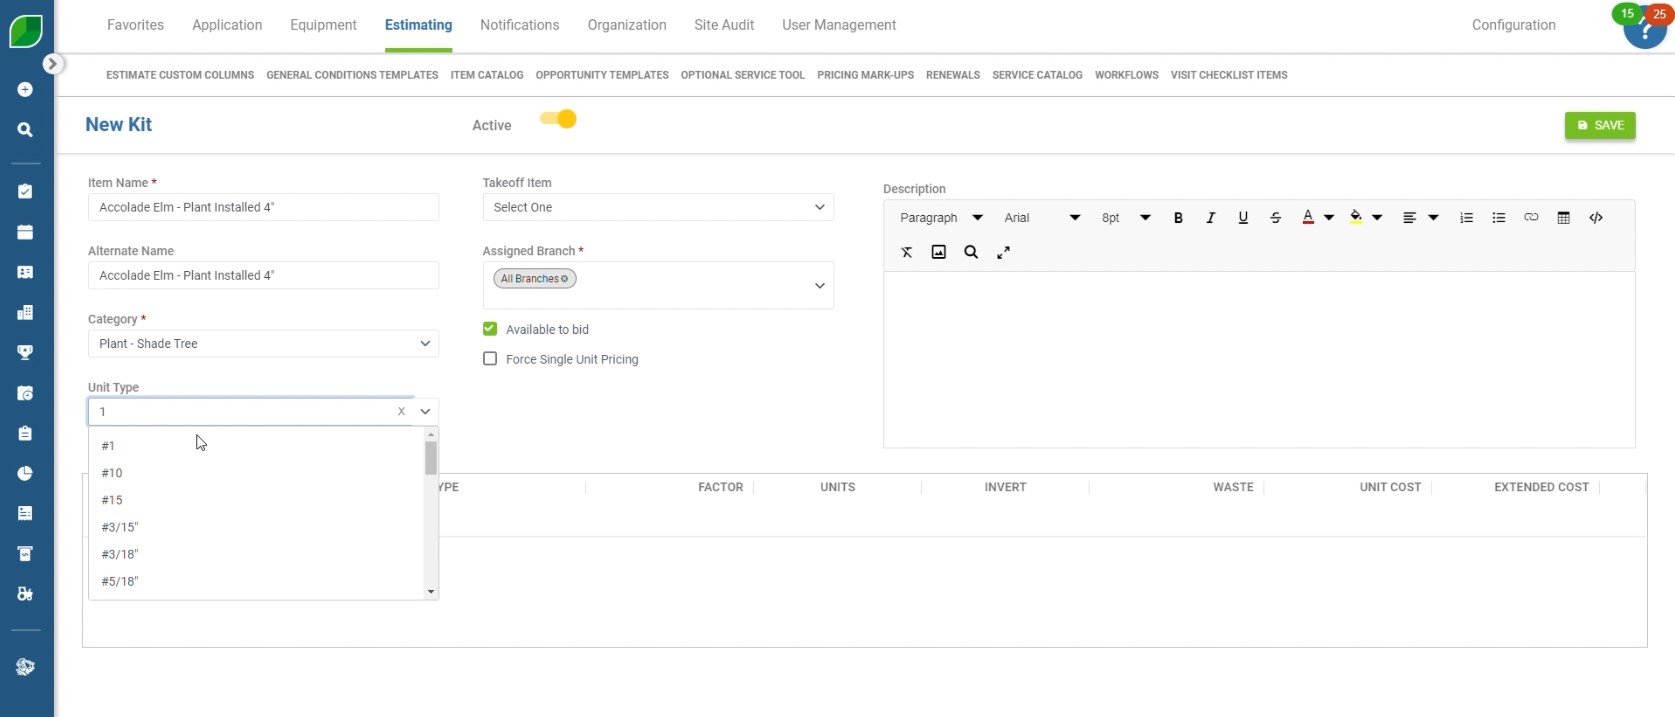
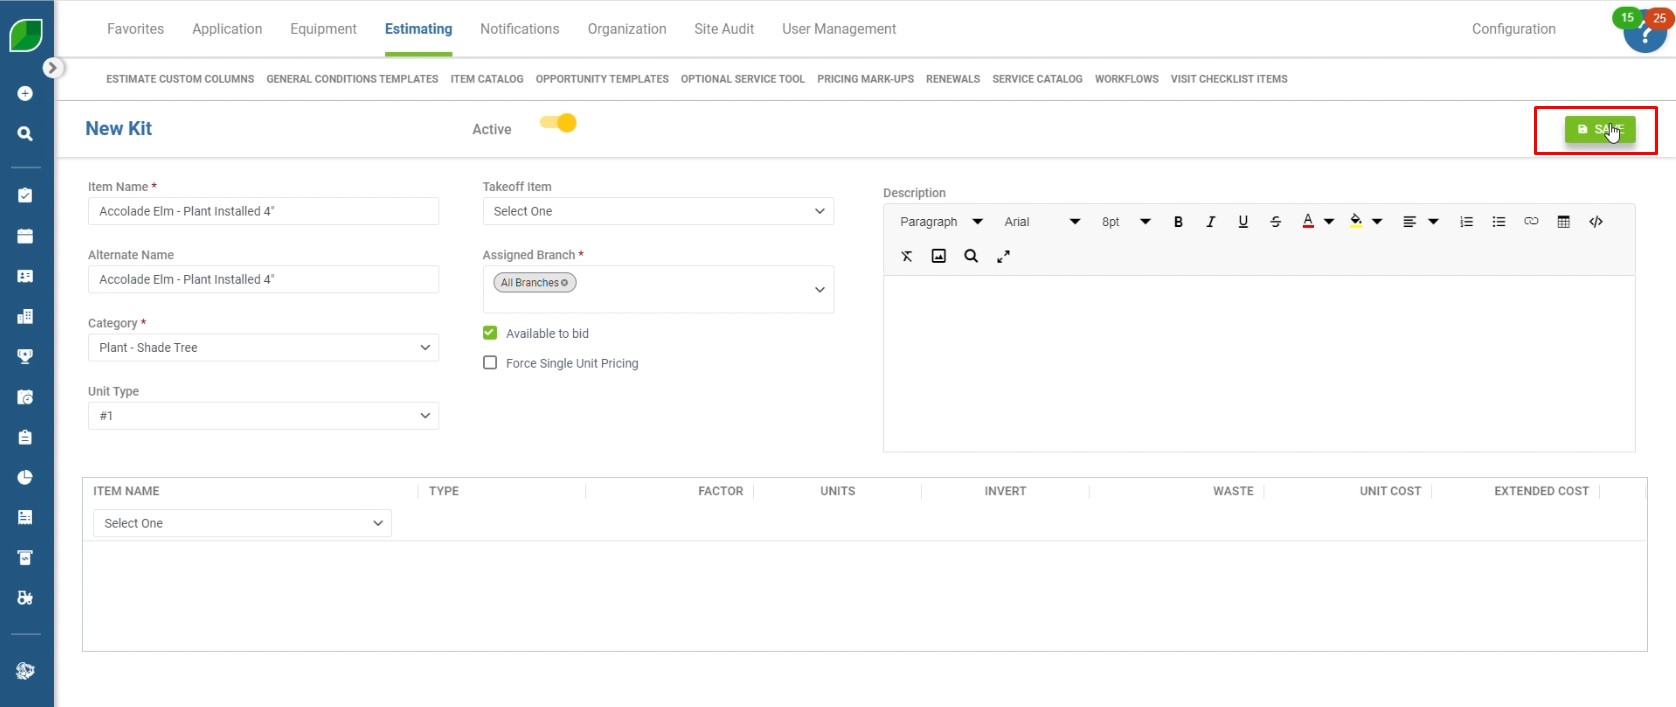


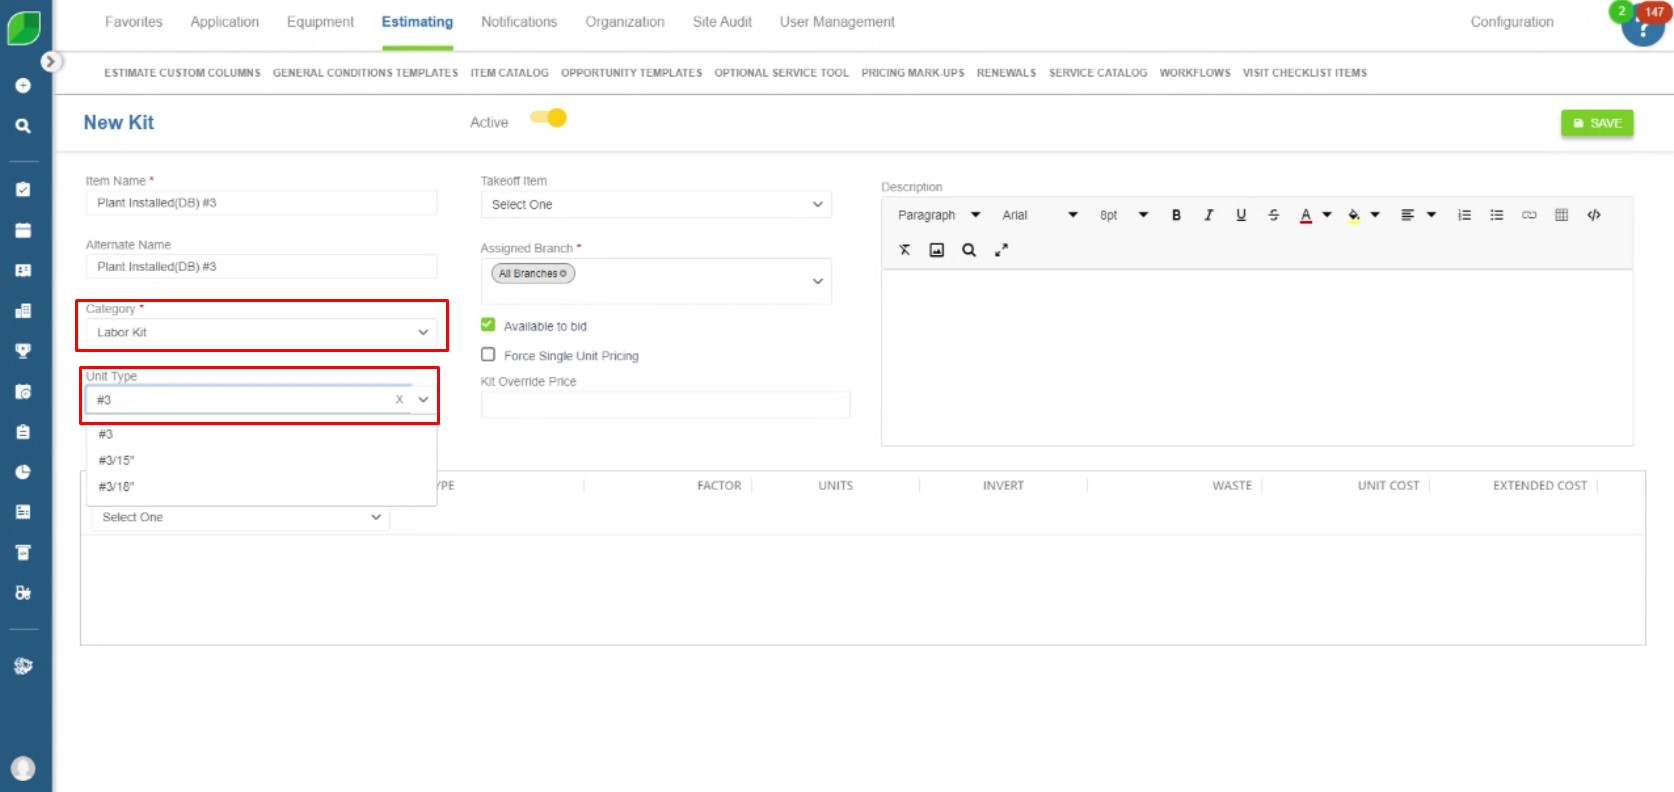
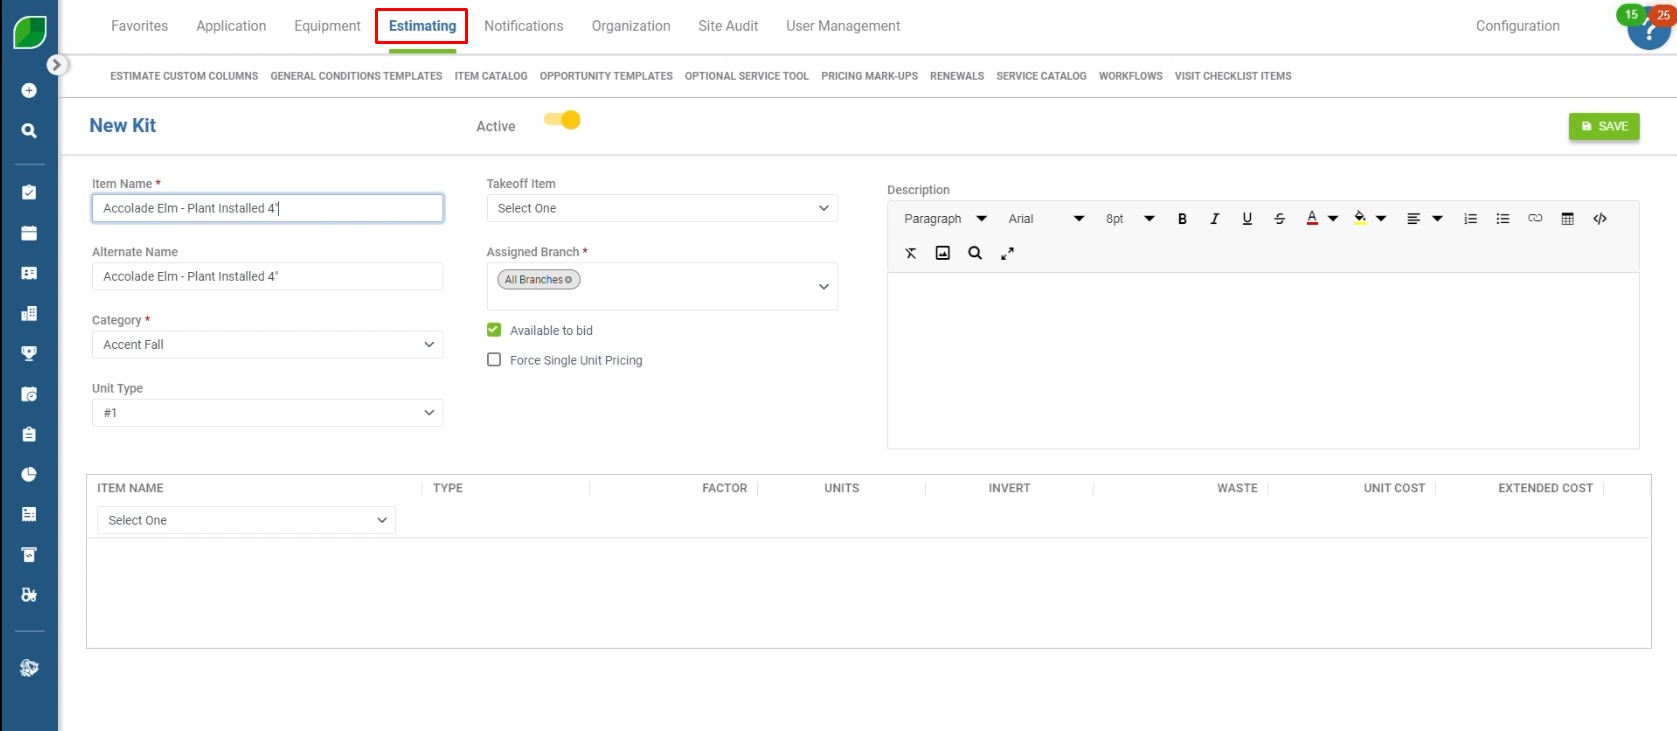
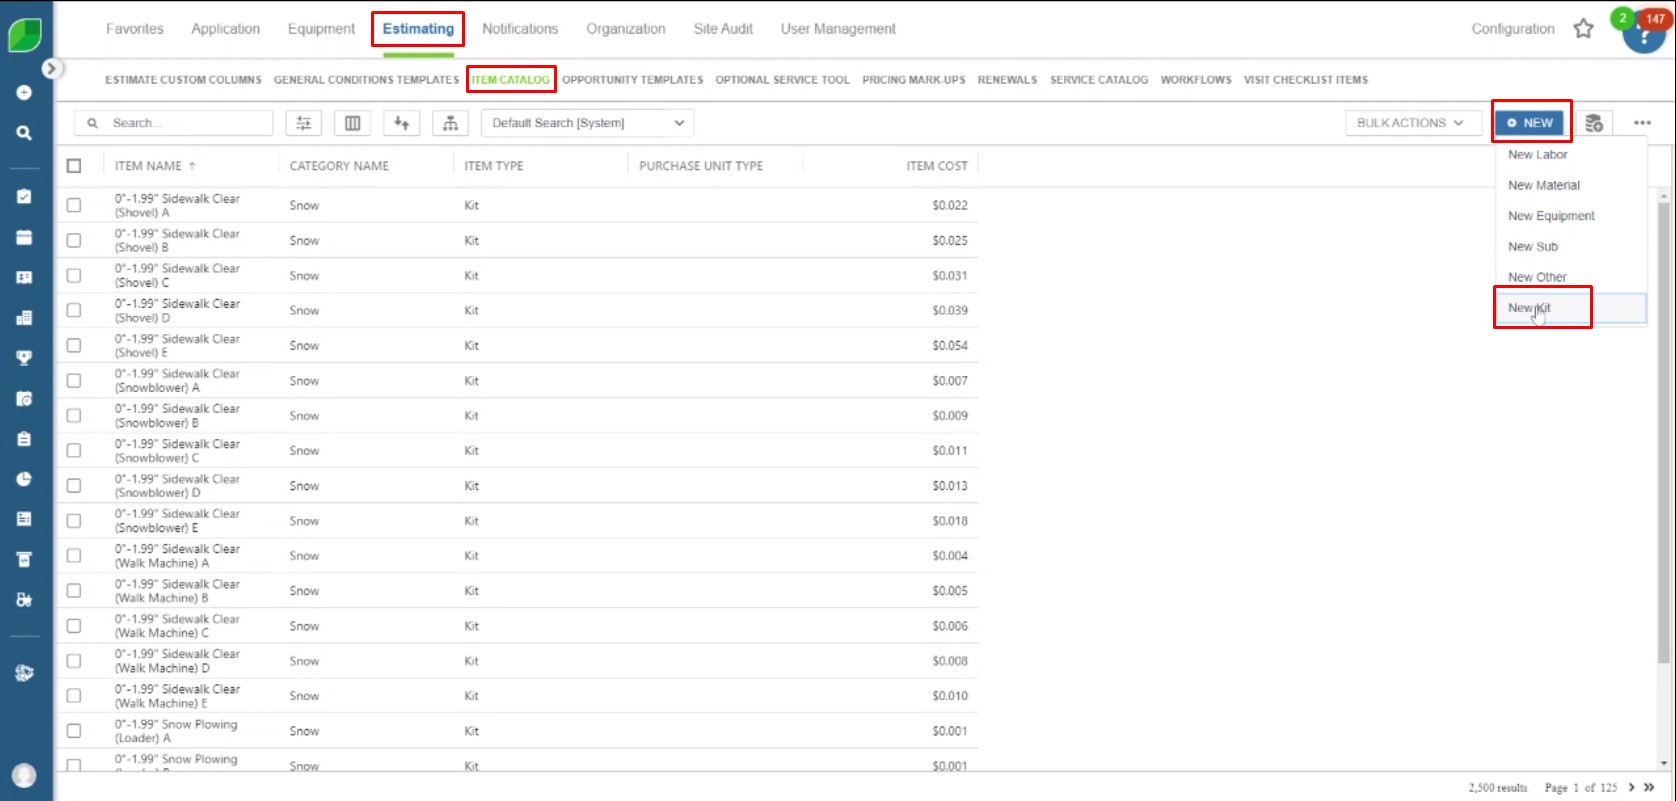 2.Setting Up The New Kit