Managing work ticket variances at the end of the month is crucial for maintaining accurate financial records and ensuring proper cost tracking in Aspire. This job aid provides a step-by-step guide on accessing and reviewing work ticket details for accounts receivable purposes.
One key aspect of this process is reviewing estimated subcontractor costs versus actual subcontractor costs. Identifying work tickets with significant cost variances—either over or under $2,000 (any amount)—helps ensure accurate reporting and prevents misleading profitability figures. Proper review and adjustments will ensure that financial records reflect true expenses and maintain compliance with accounting best practices.
By following these instructions, you can efficiently locate necessary information for follow-ups, reporting, and variance resolution.
Steps to Review End-Of-Month Work Ticket Variance in Aspire
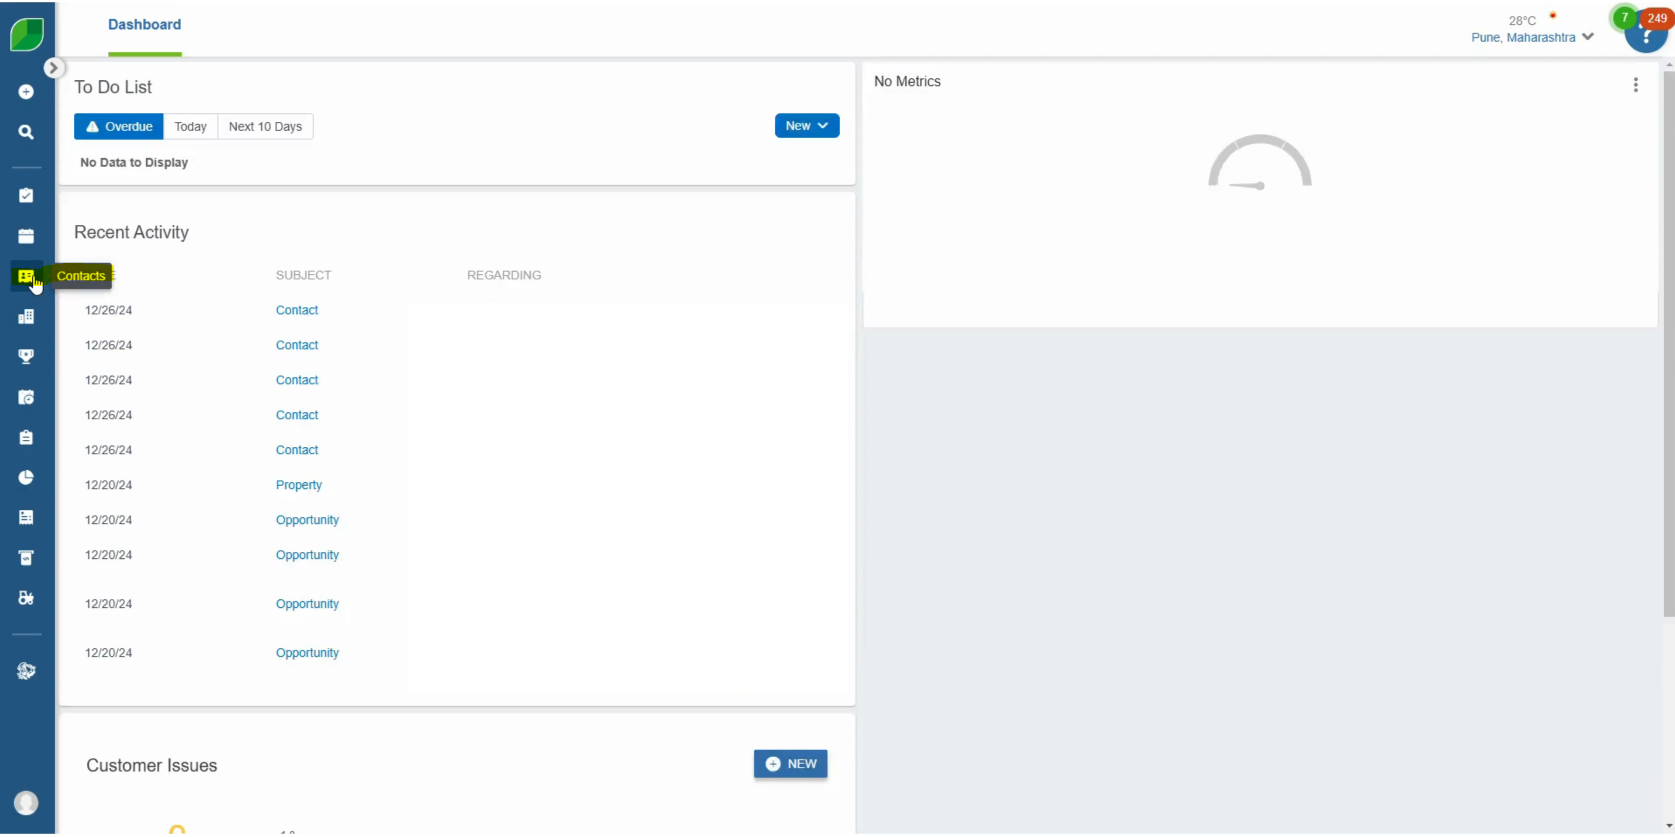
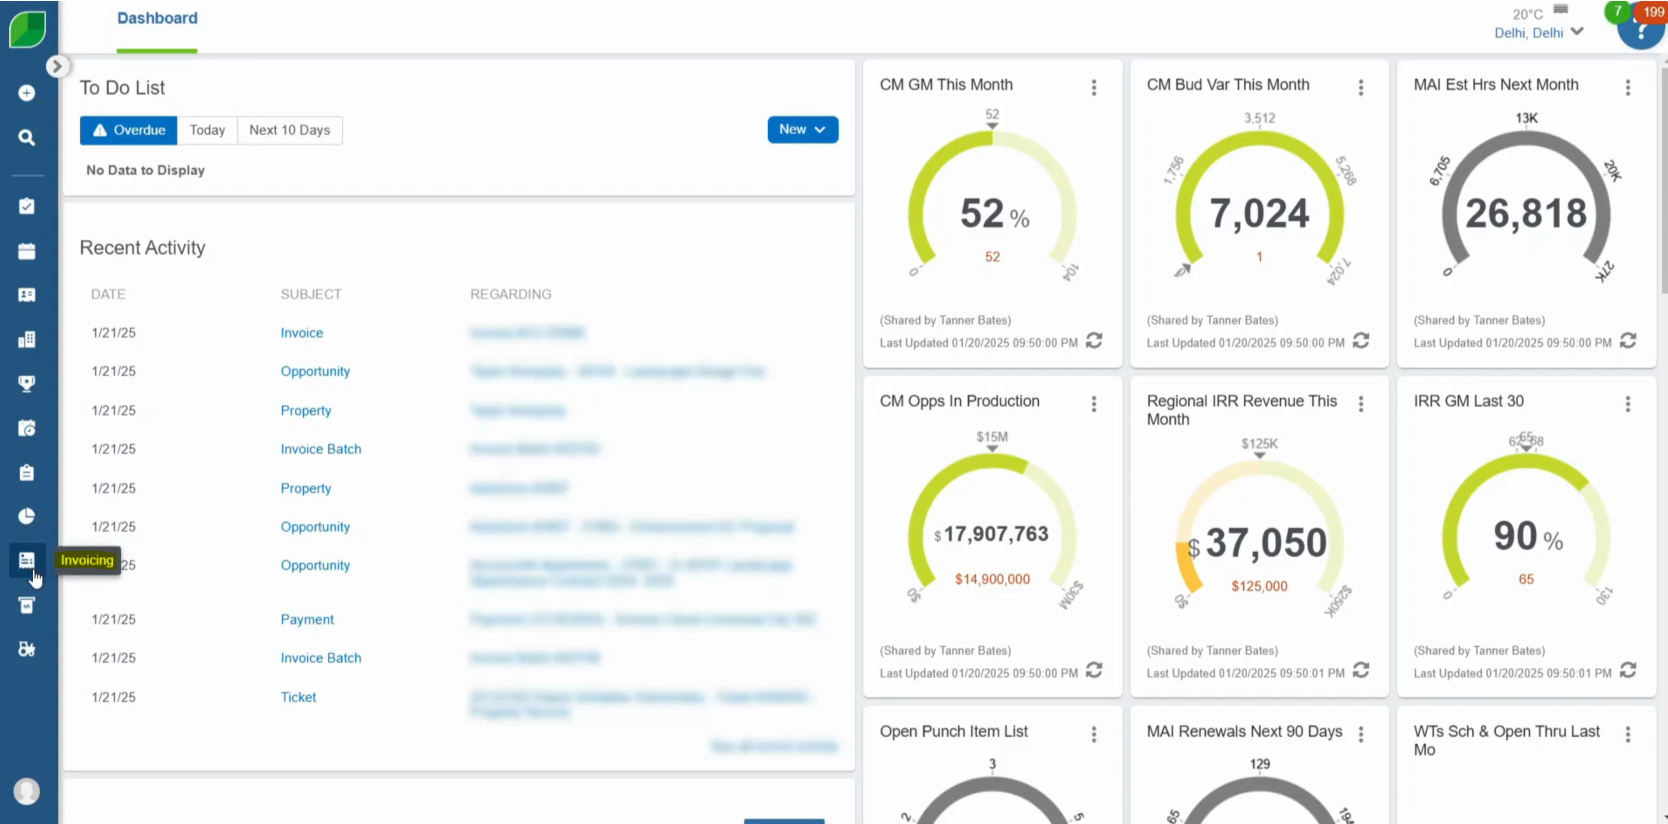
1. Access Aspire Dashboard
- Open your web browser and navigate to Aspire.
- Log in with your credentials.
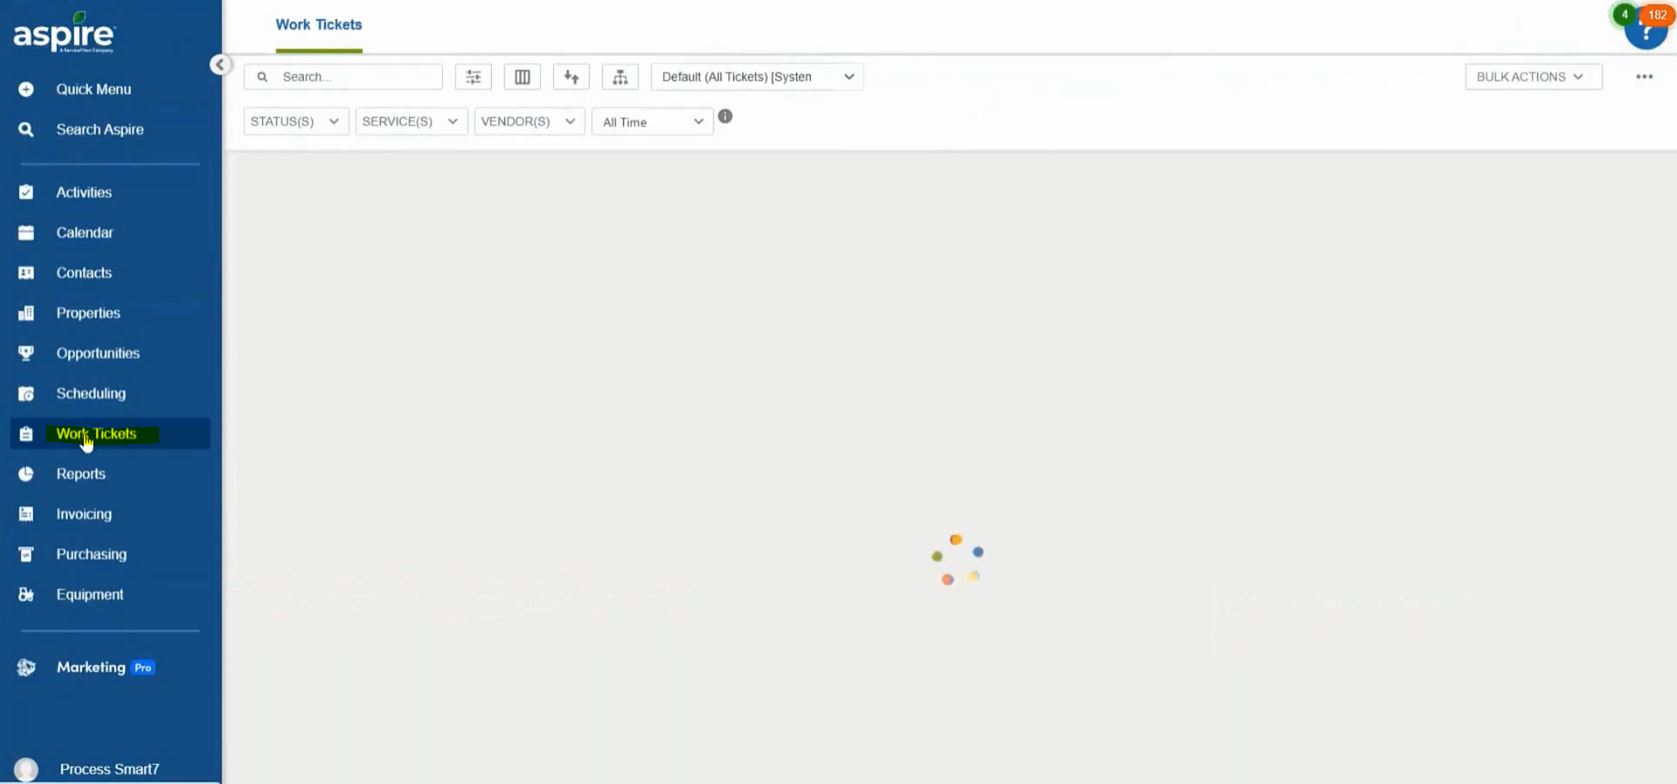
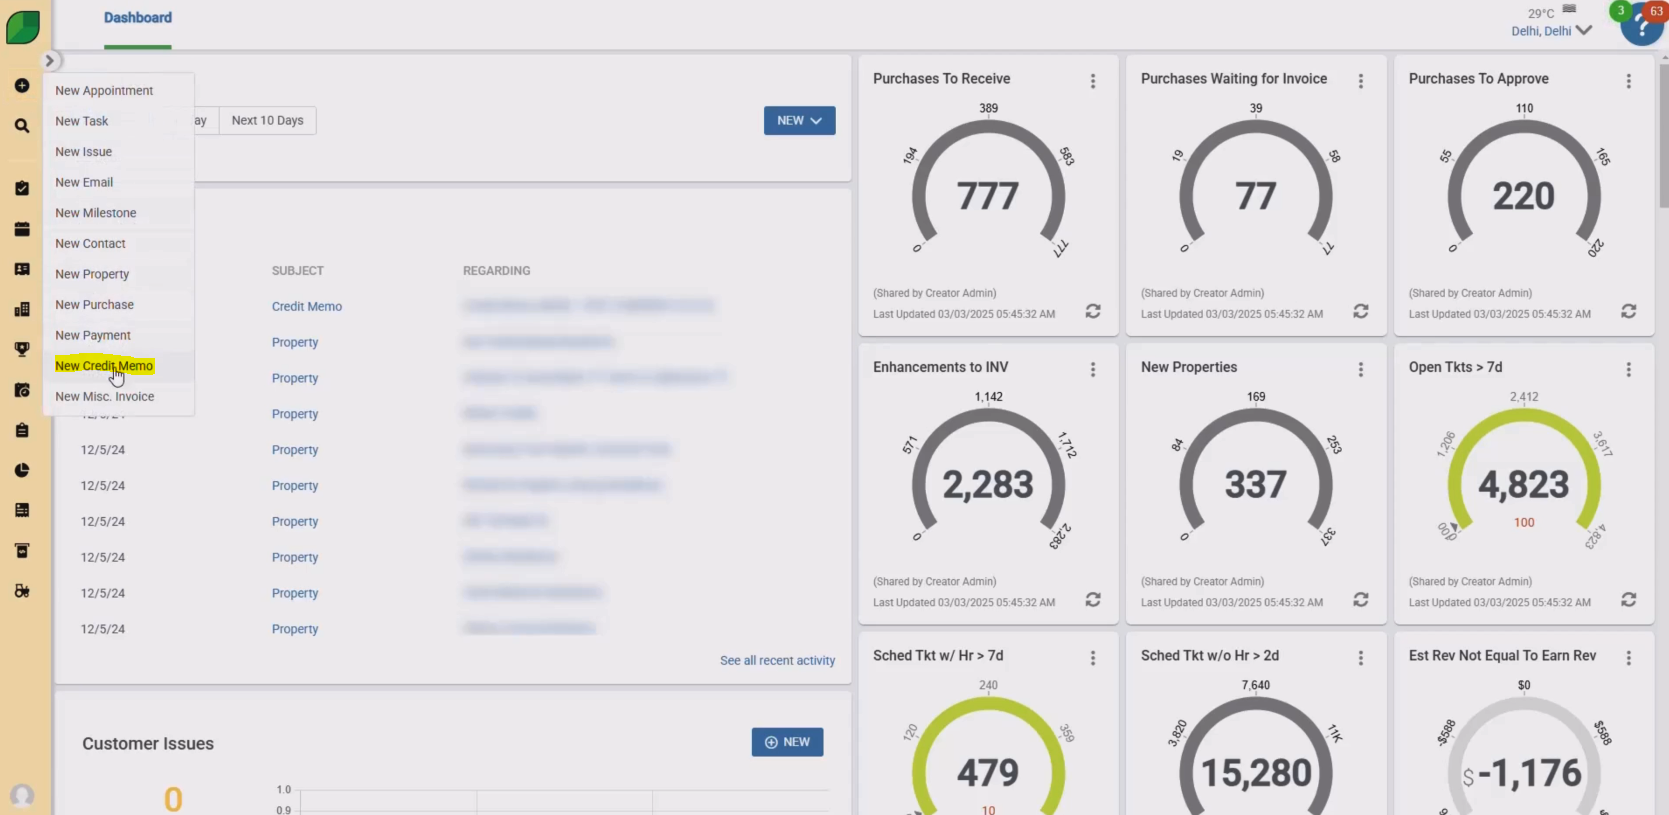
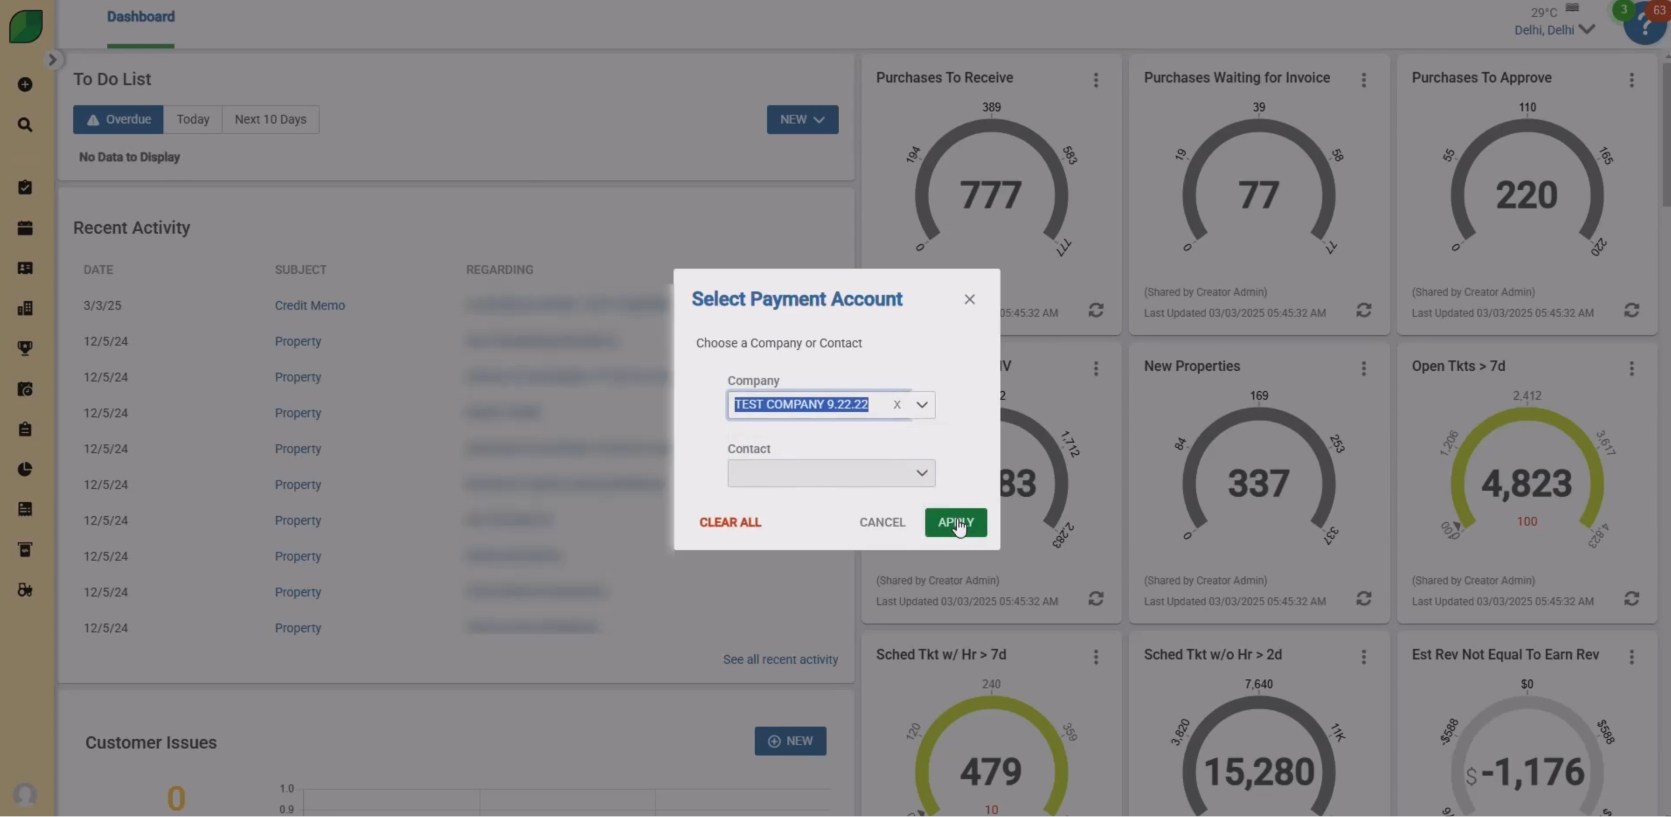
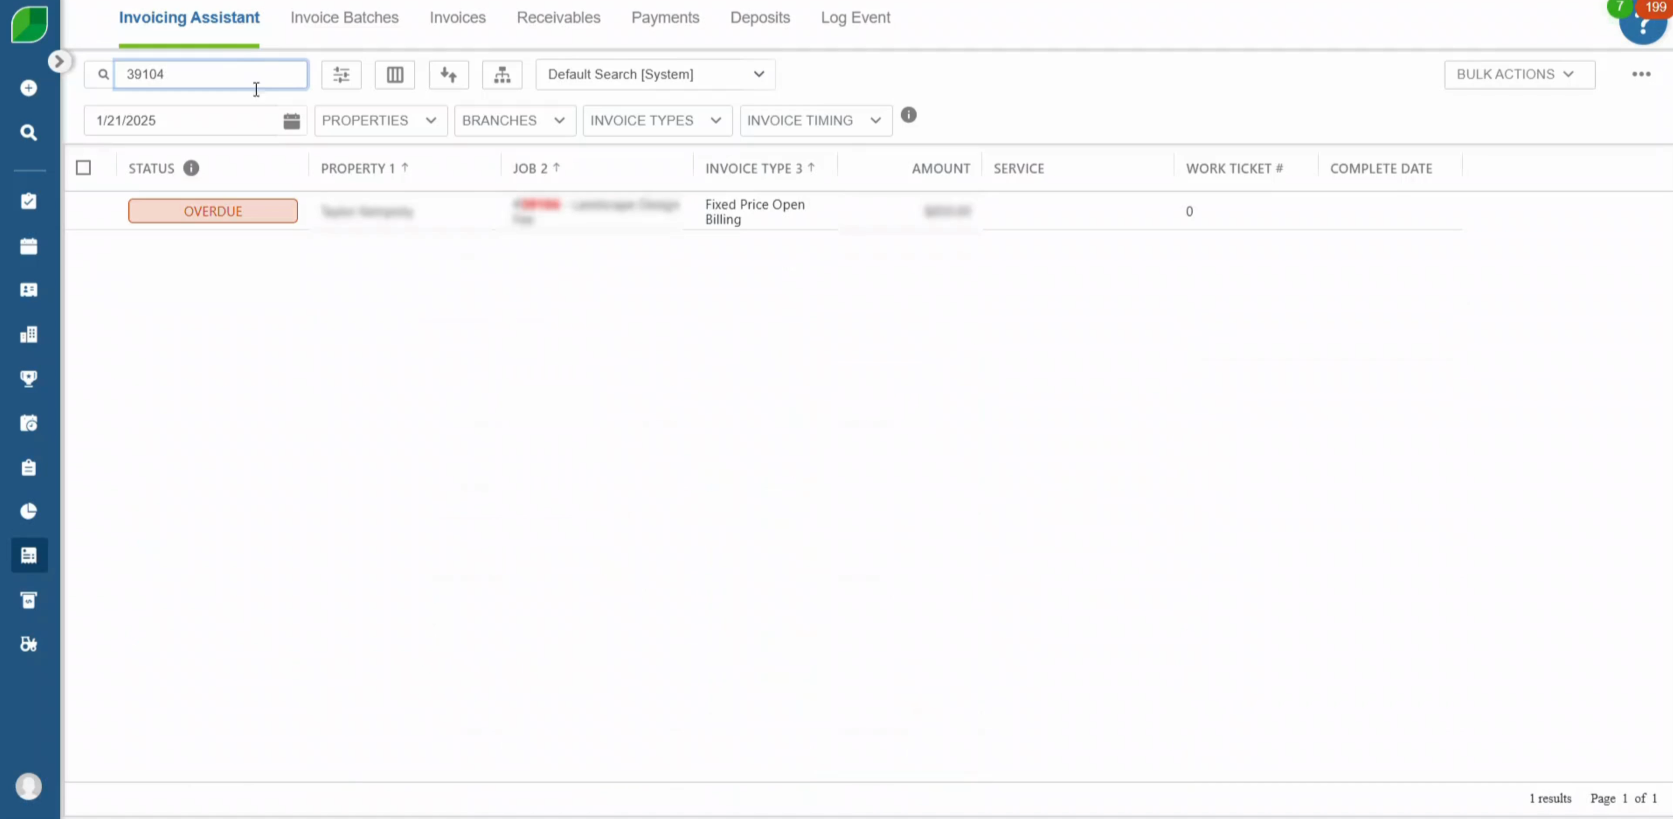
2. Navigate to Work Tickets
- Locate the menu on the left-hand side of the dashboard.
- Click on the “Work Tickets” option.
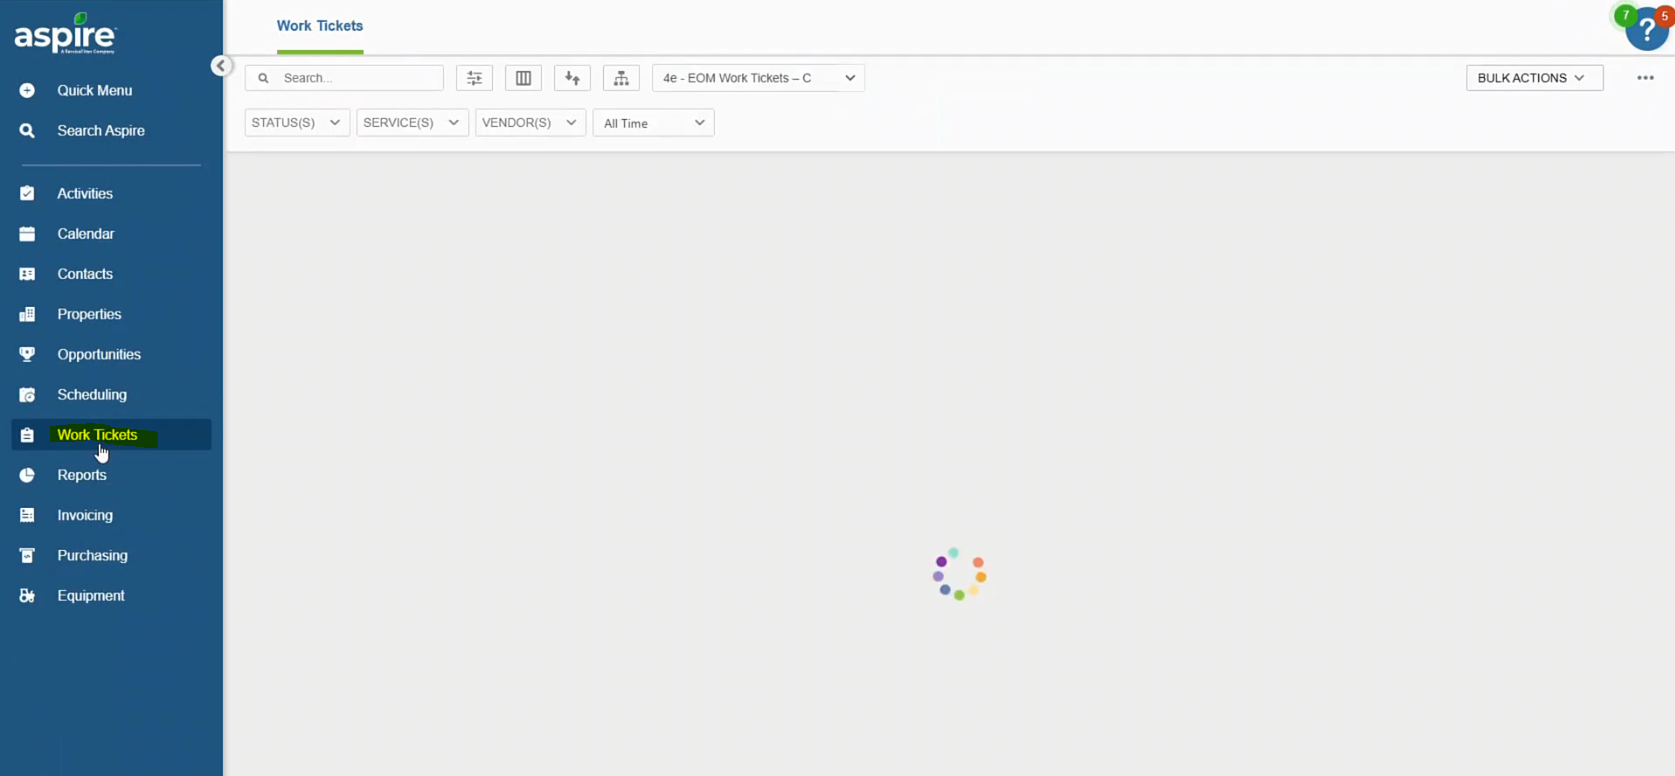
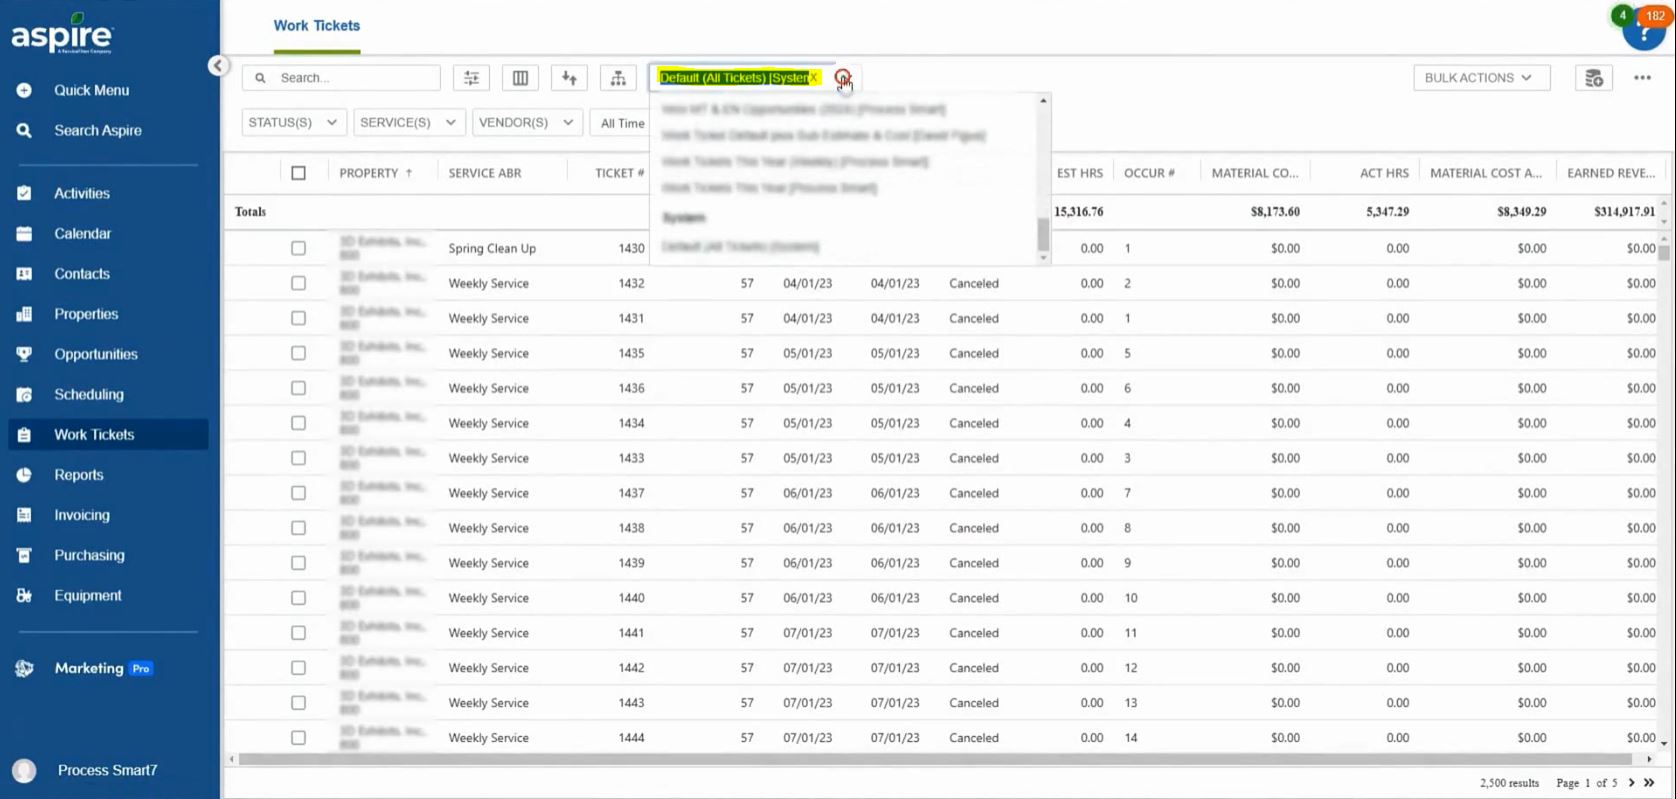
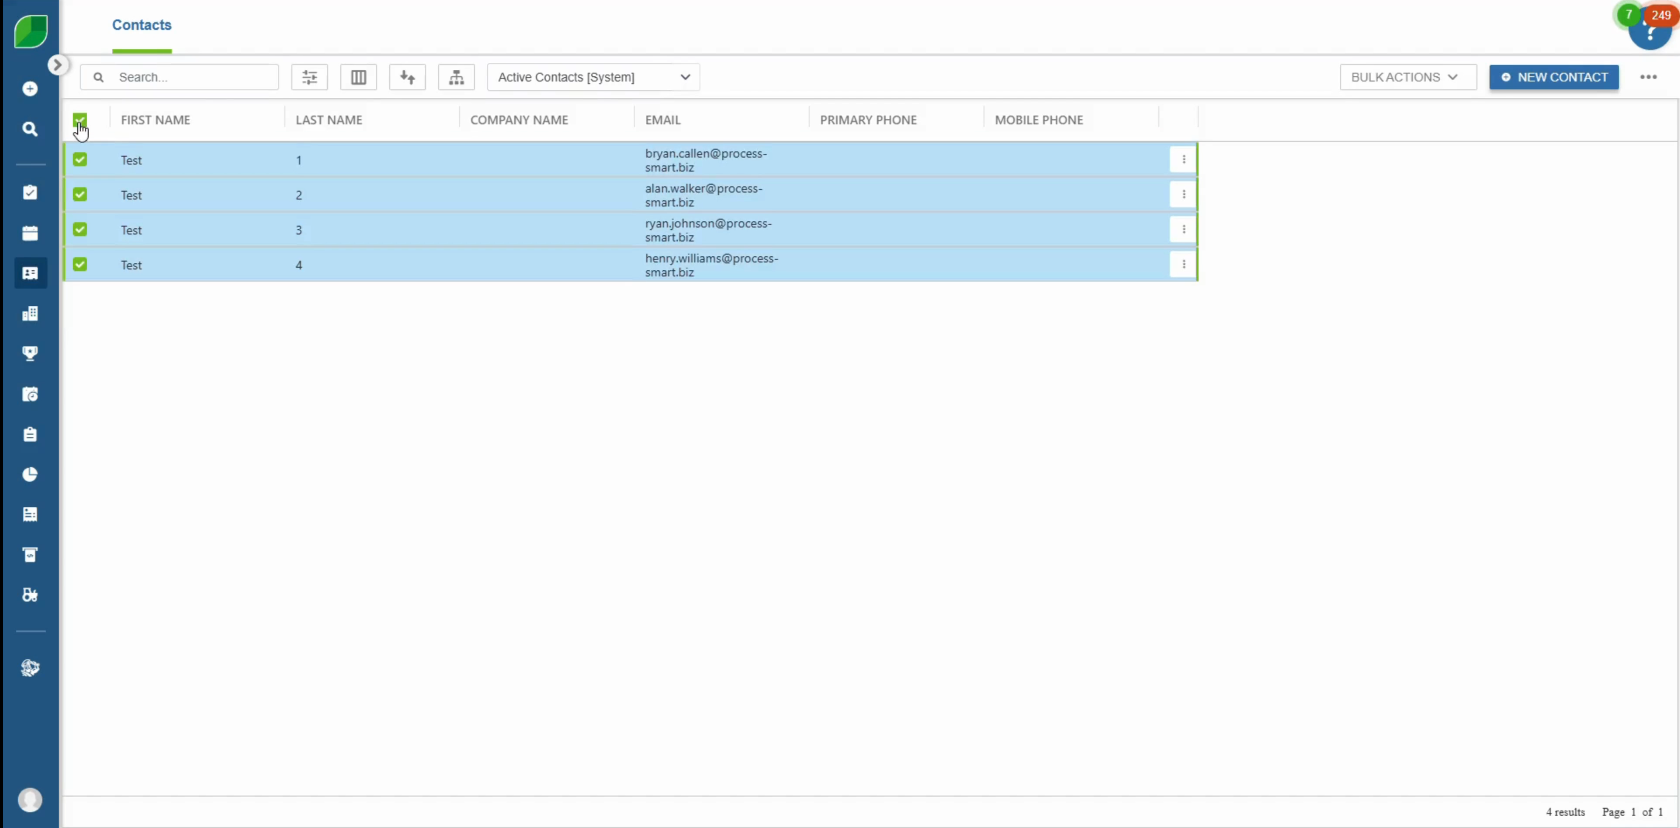
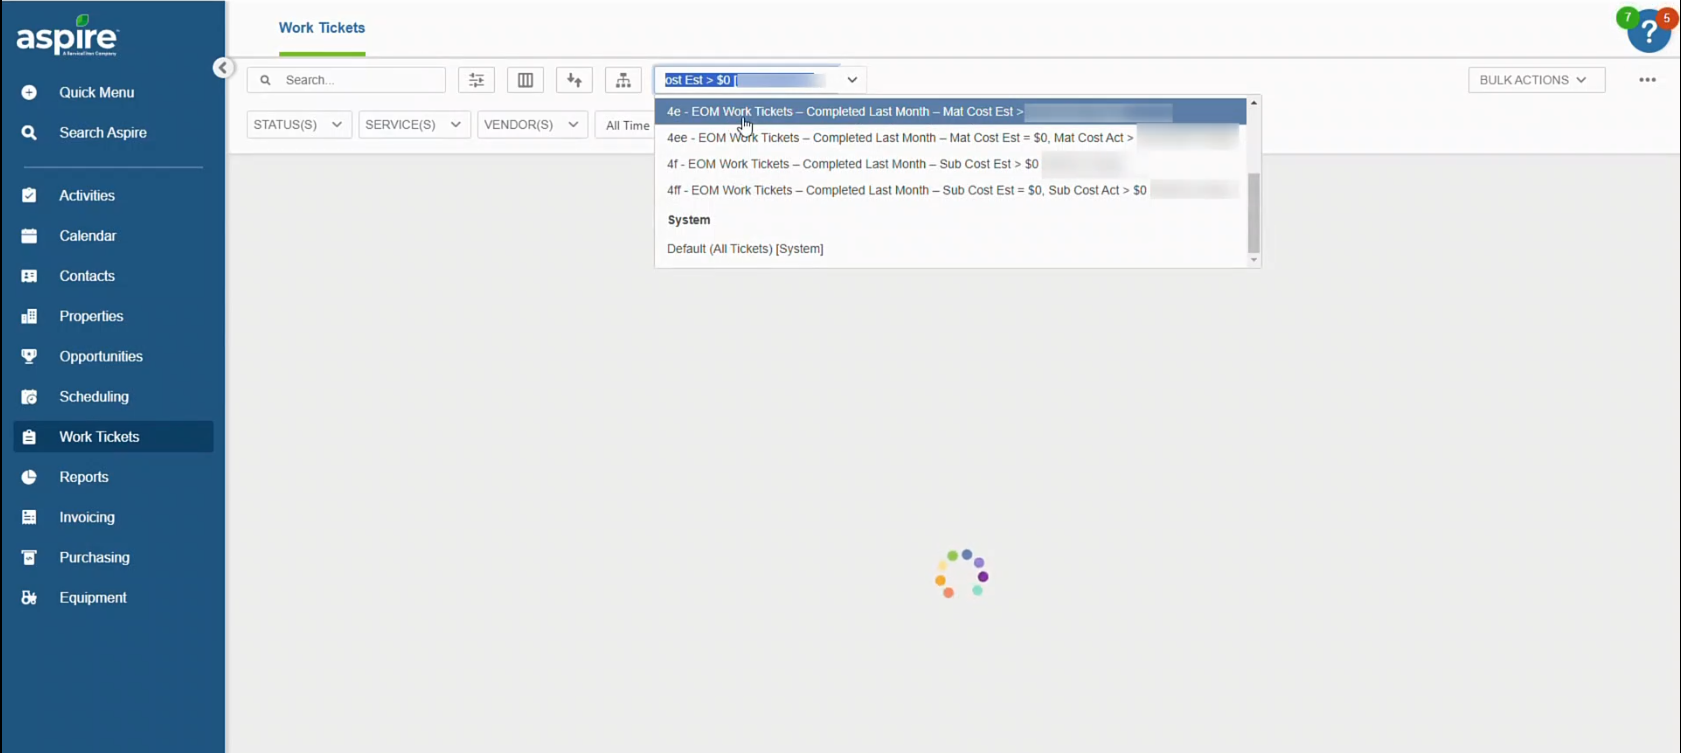
3. Open Work Ticket List
- Click on the dropdown menu to view available work tickets.
- Select the relevant work ticket for review.
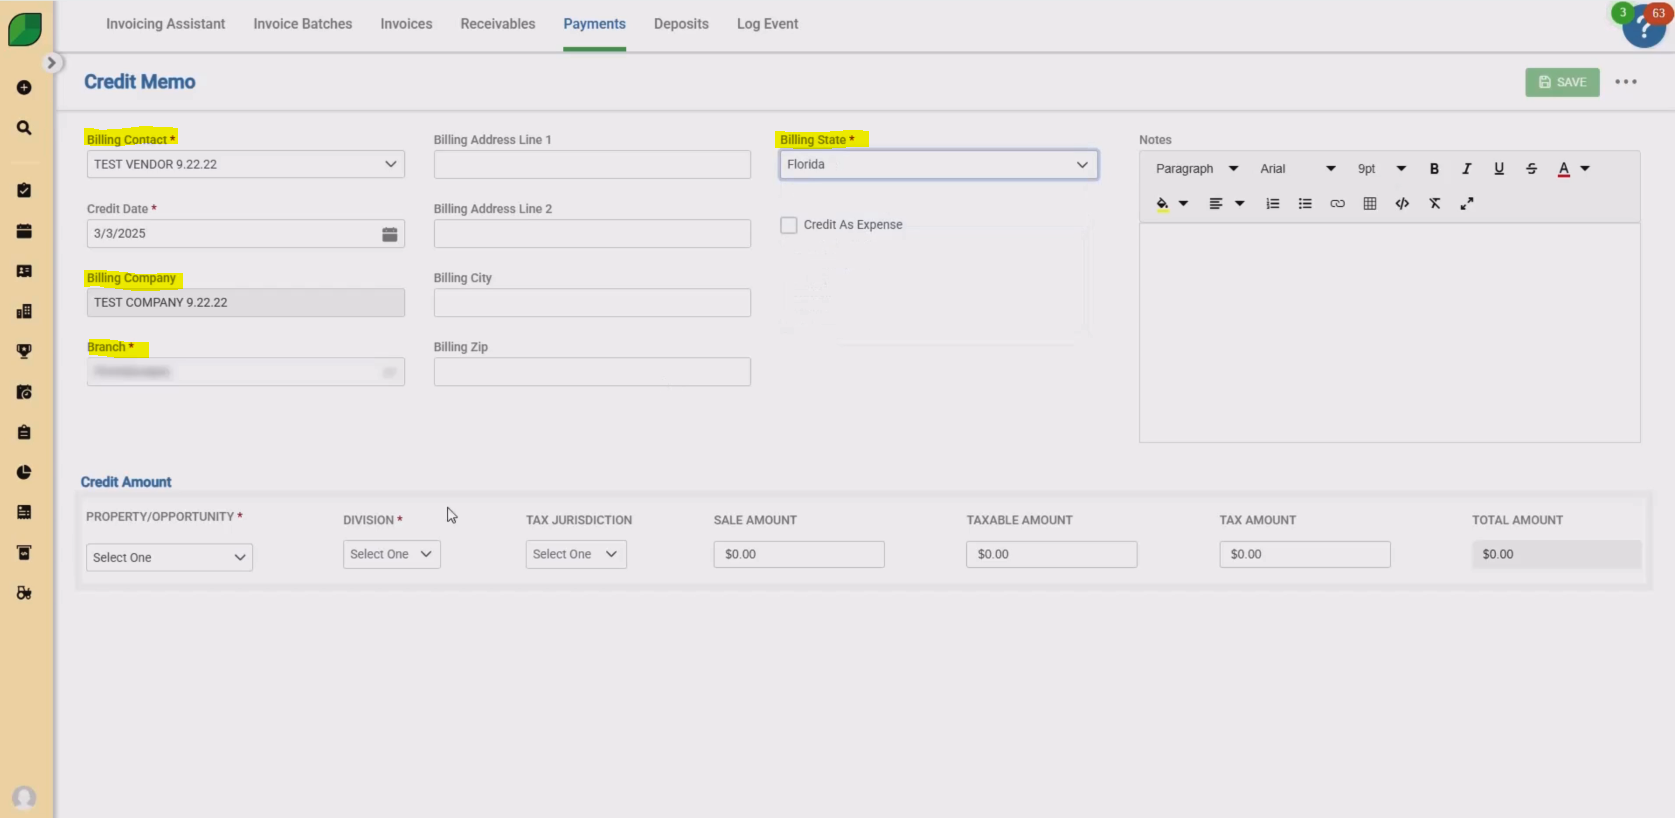
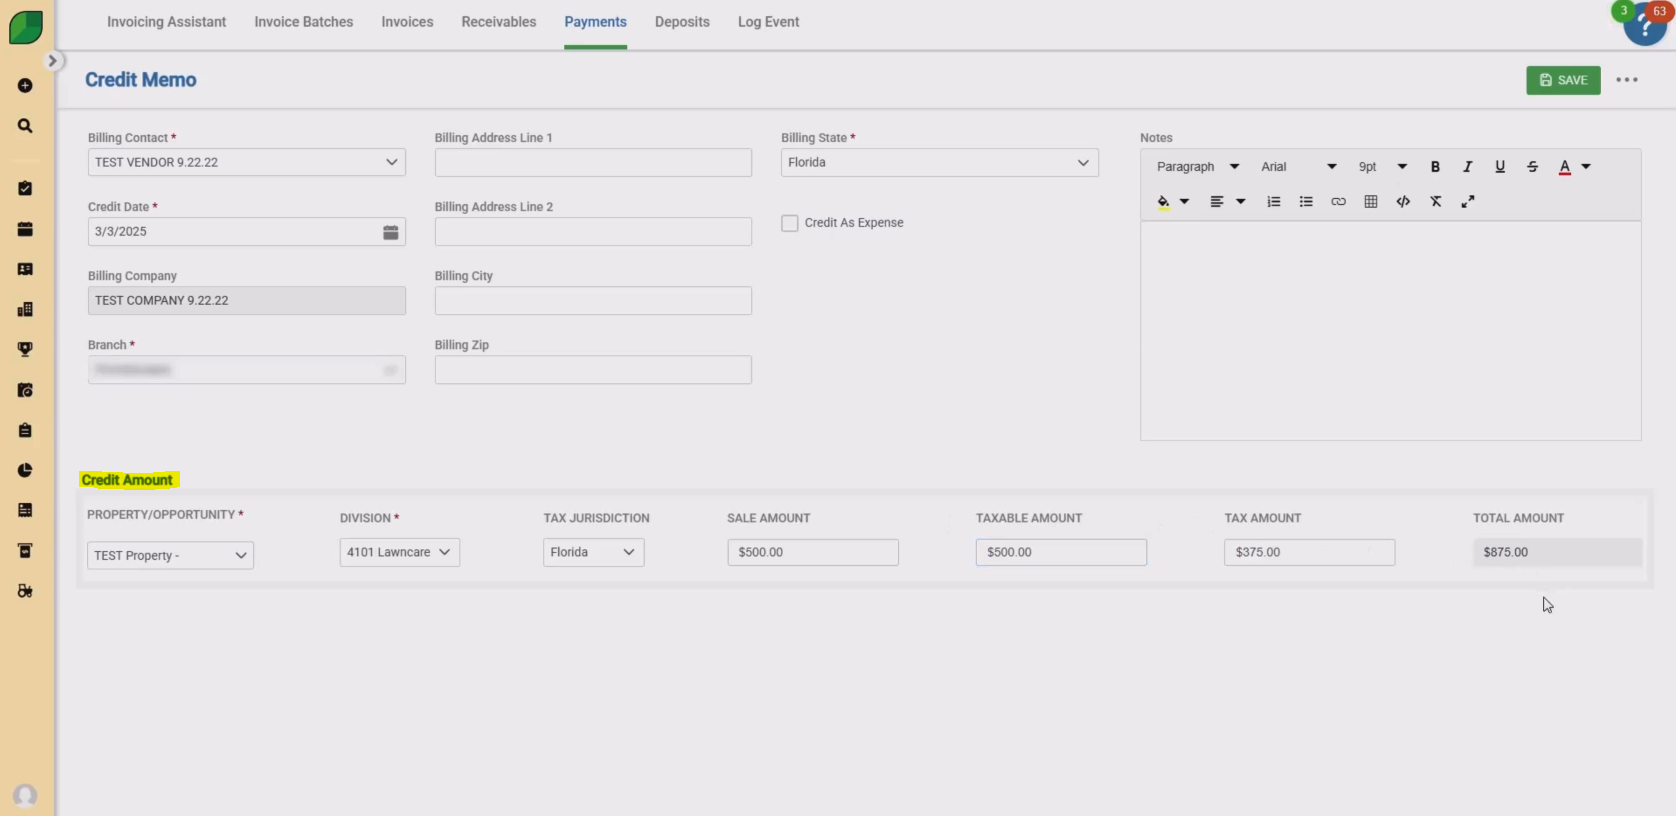
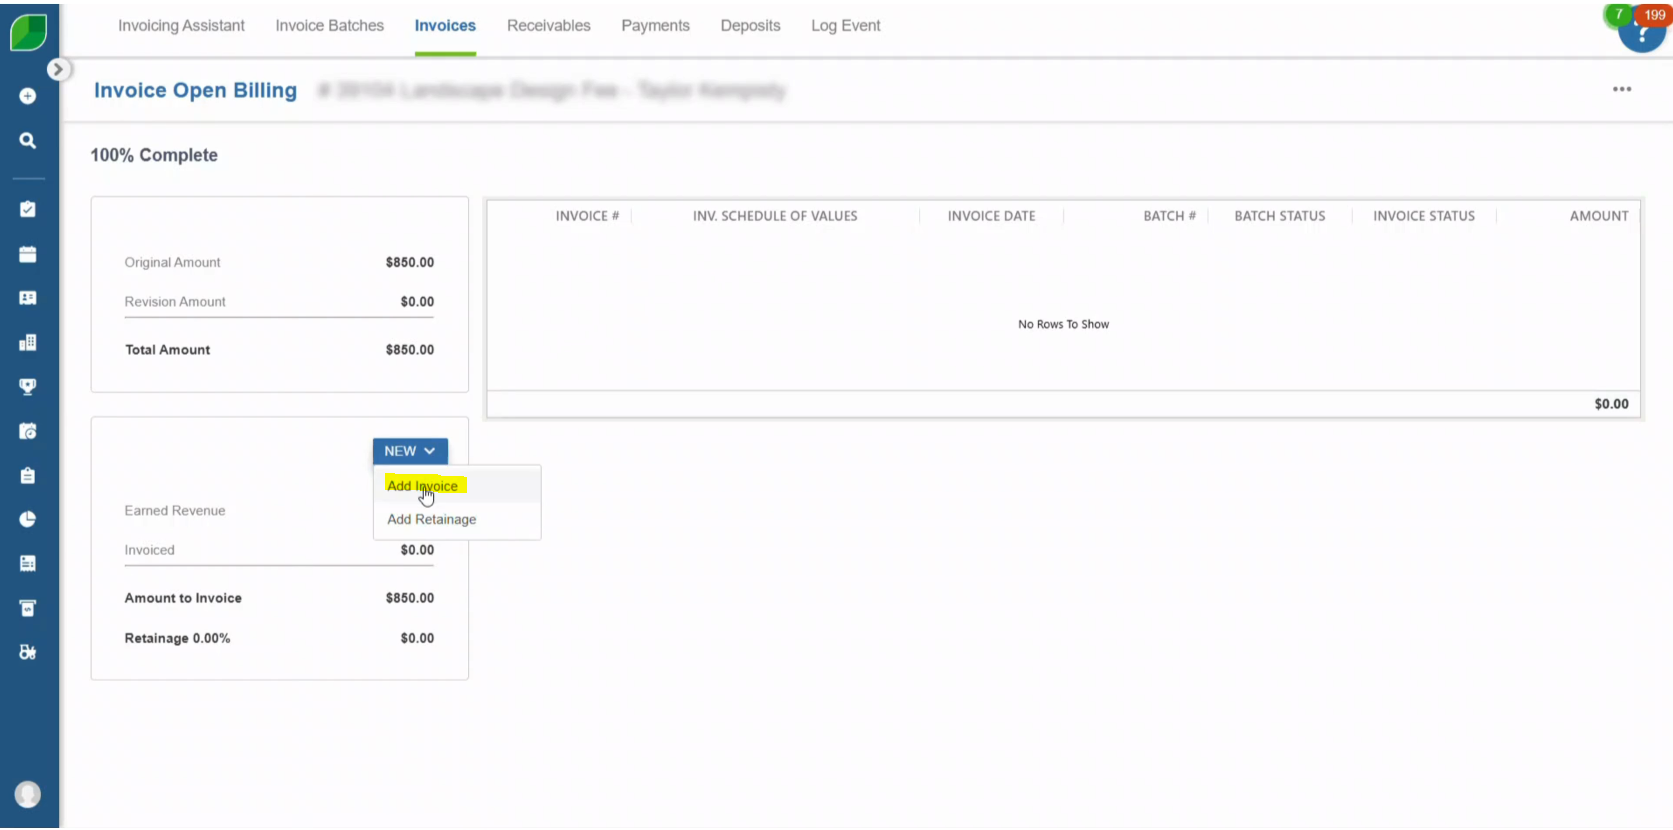
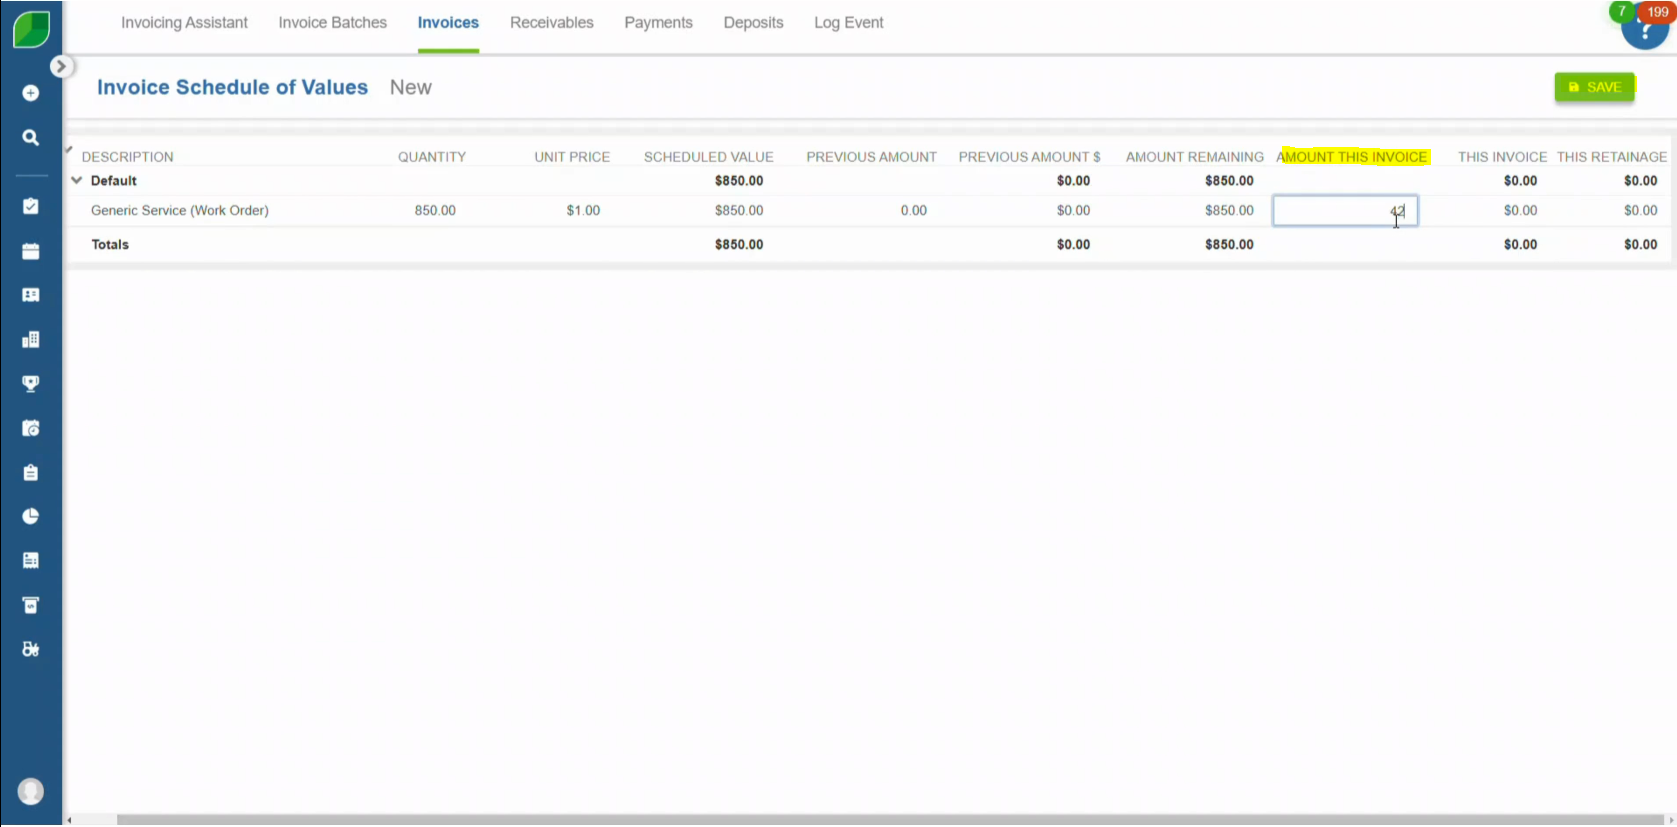
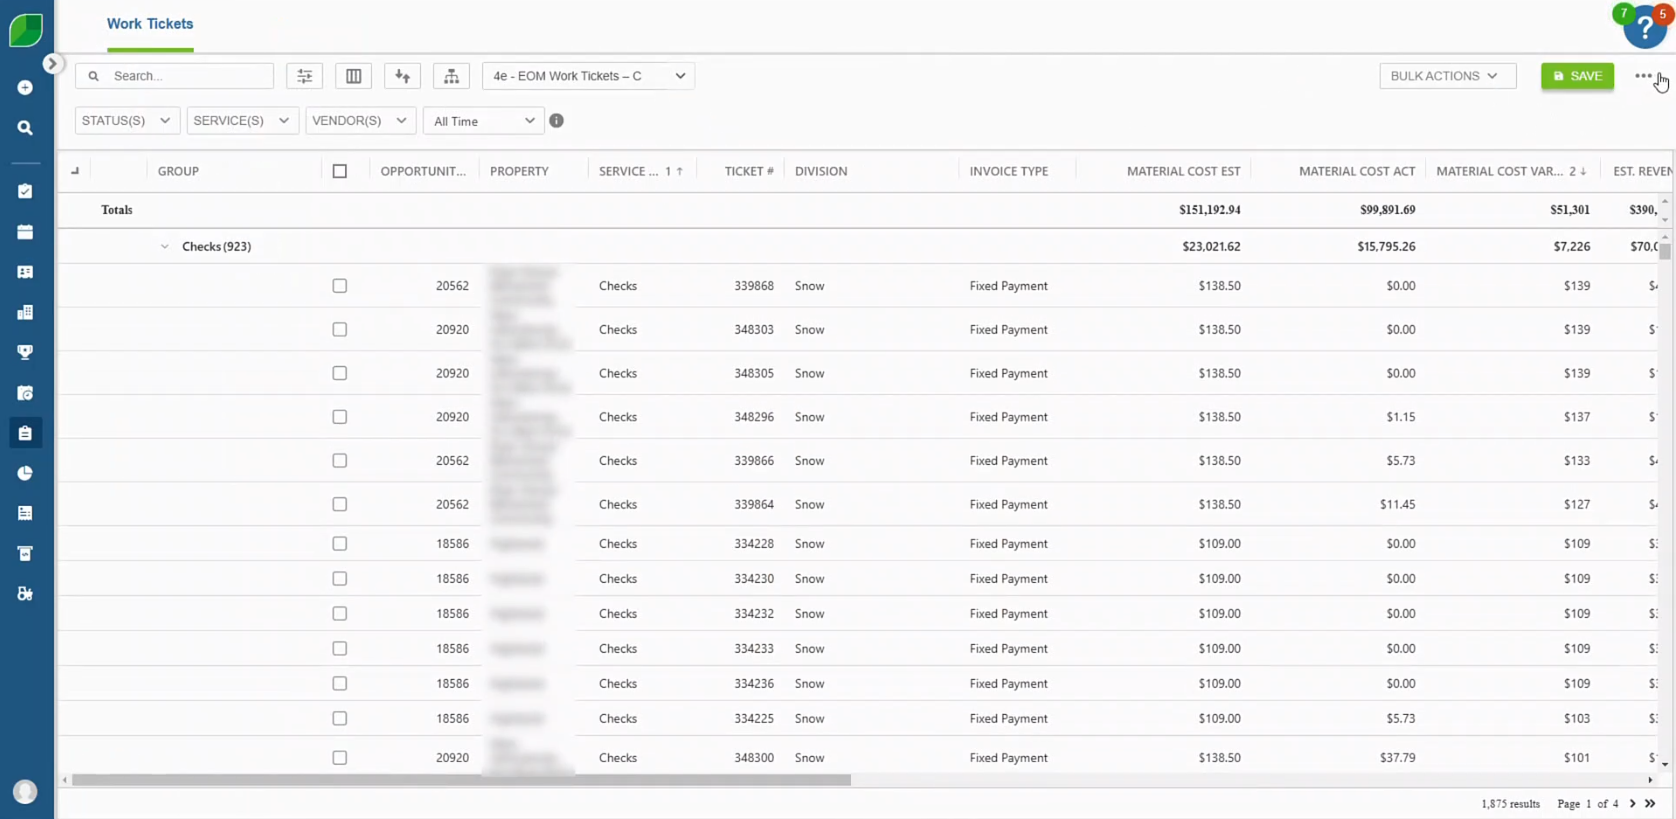
4. Review Estimated Sub Costs vs. Actual Sub Costs
- Identify work tickets with subcontractor costs.
- Review the following categories:
- Work Tickets with Sub Costs.
- Work Tickets with Sub Costs and No Estimated Sub Costs.
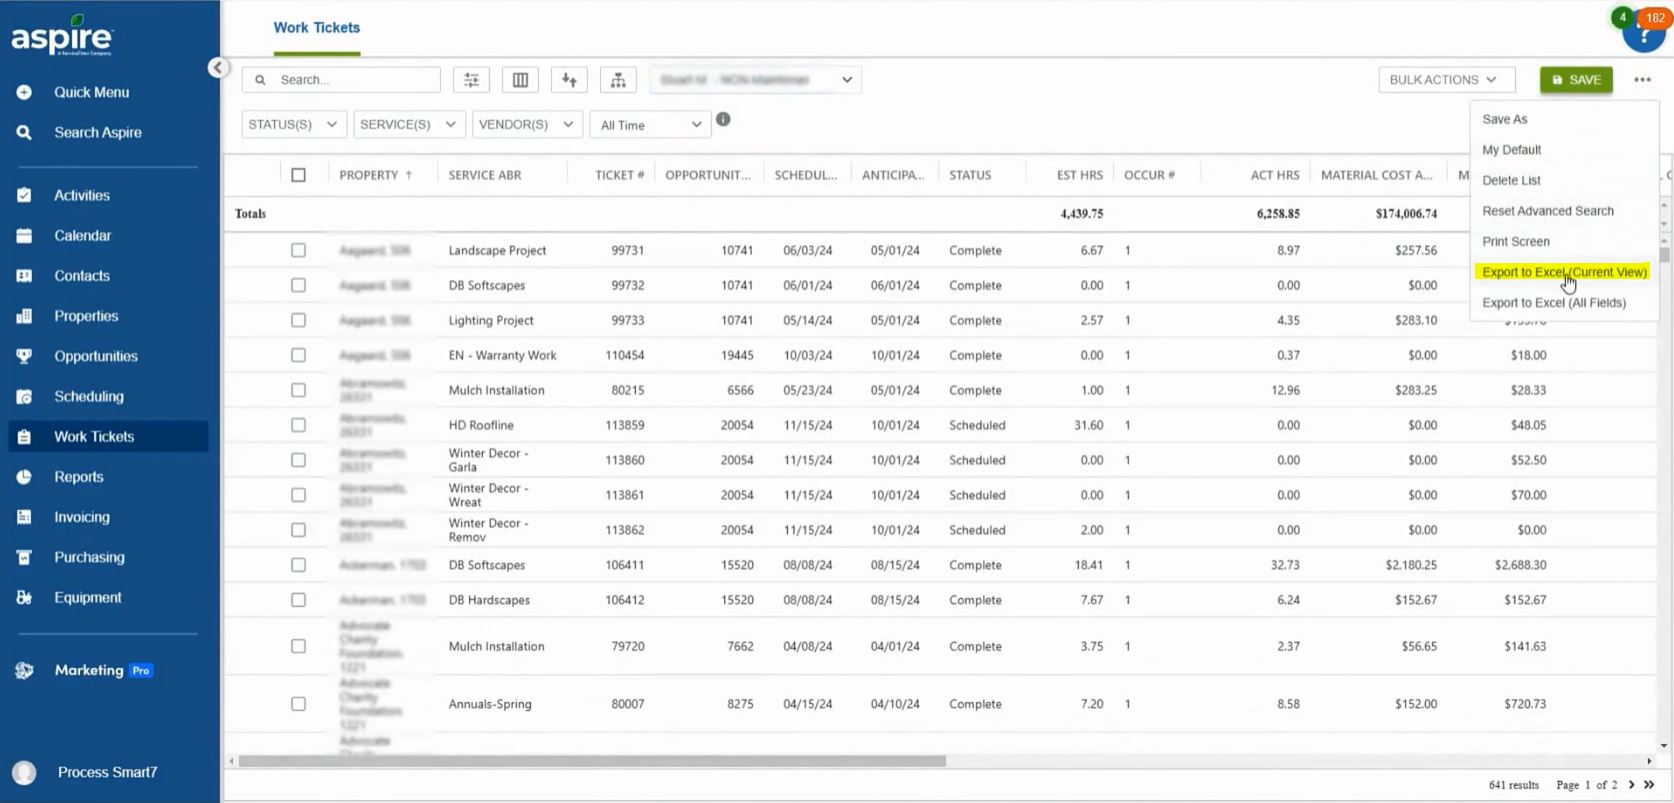
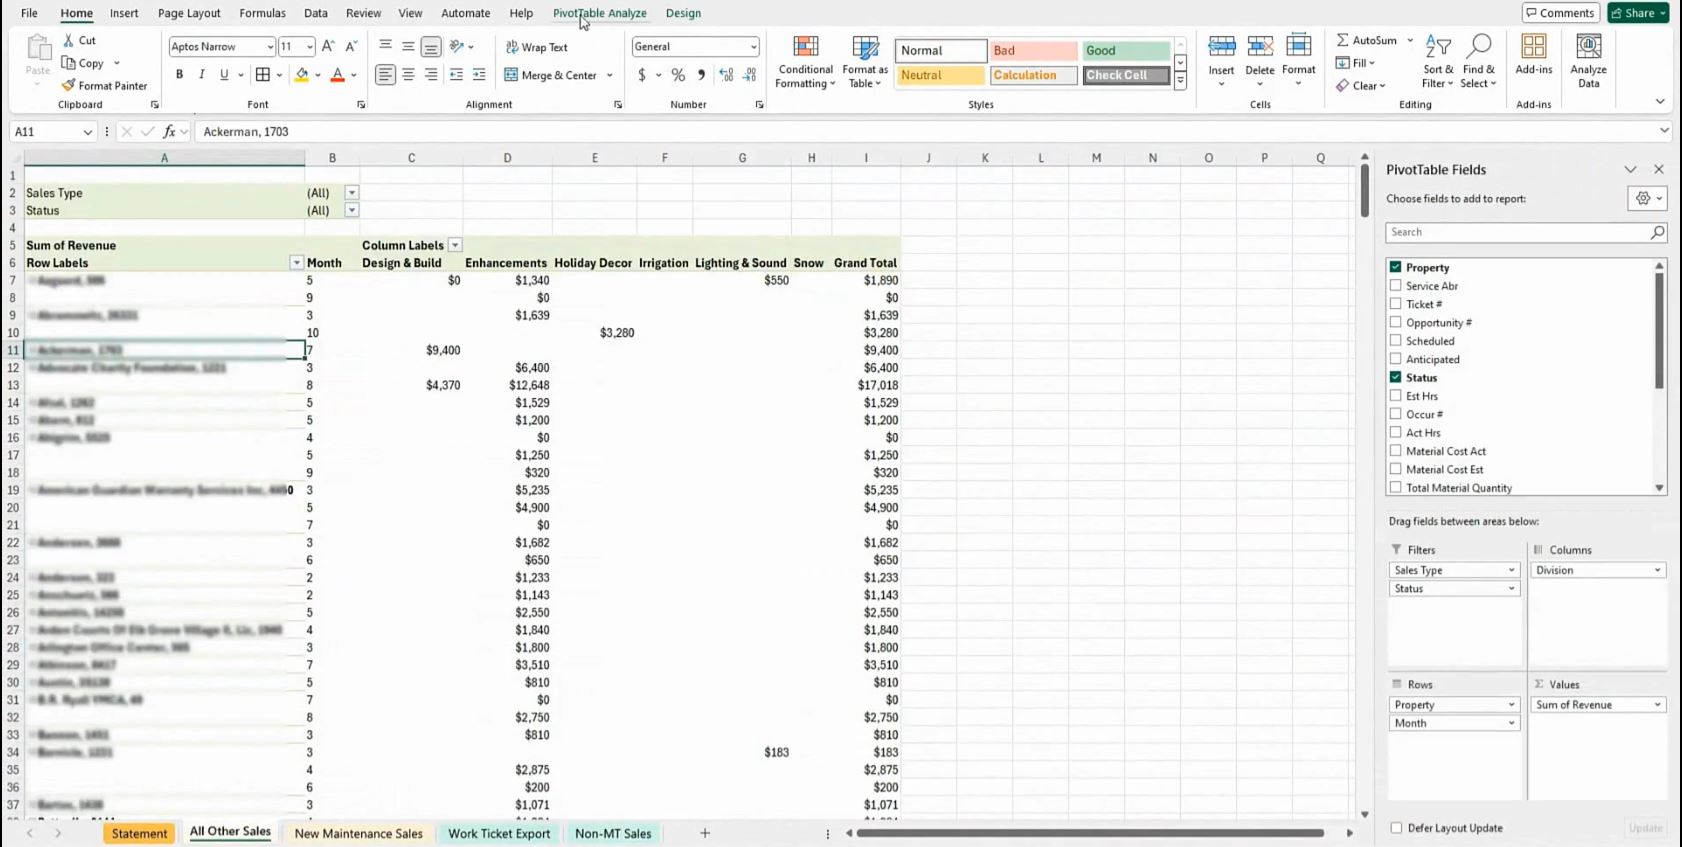
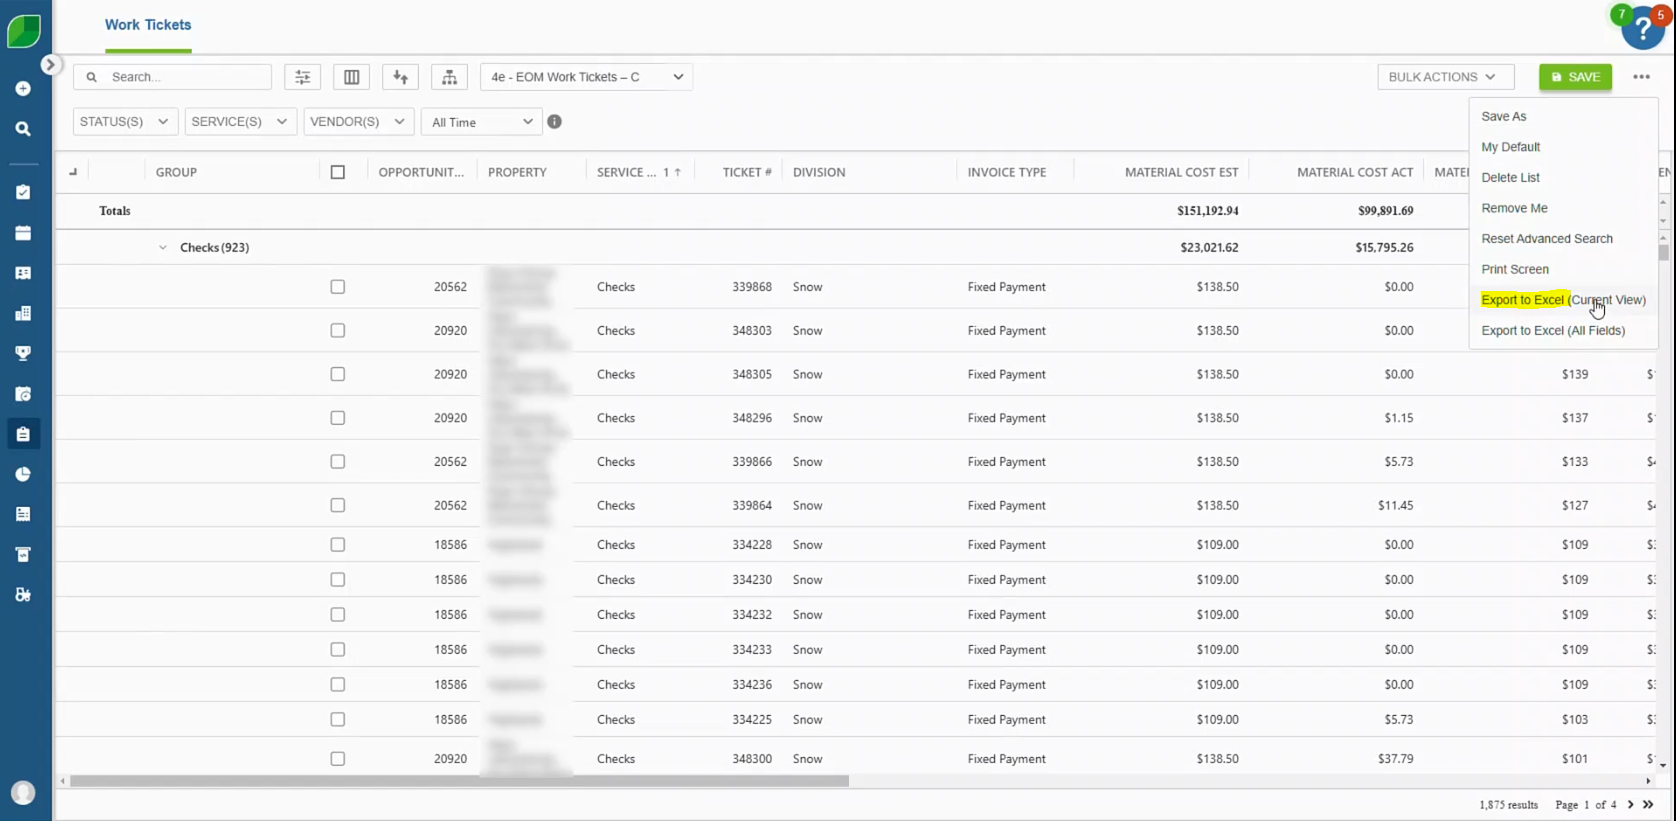
5. Export Work Ticket Data
- Click on the three-dot menu in the upper-right corner of the work ticket window.
- Select “Export Excel (Current View).”
- The file will begin downloading to your device.
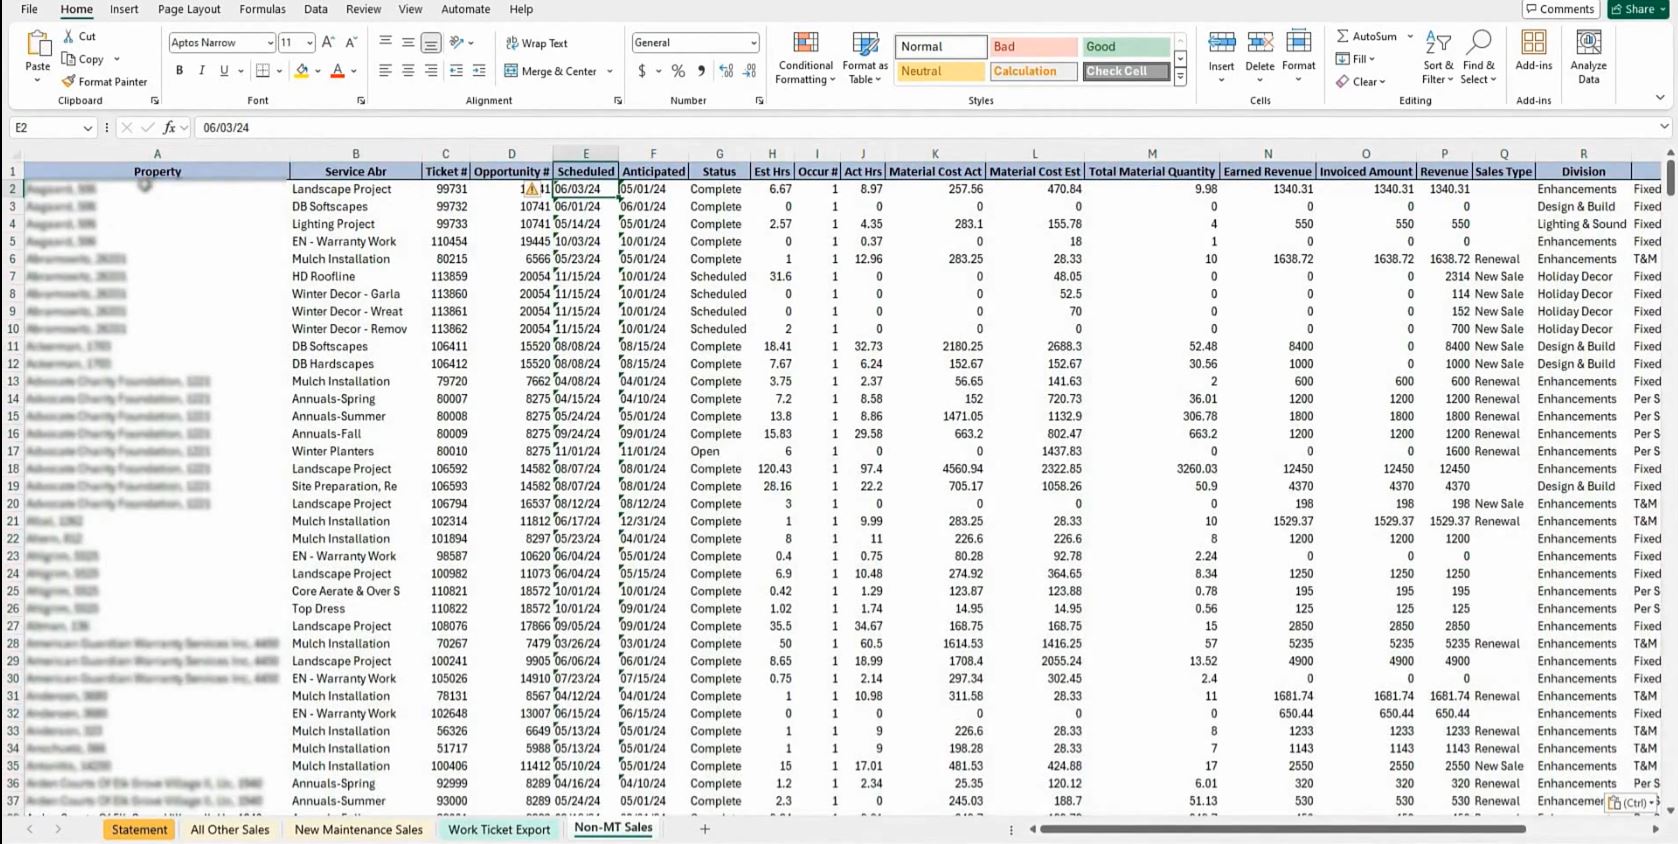
6. Open and Analyze the Excel Sheet
- Locate the downloaded Excel file on your computer.
- Open the file using Microsoft Excel or a compatible spreadsheet application.
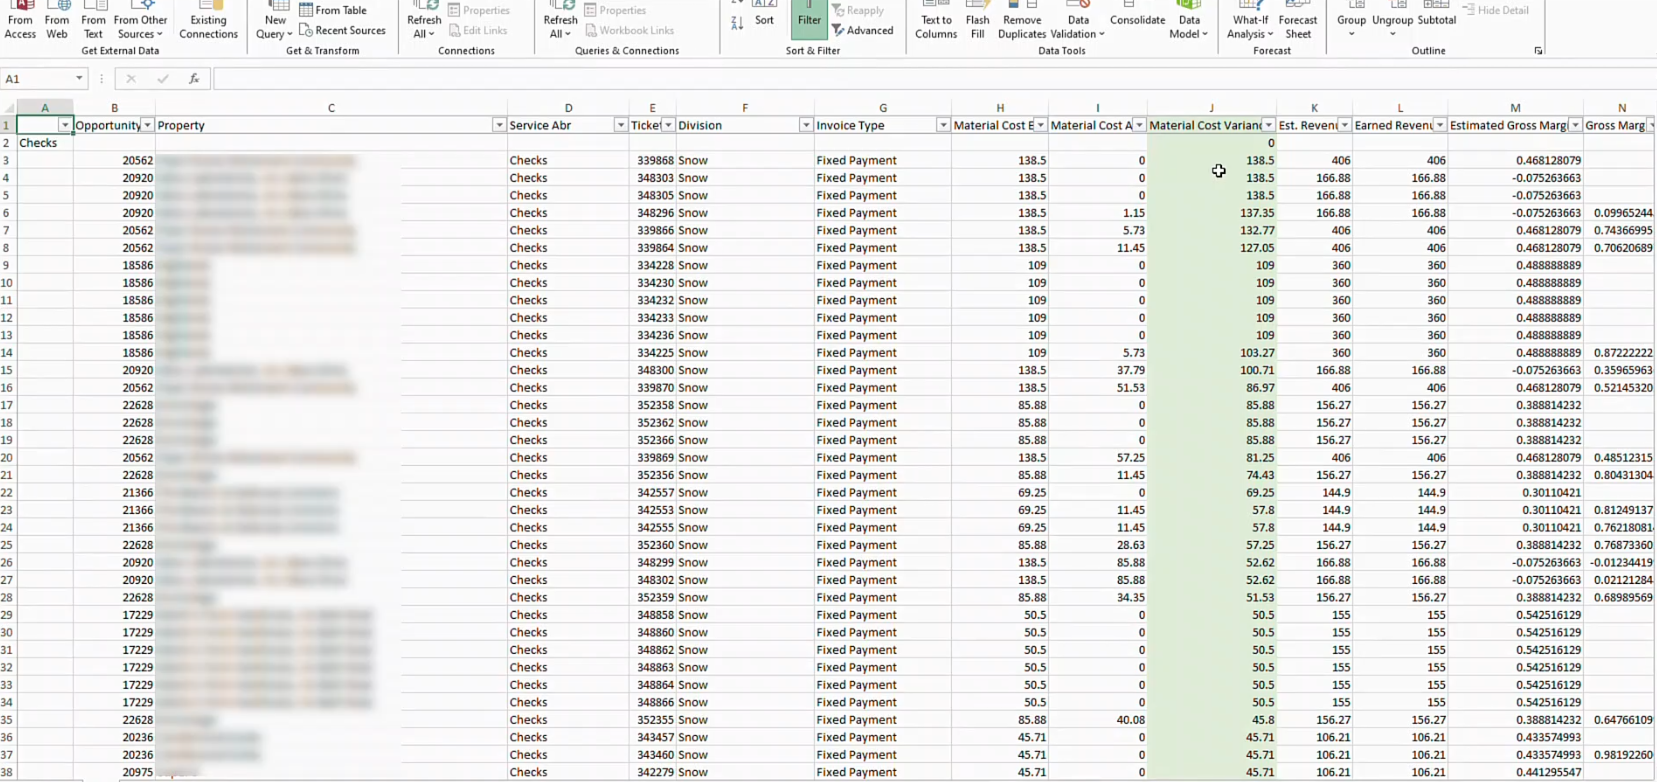
7. Review Variance Details
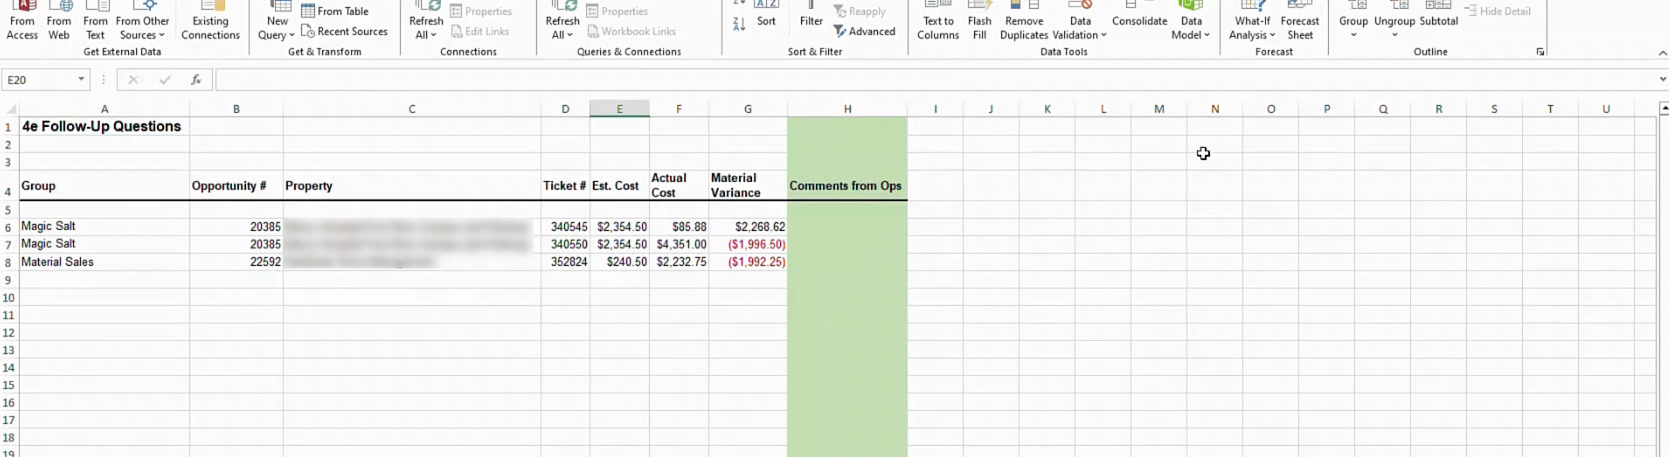
- Identify work tickets with an over or under variance of $2,000.
- Ensure accuracy—if a work ticket is completed with no sub cost, it may appear more profitable than it actually is.
- Verify entries—if a work ticket is completed with no estimate but booked sub costs, it can cause concerns, especially for maintenance or construction-fixed projects.
- All work tickets with variances are compiled into a single report, detailing their specific costs, and sent to the accounts team to resolve any discrepancies.
Reviewing end-of-month work ticket variances in Aspire is essential for accurate financial reporting and cost management. By ensuring that estimated and actual subcontractor costs align, you can prevent discrepancies that may impact profitability analysis. Regular monitoring and adjustments will help maintain financial integrity and improve decision-making for future projects.
Download a PDF version of the job aide here.