
This job aid provides a step-by-step guide for generating and adjusting Over/Under Revenue reports in Aspire’s accounts receivable module. It ensures invoiced amounts align with earned revenue. Use this guide to streamline your reporting tasks and maintain accurate financial records.
Steps to Generate and Adjust Over/Under Revenue Reports
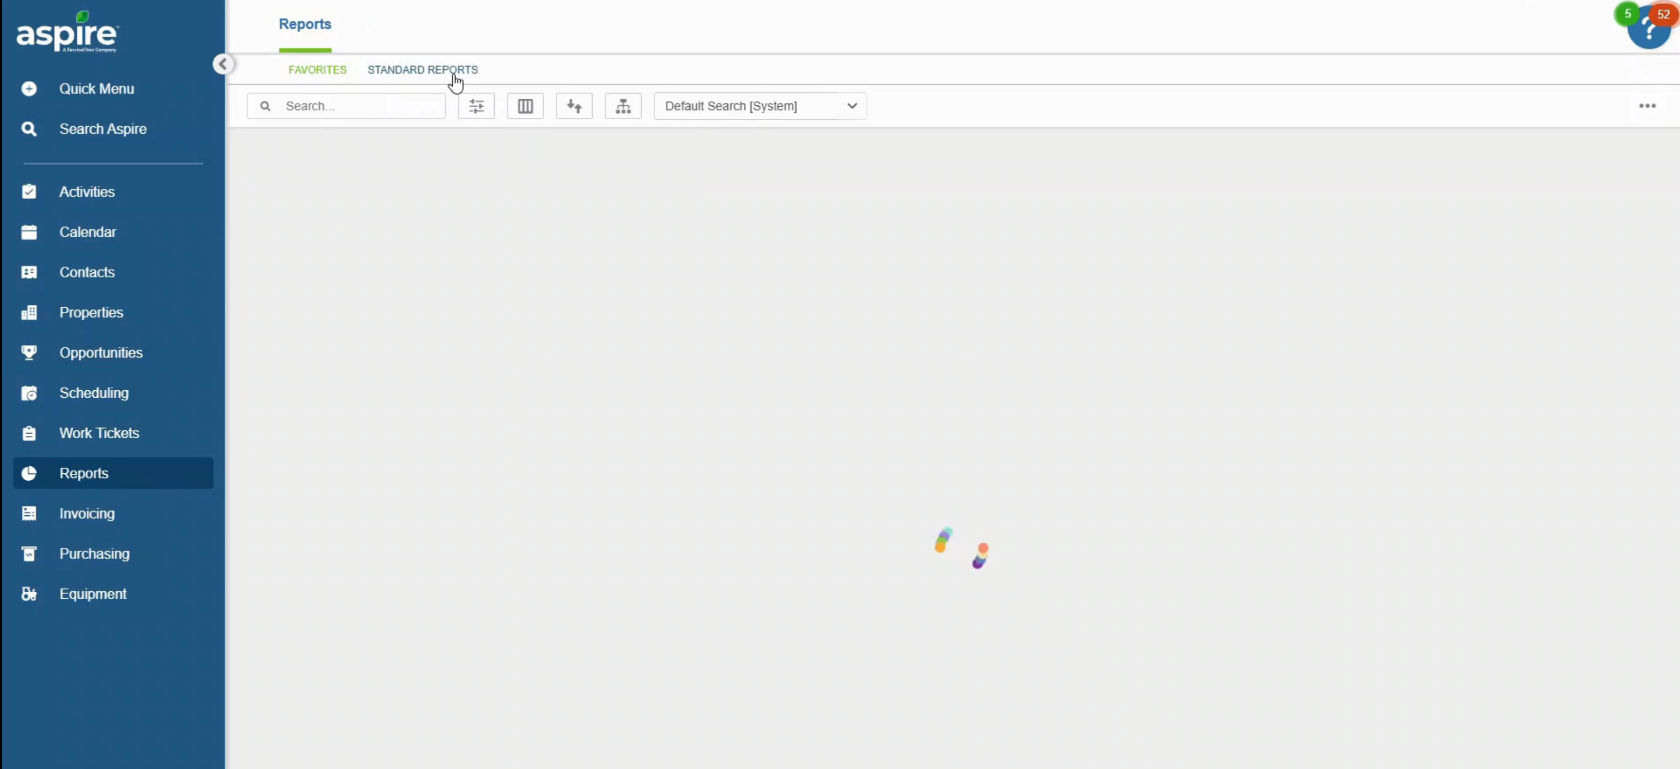
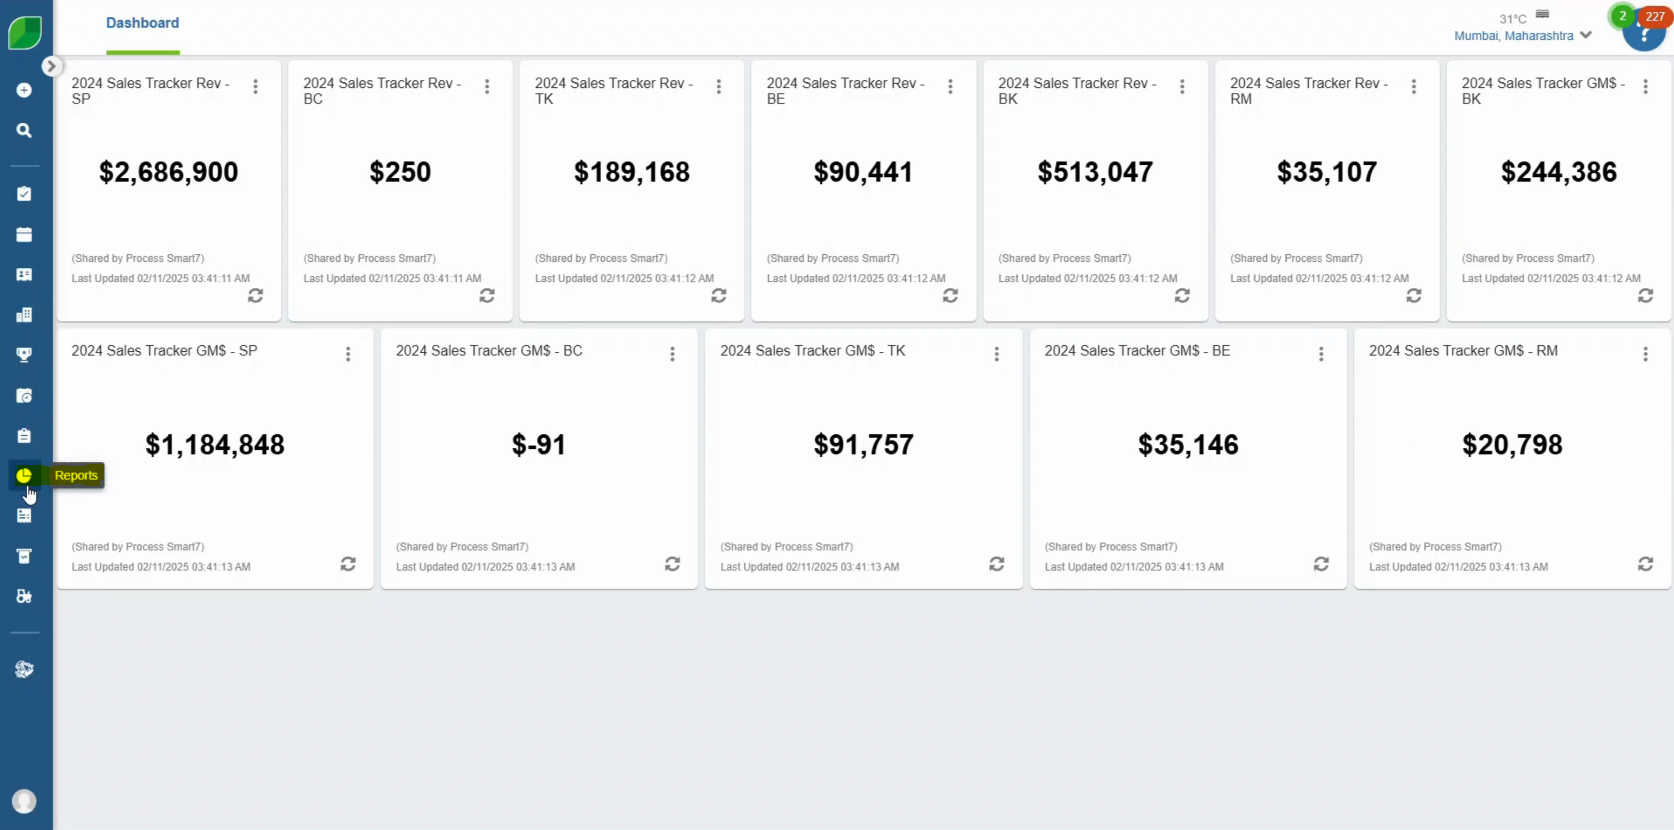
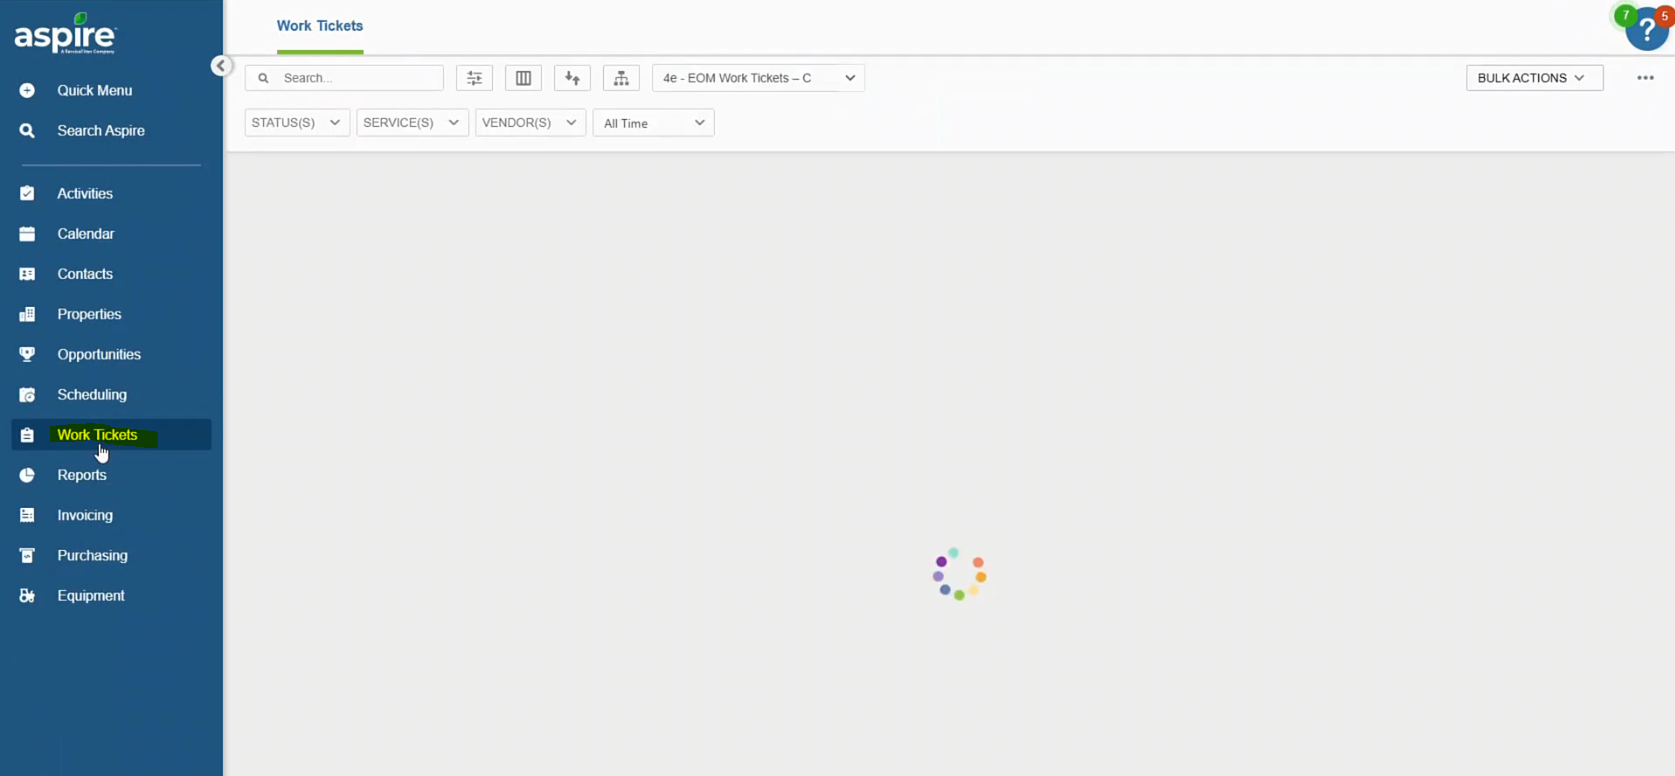
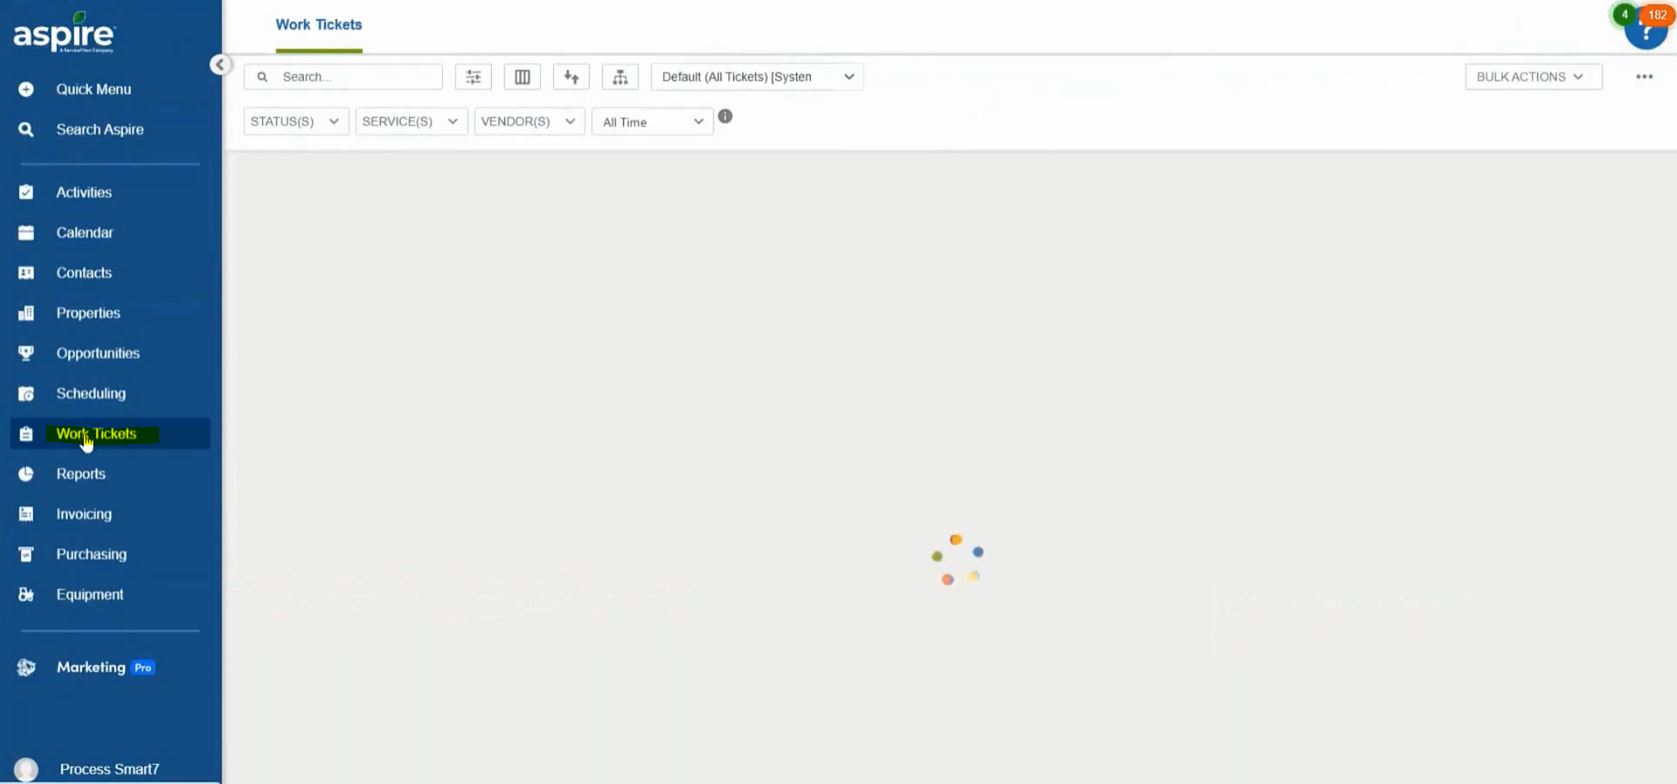
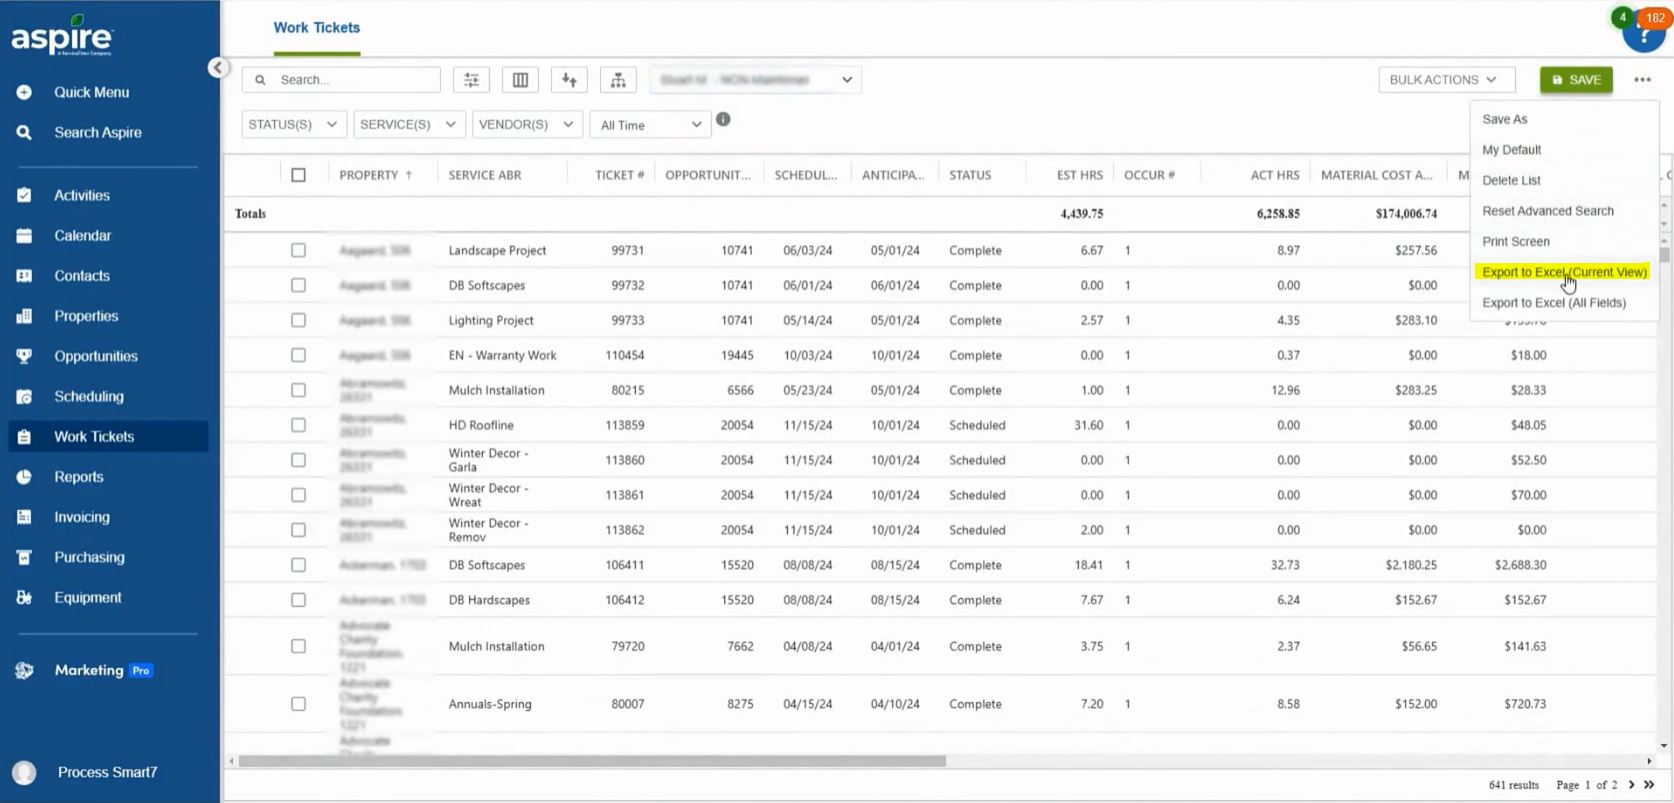
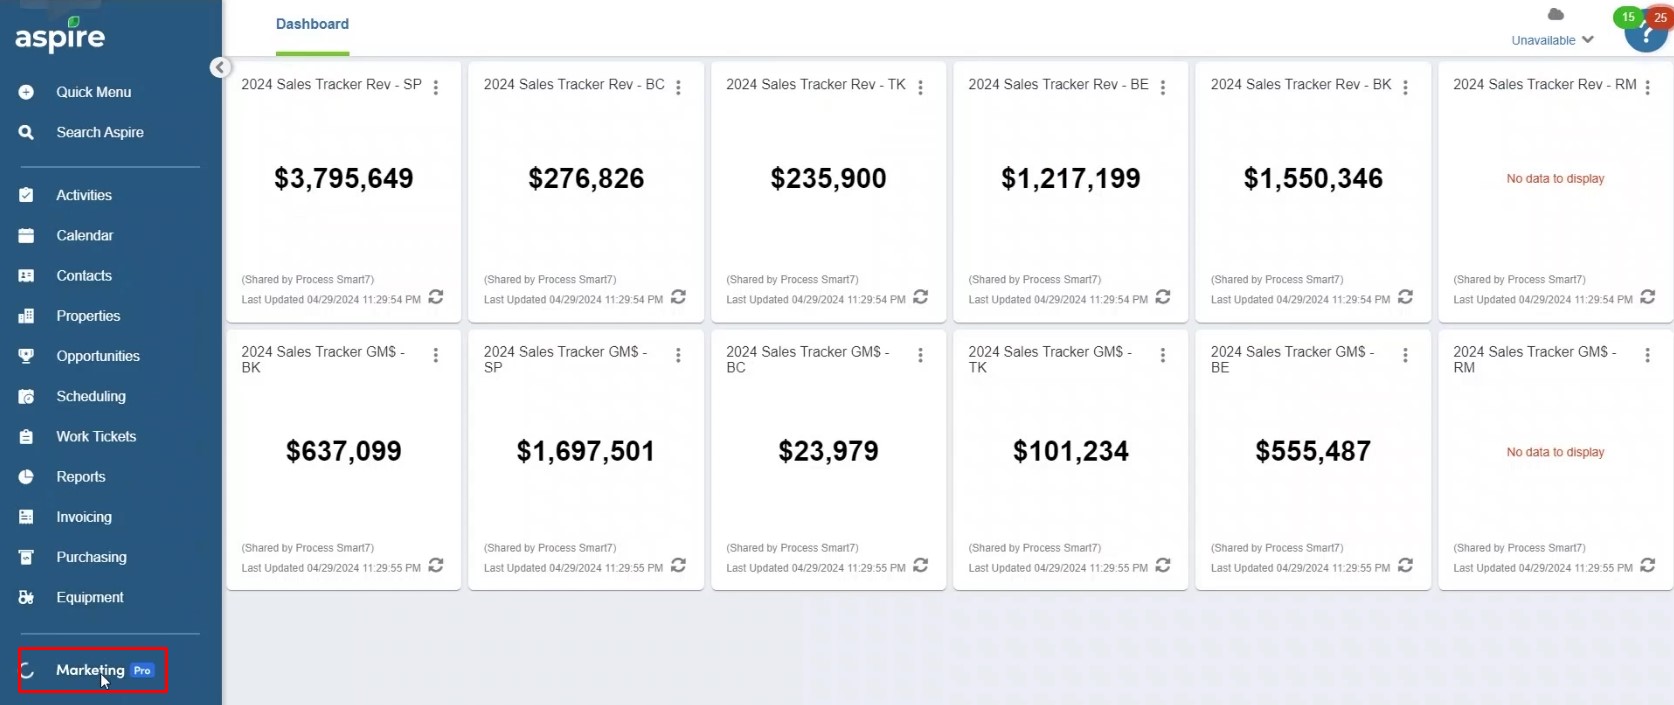
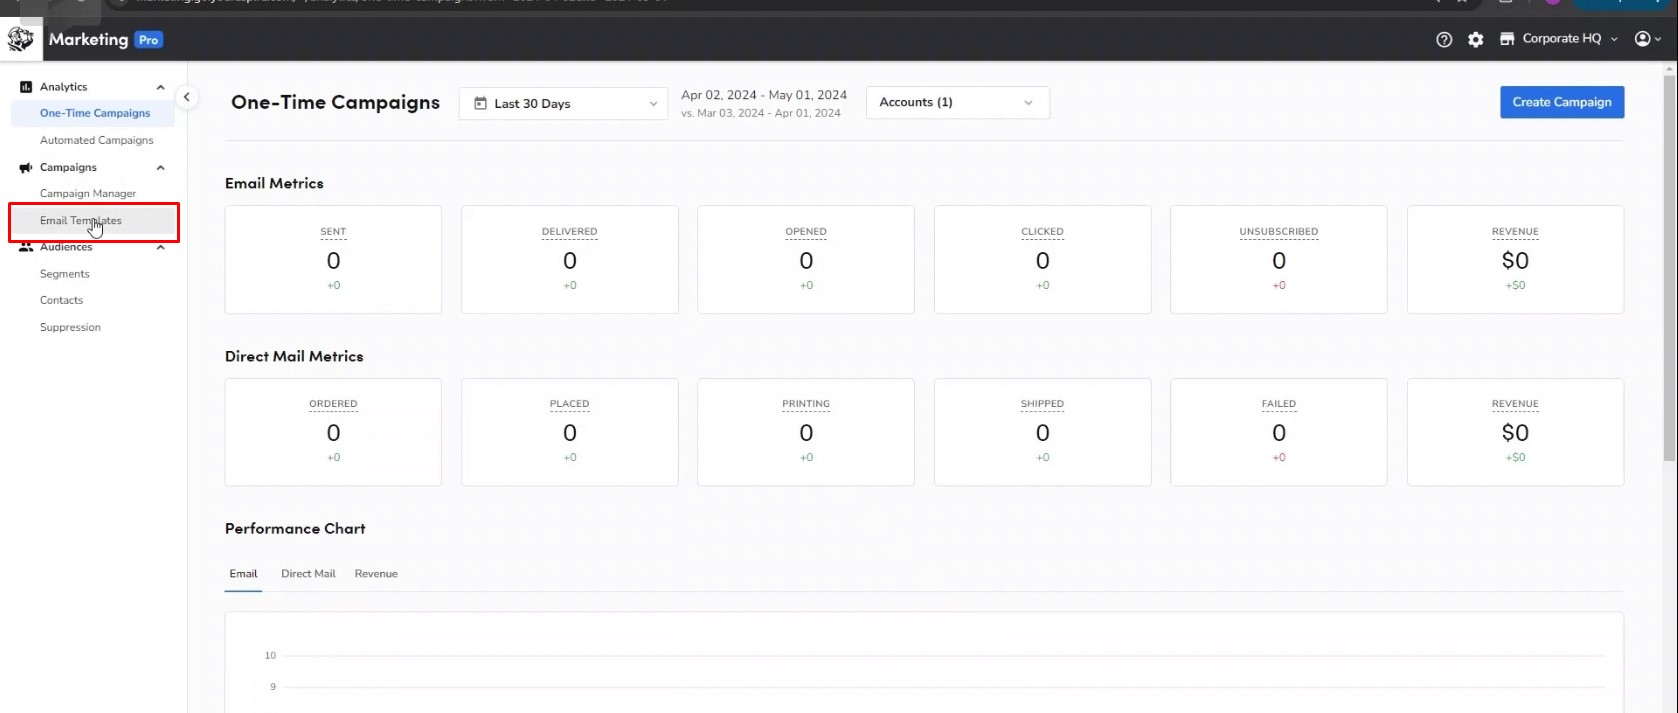
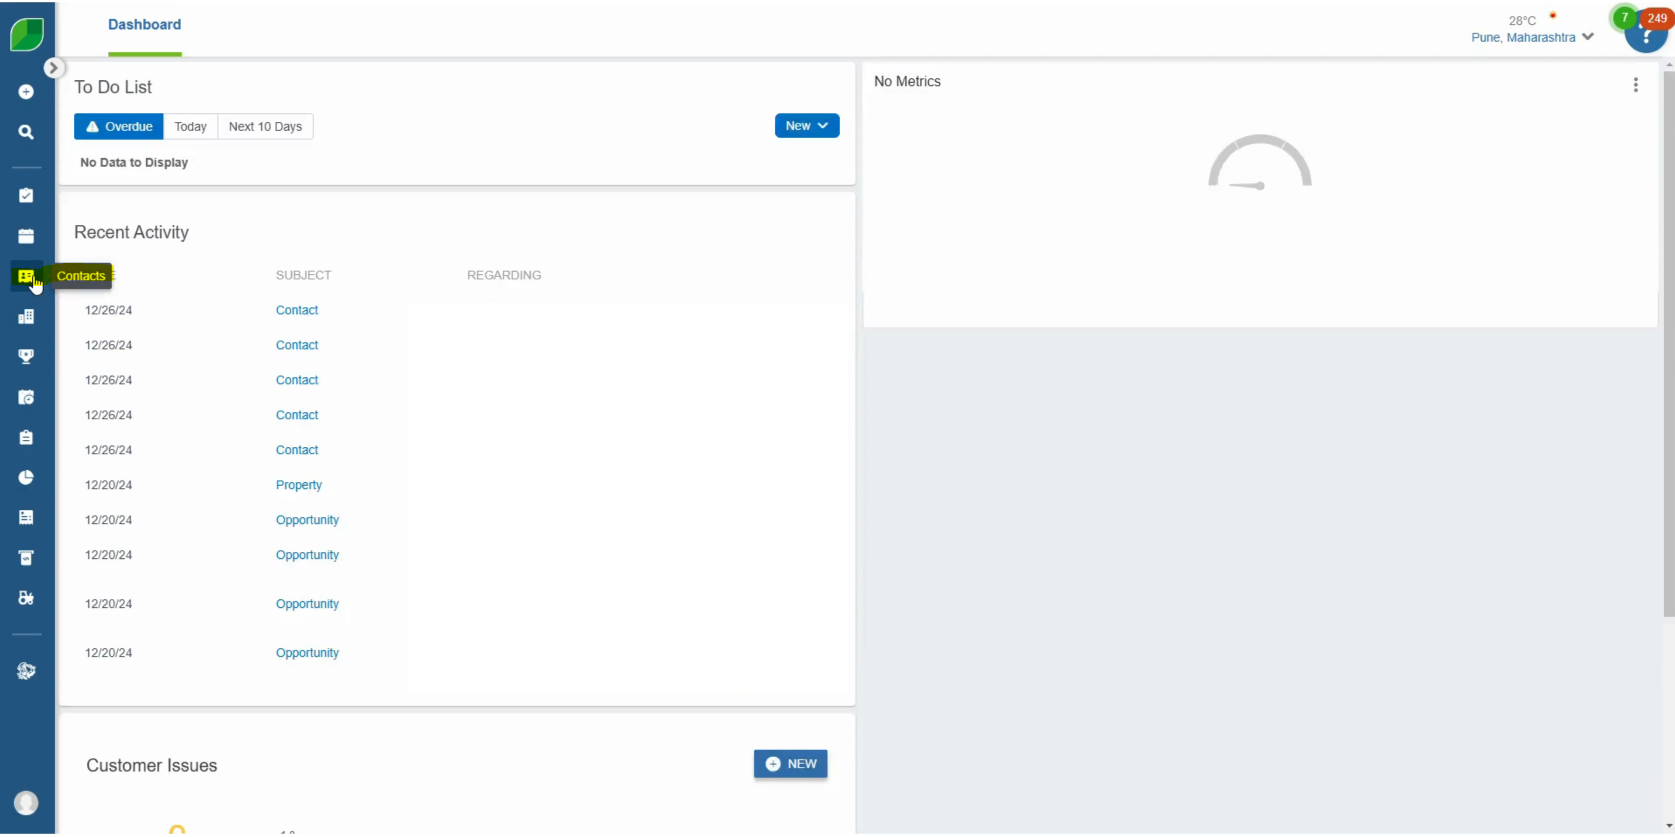
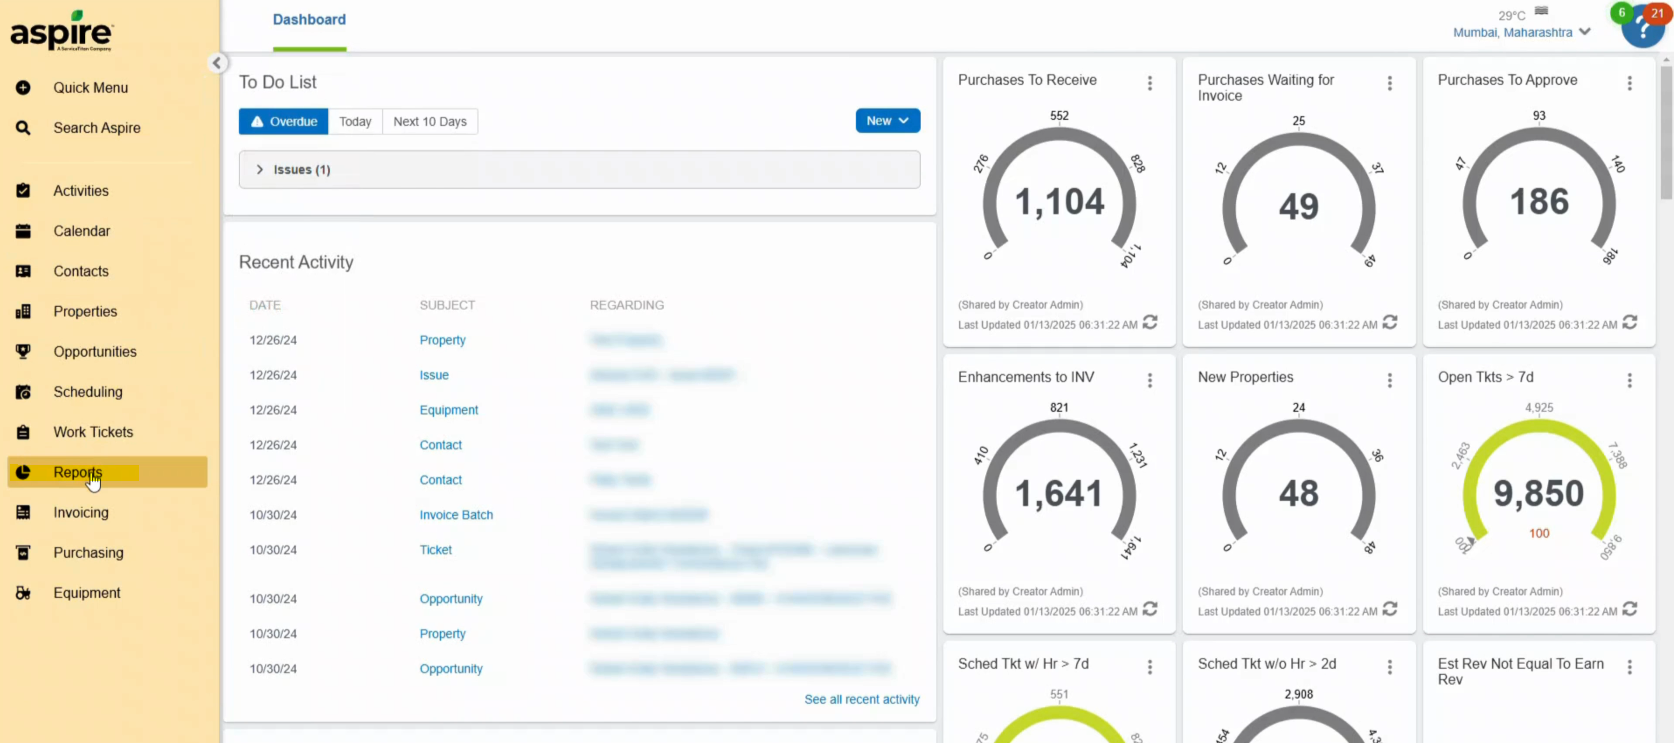
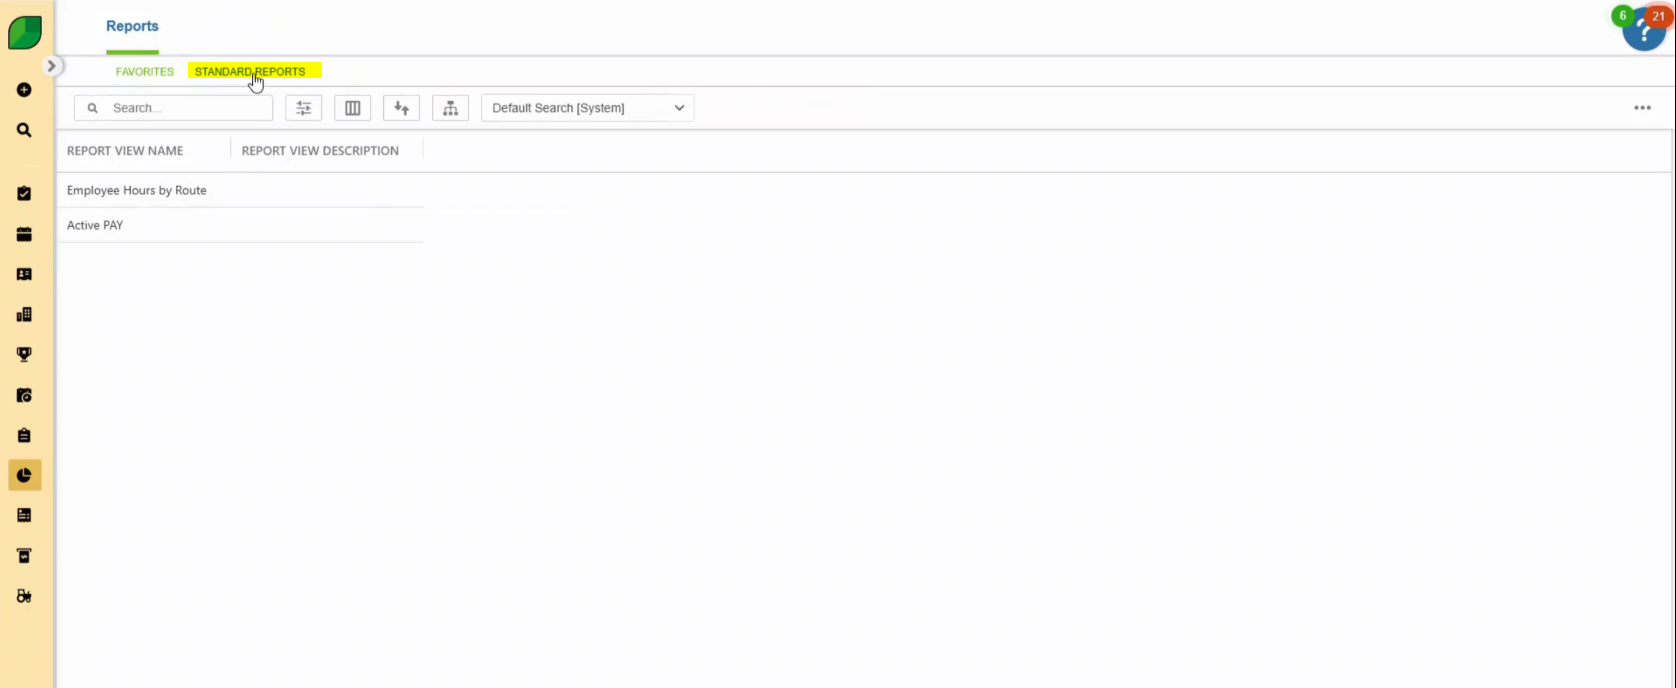
- Click on Reports
- Navigate to the “Reports” section from the main menu.
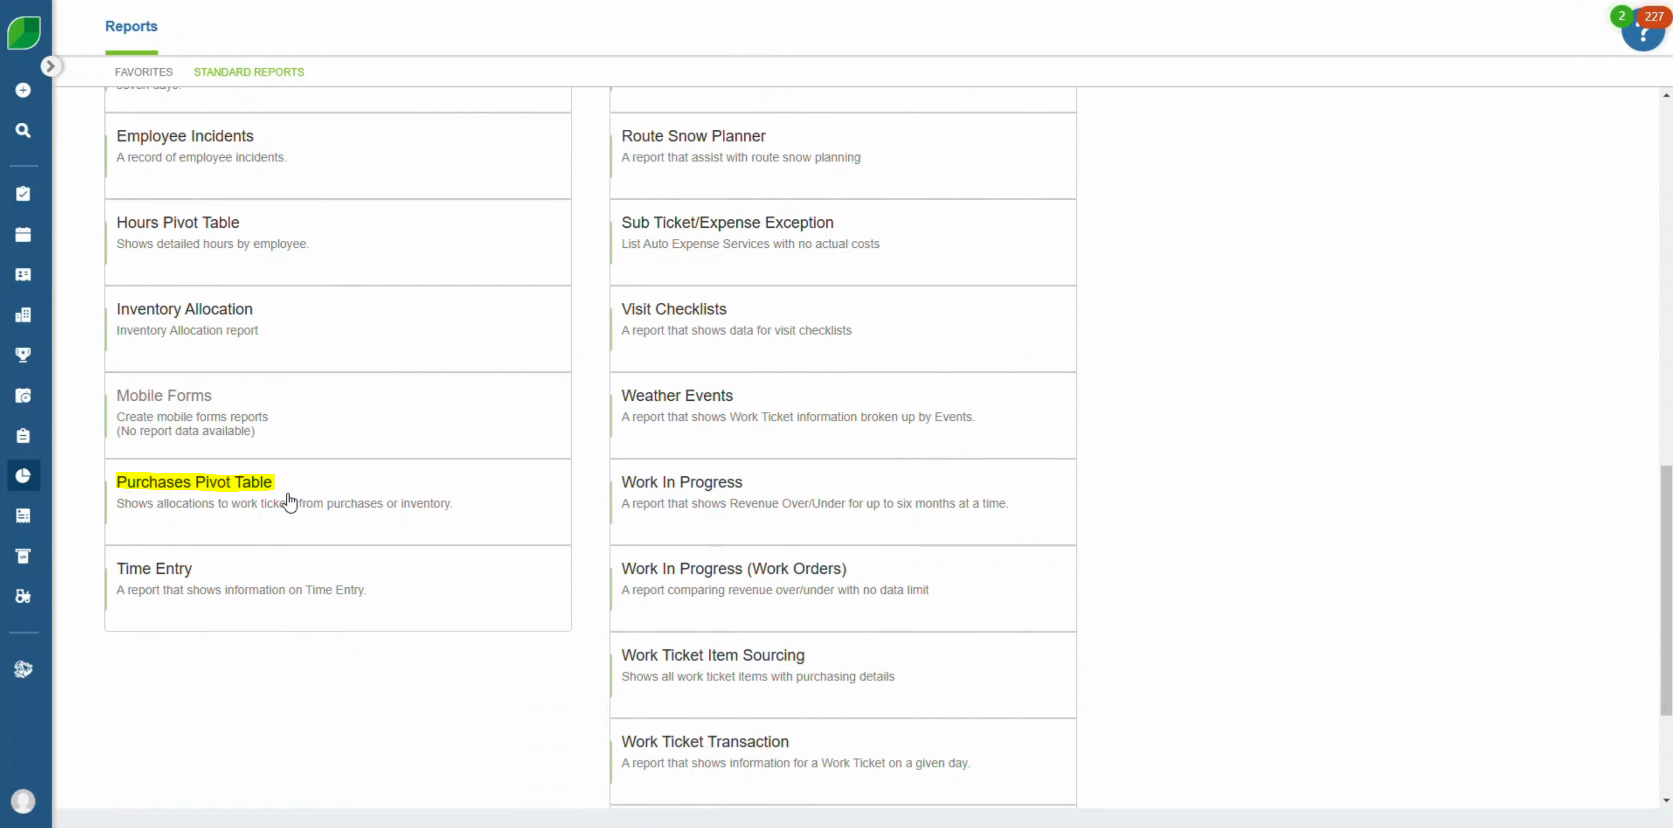
- Select Standard Reports
- From the list of available reports, choose “Standard Reports.”
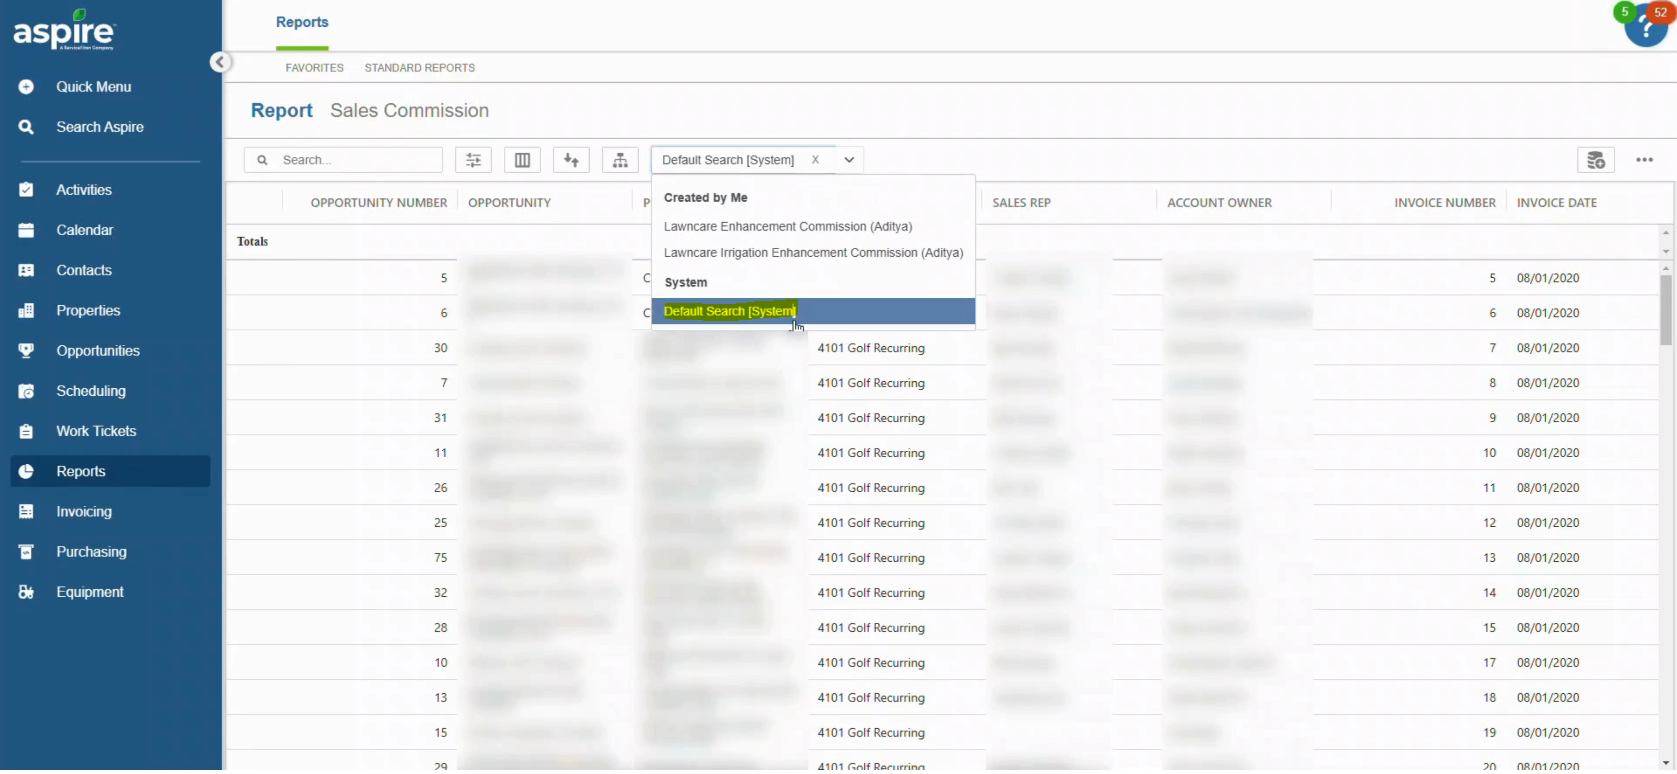
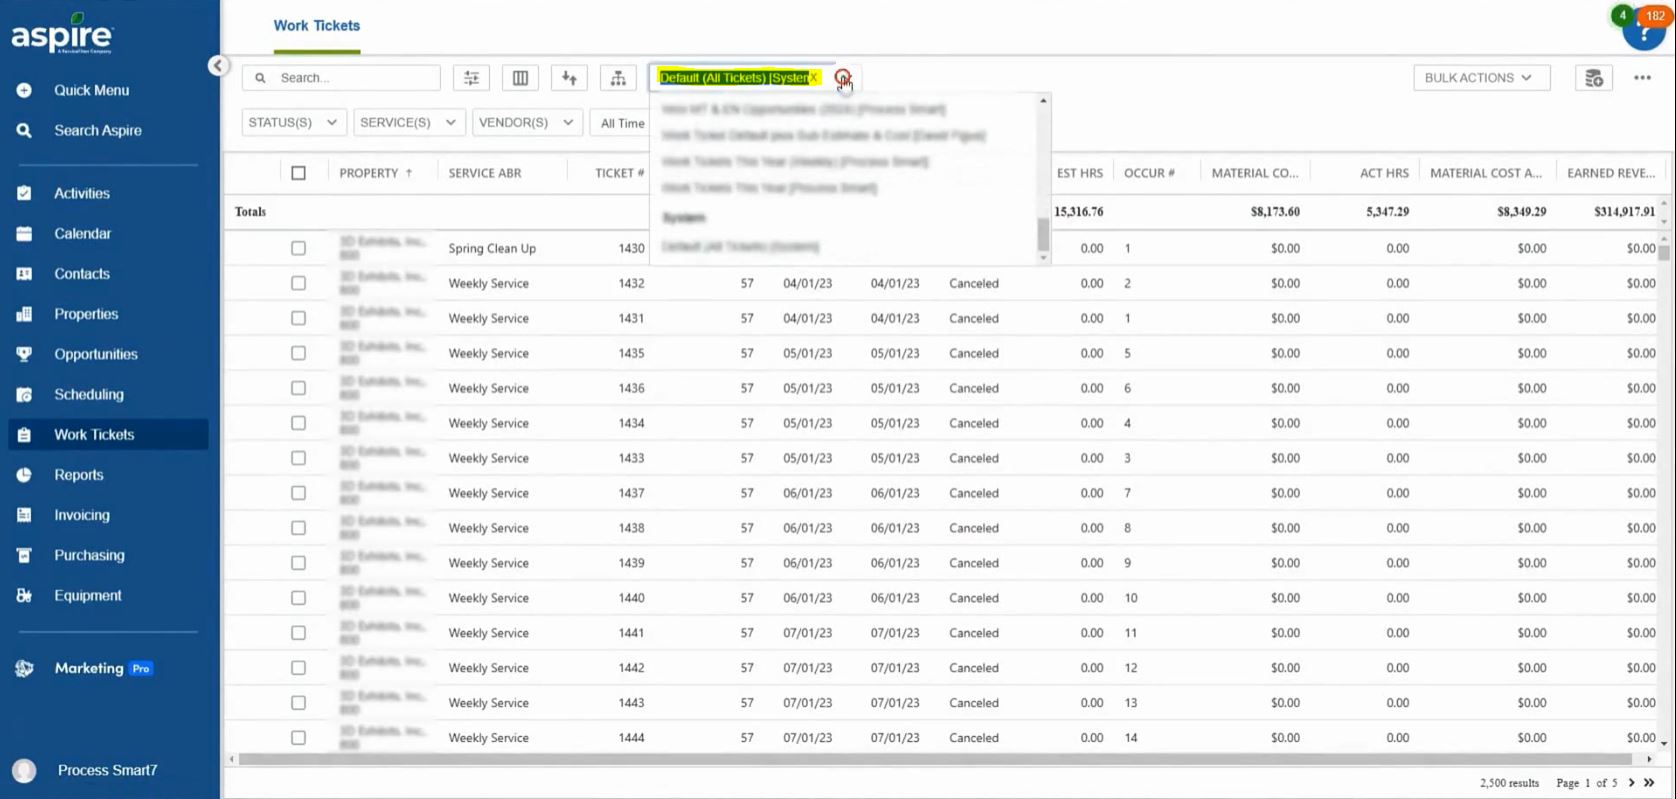
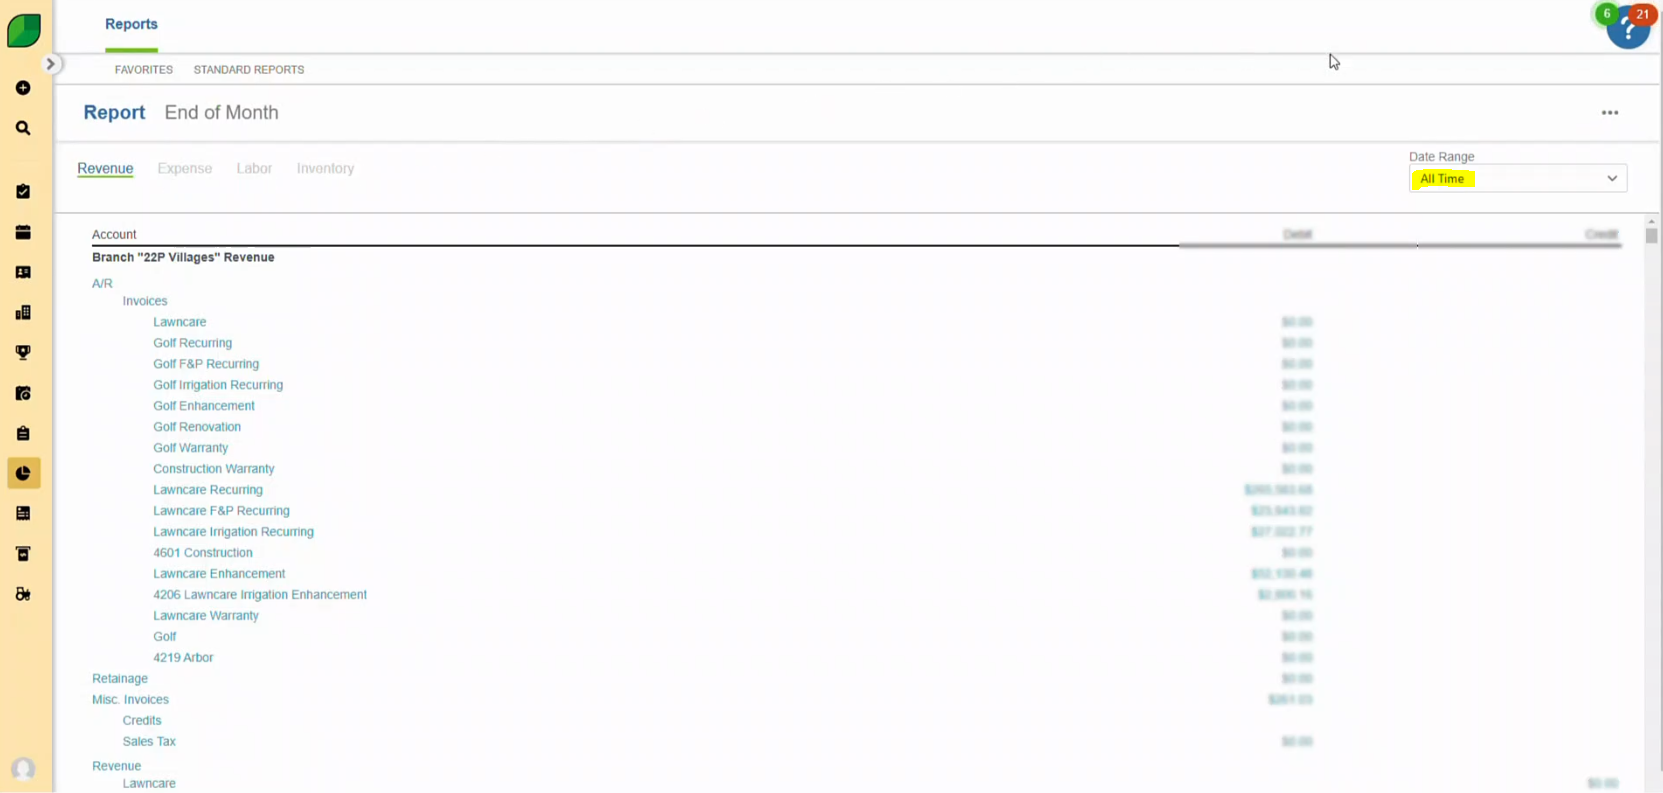
- Select the Date Range to All Time
- Adjust the date range filter to “All Time” to include all records.
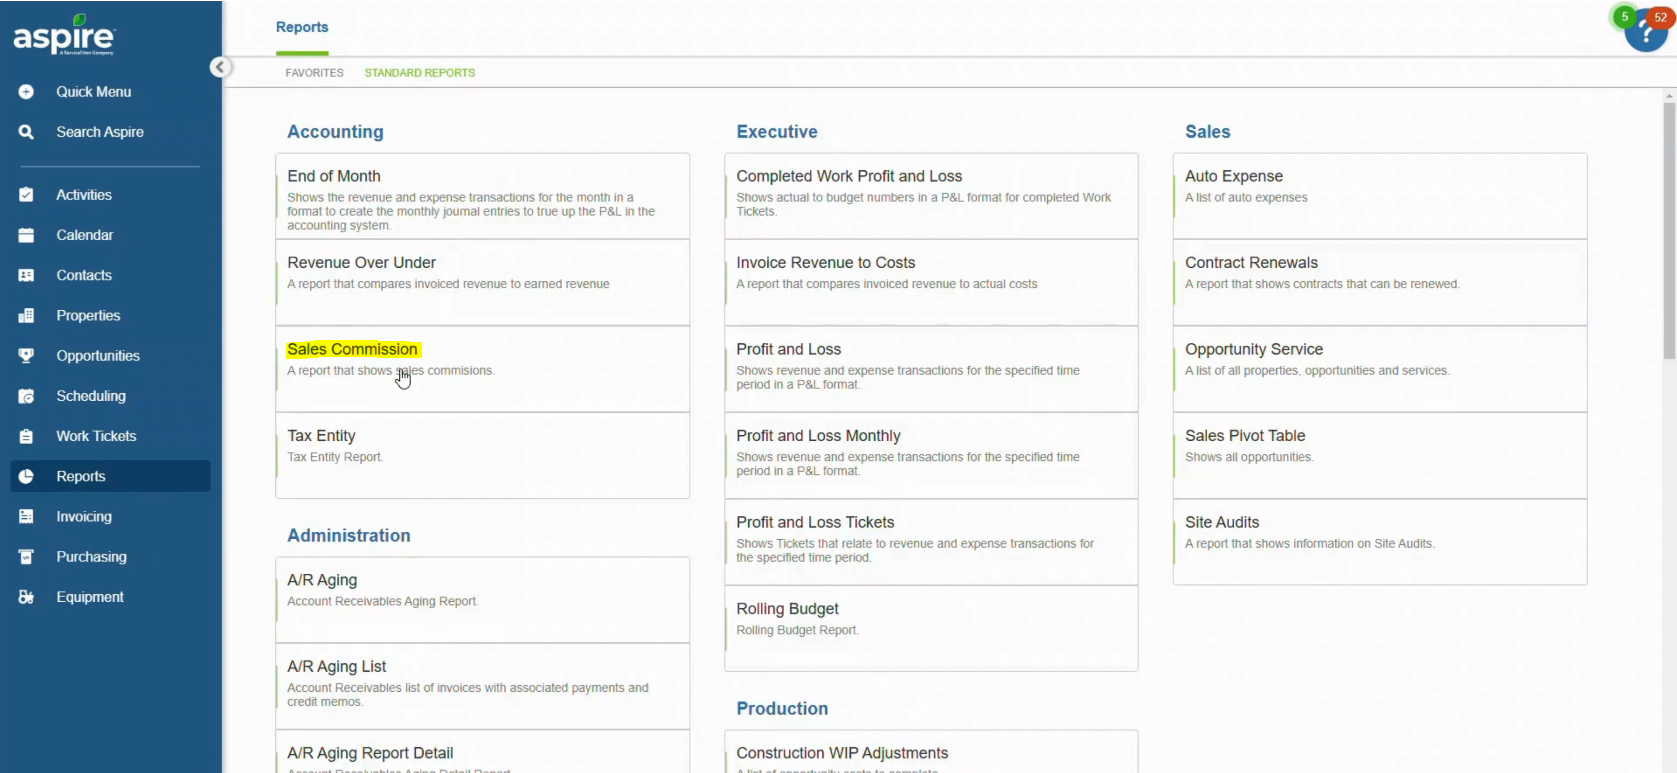
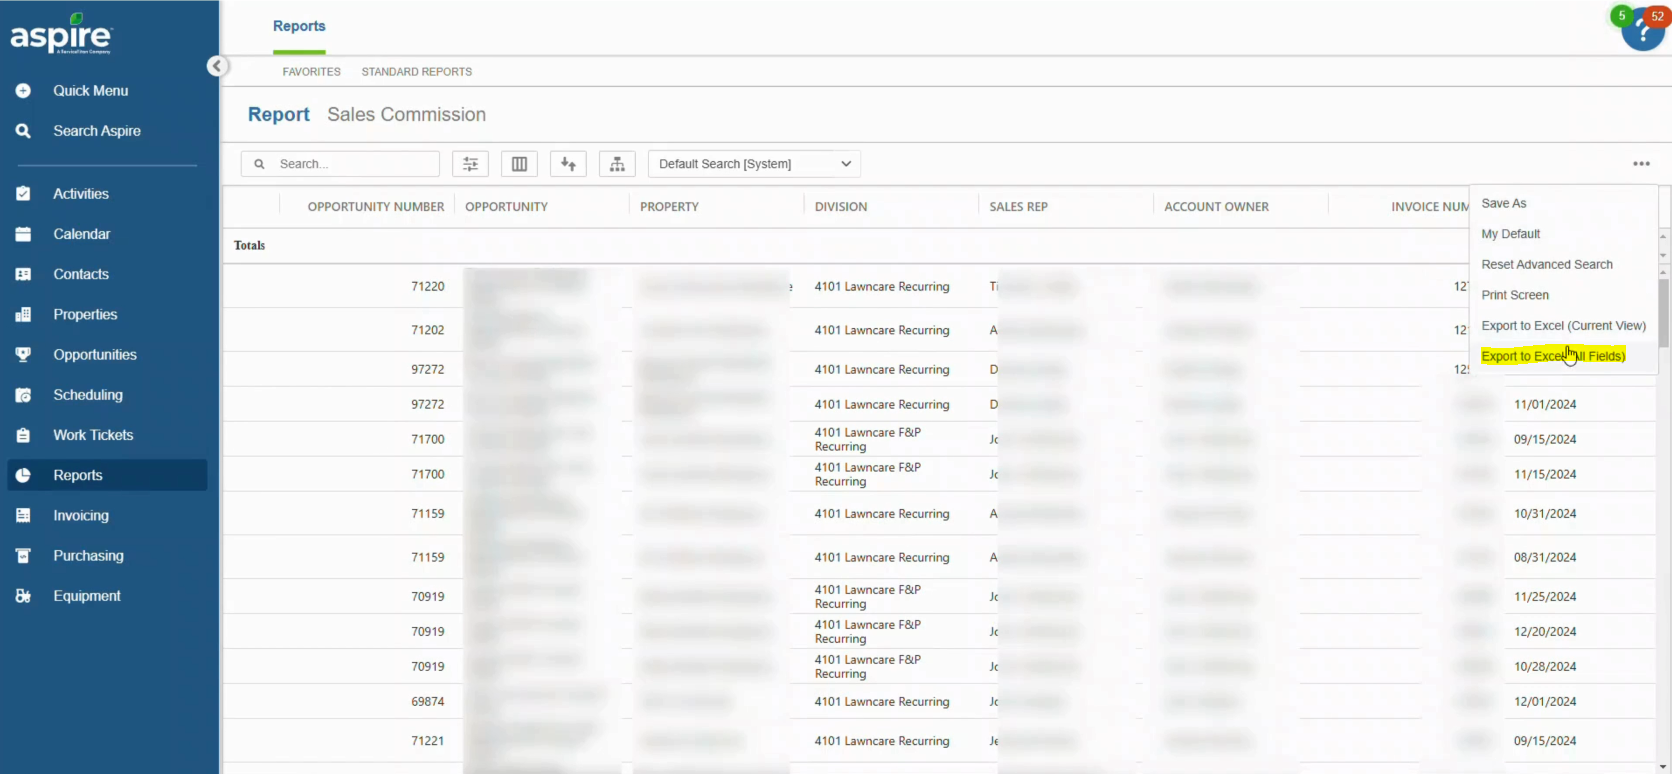
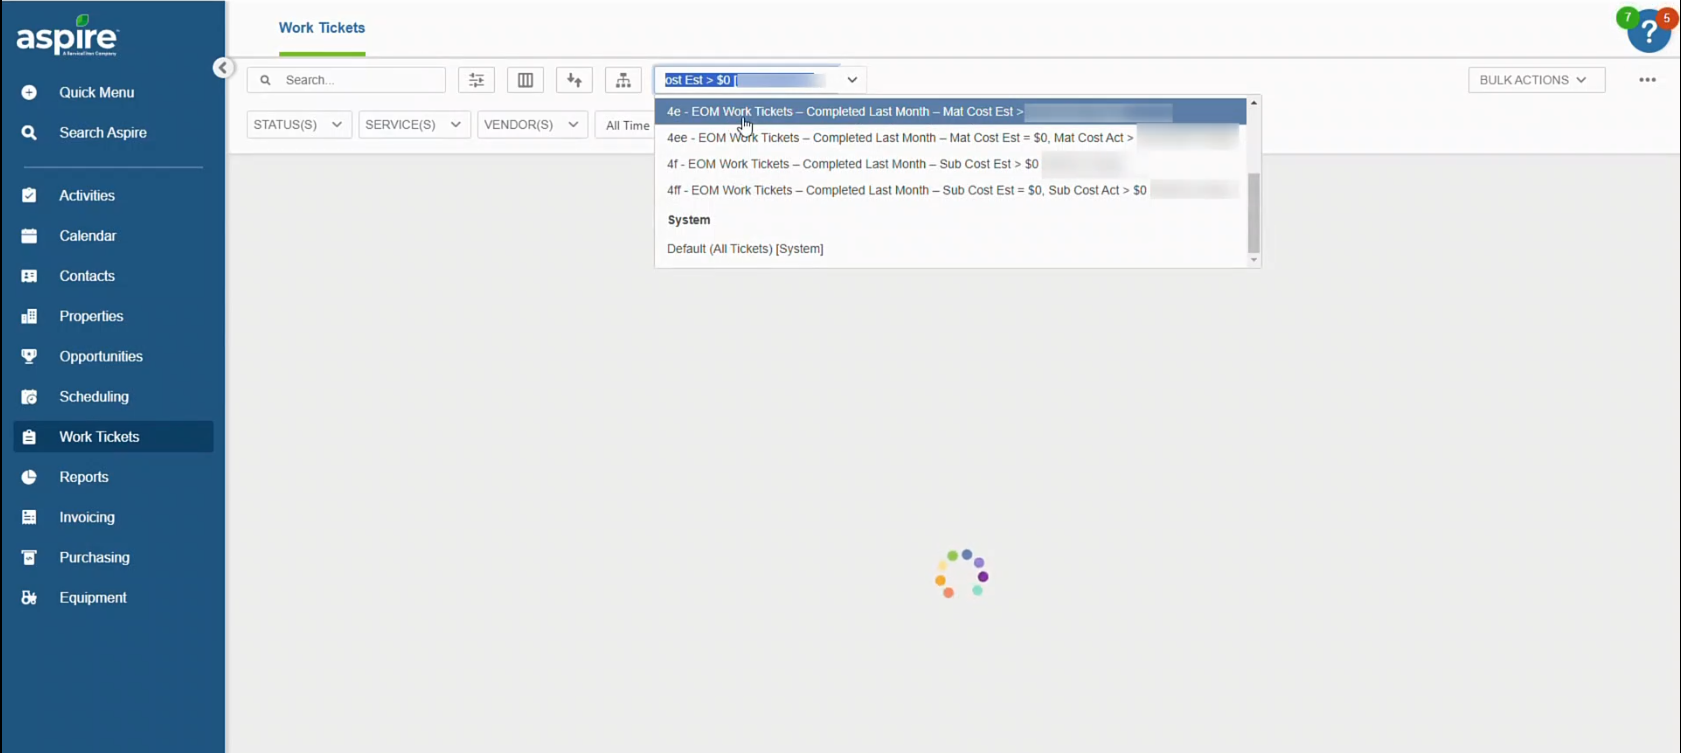
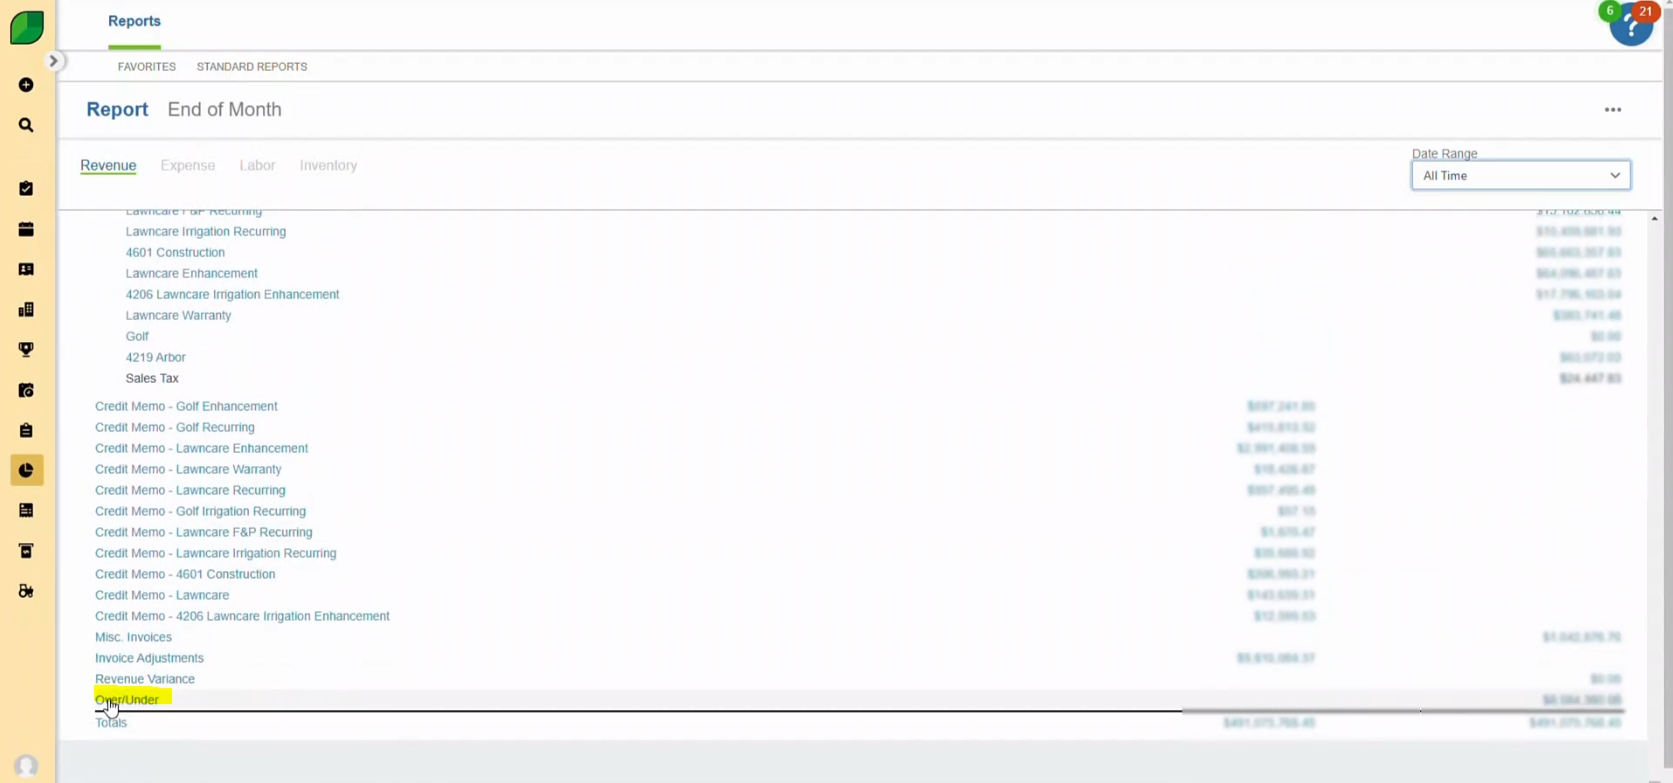
- Scroll Down to the Bottom and Select the Over/Under of the Last Report Revenue
- Locate the “Over/Under” section at the bottom of the report page and select the relevant report.
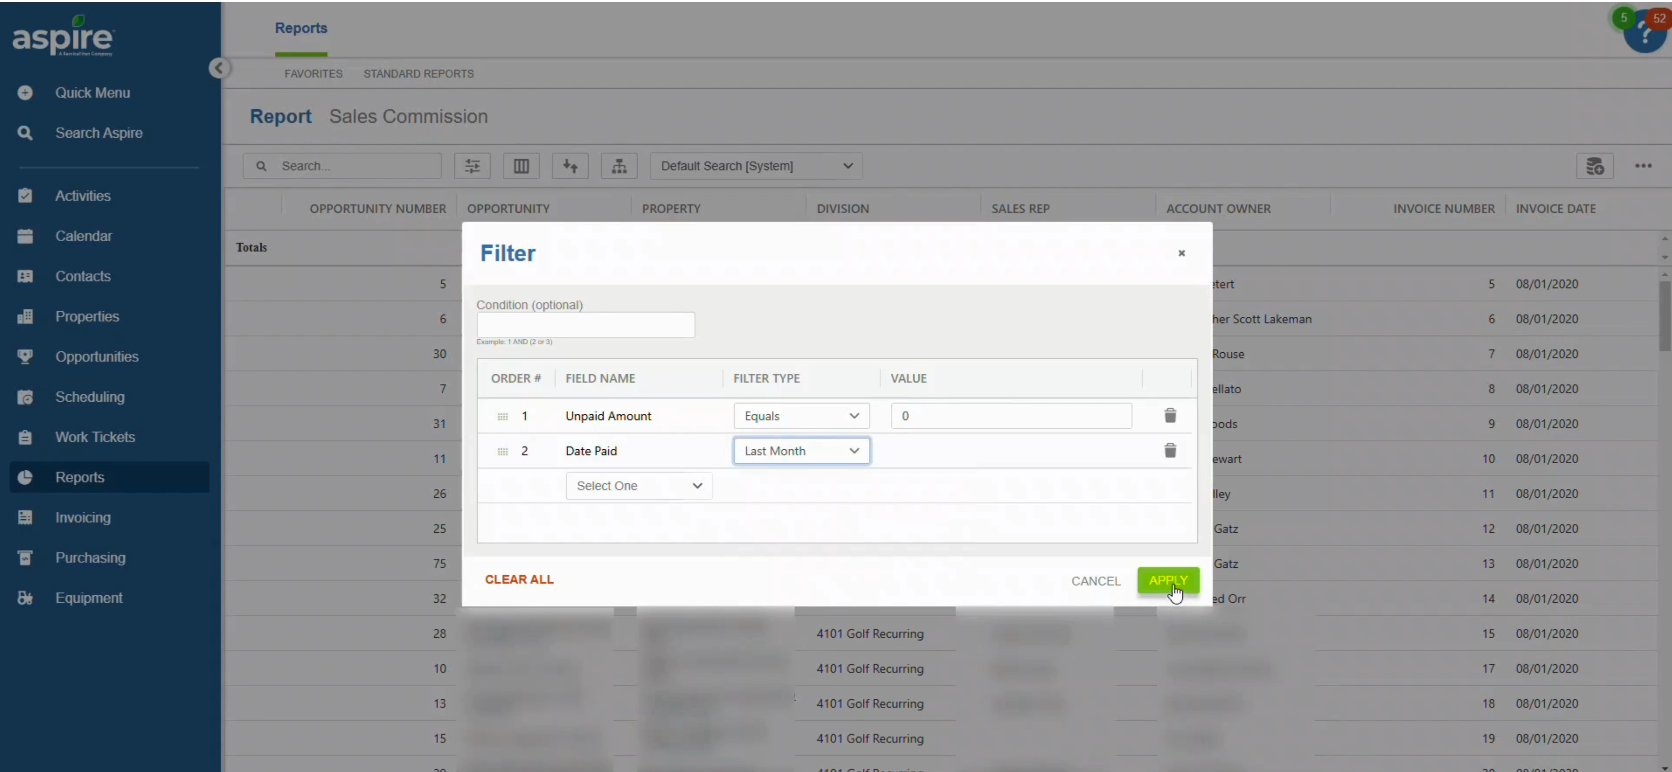
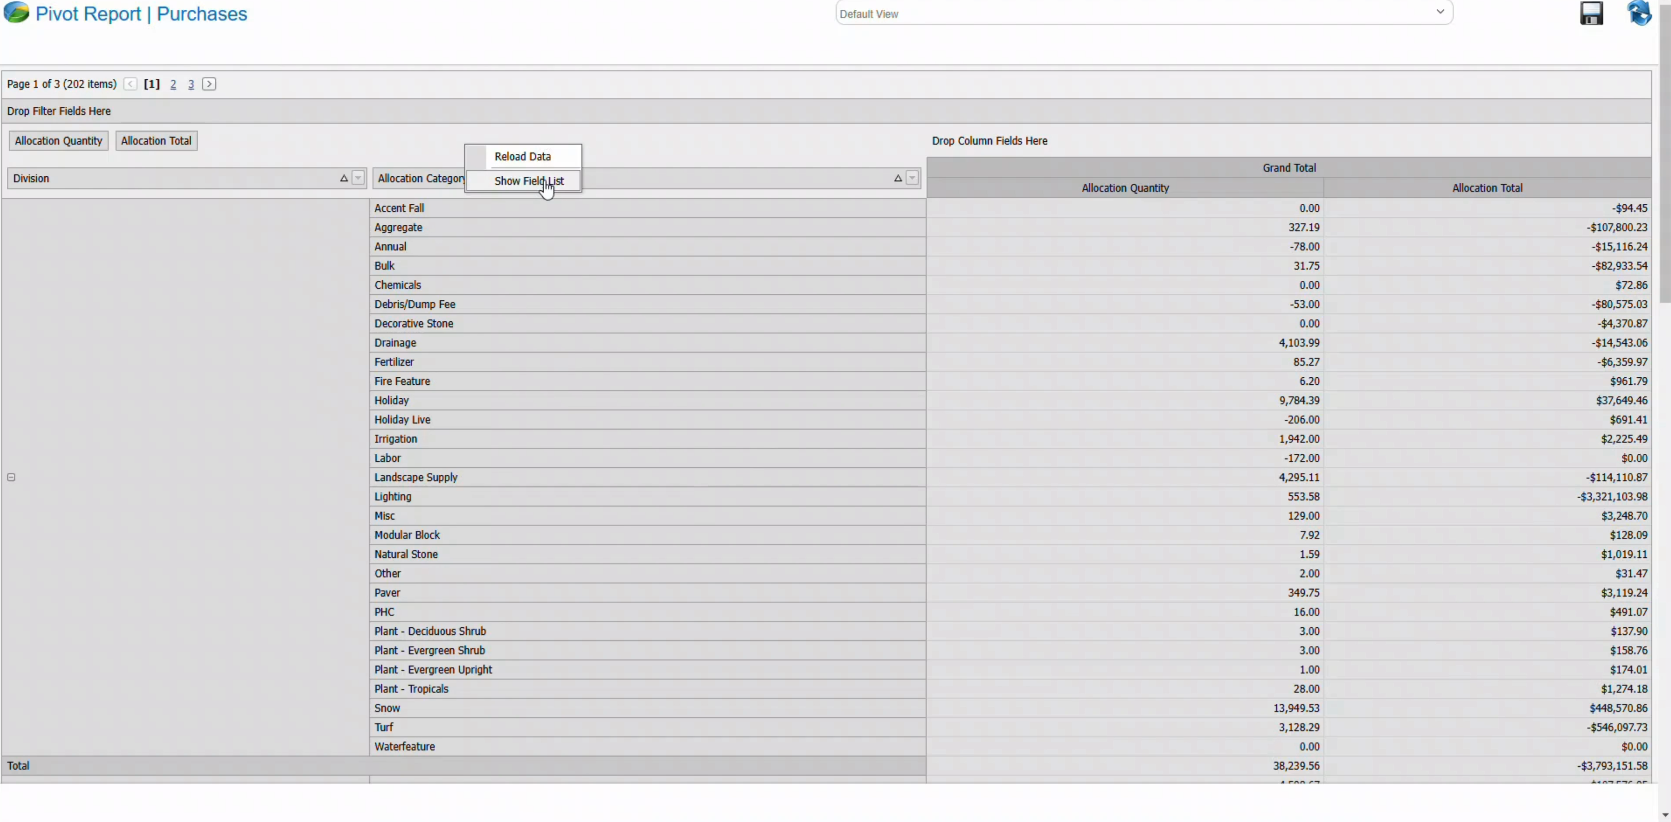
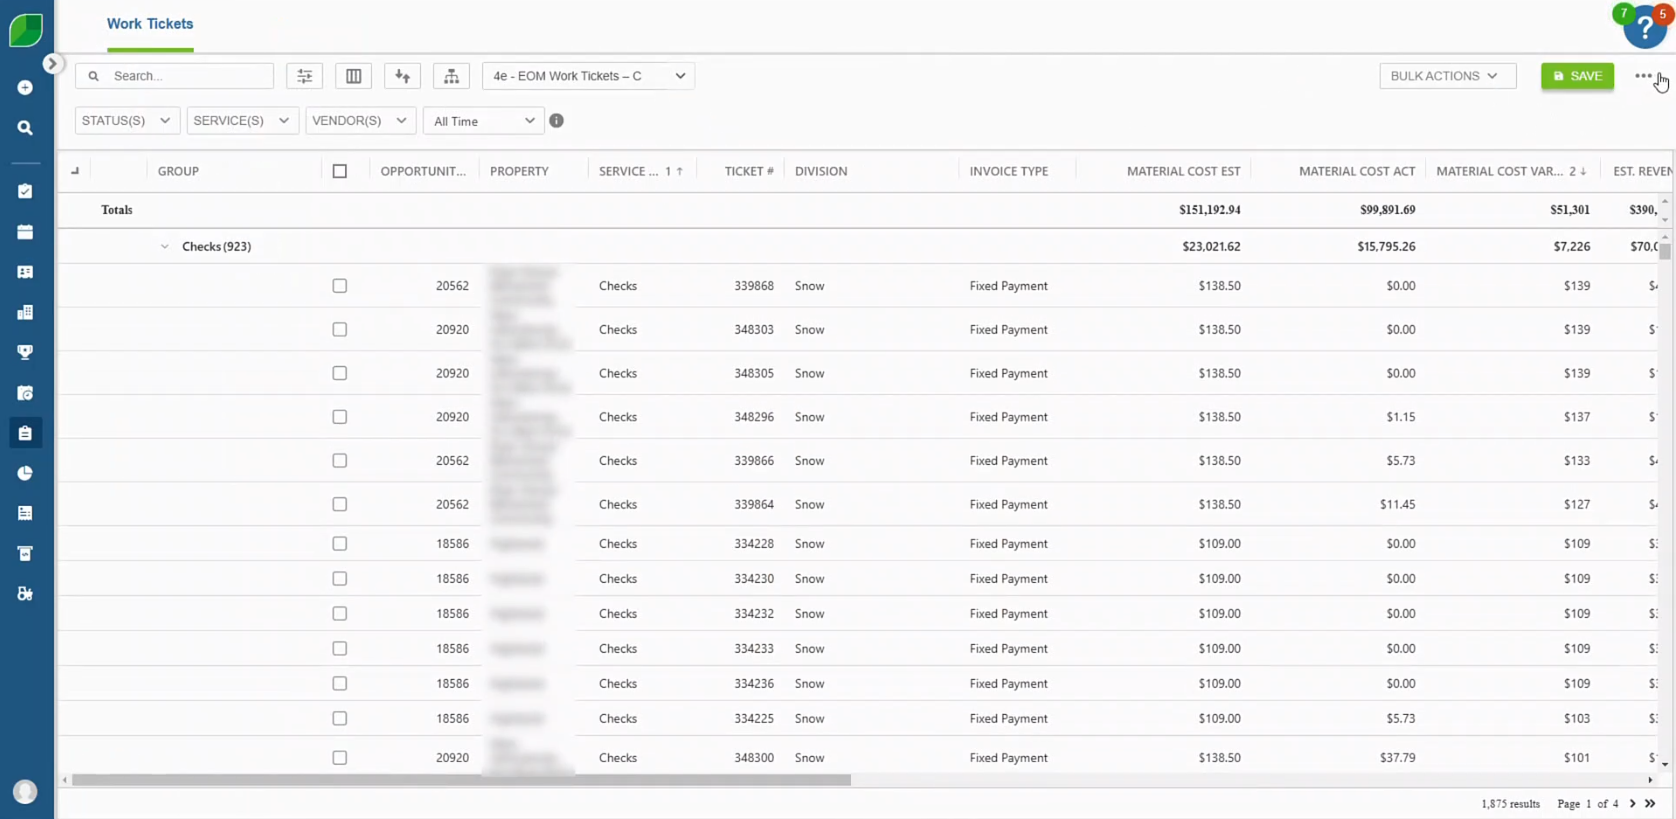
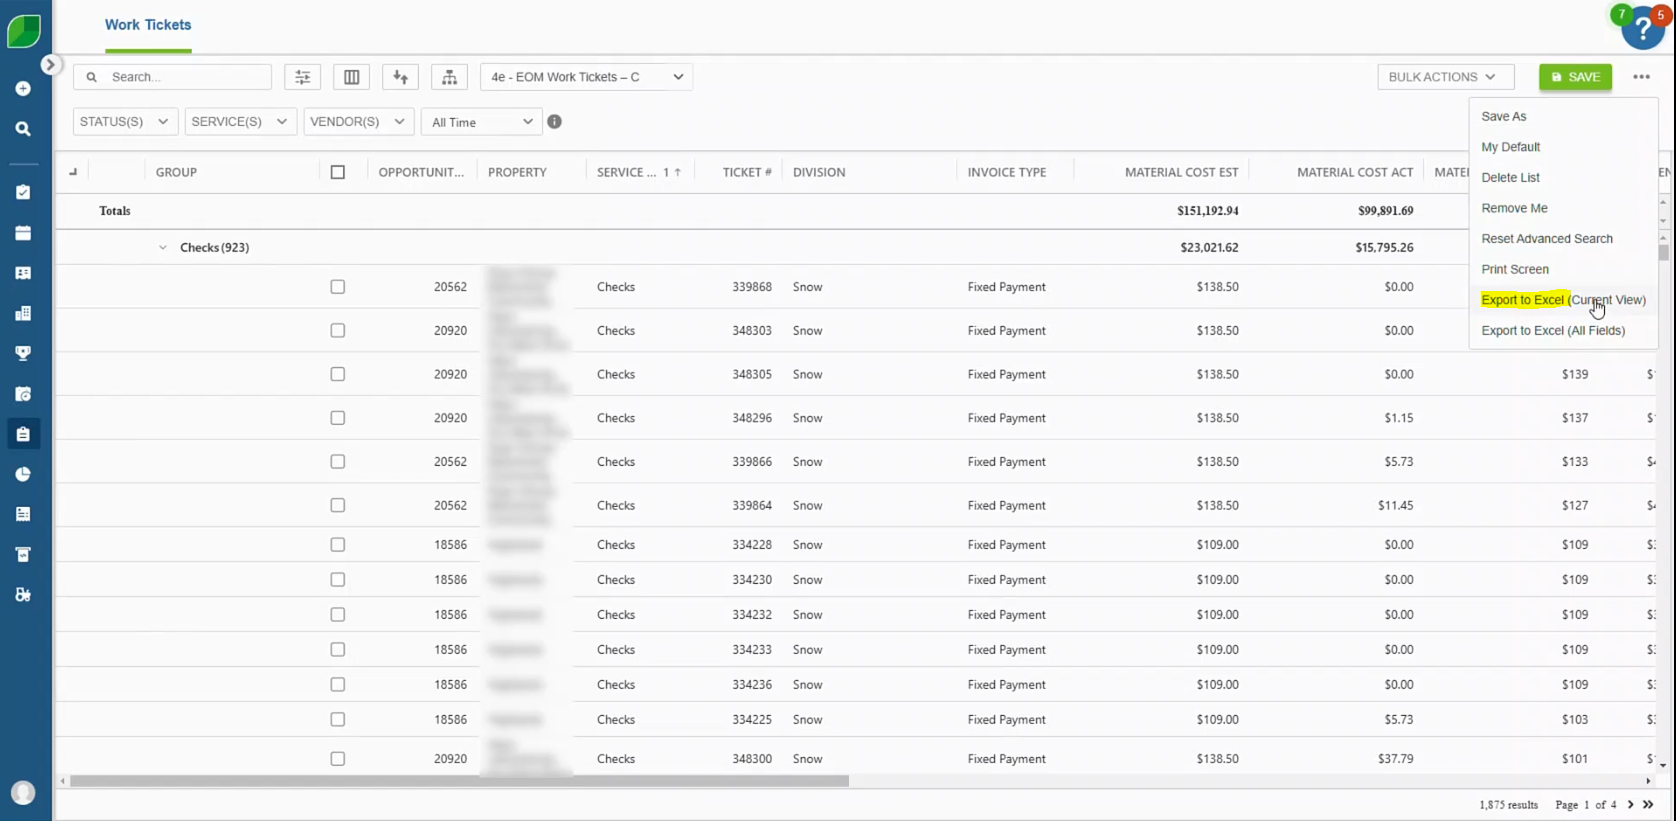
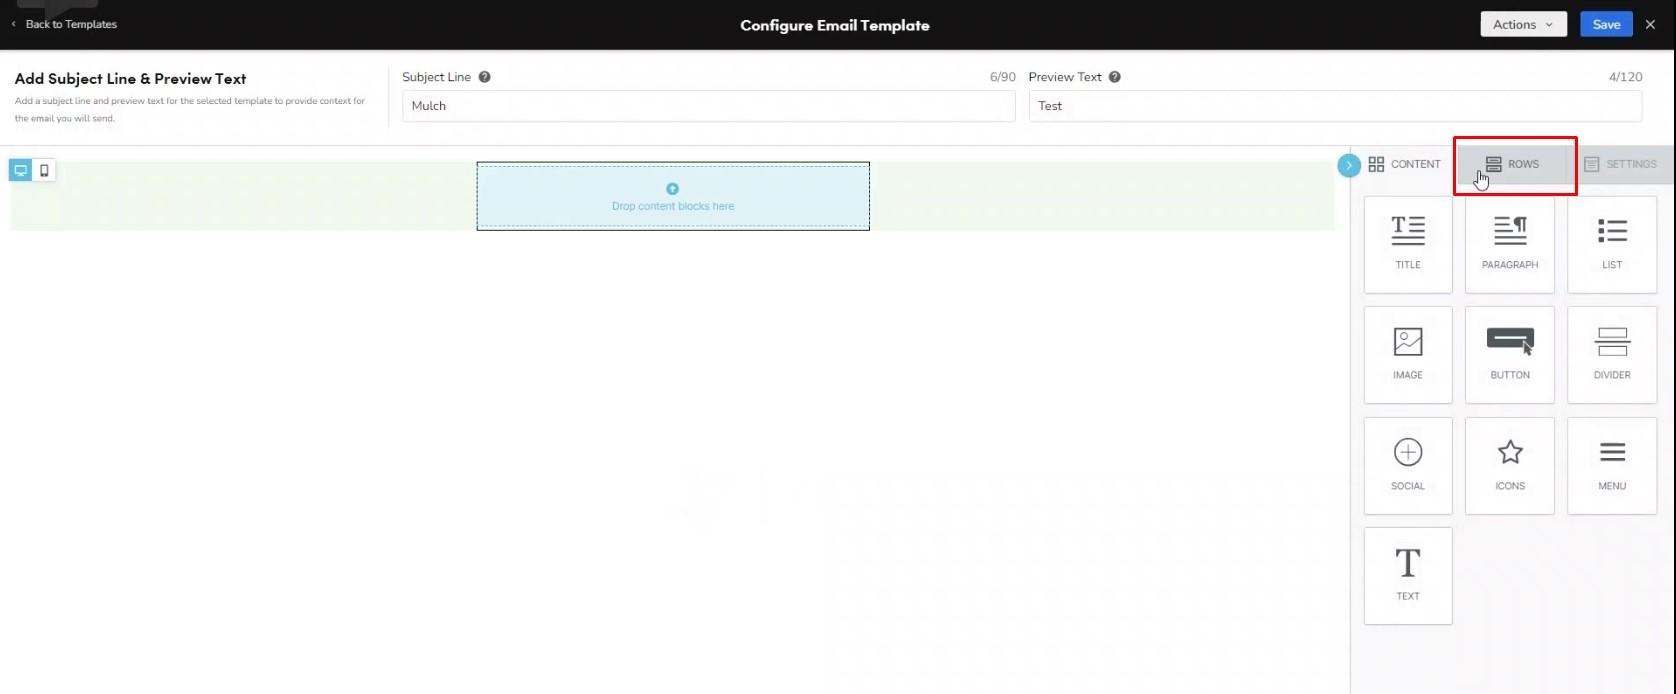
- Click on the Display Icon Right Side of Filter
- Use the display icon to open the report customization options.
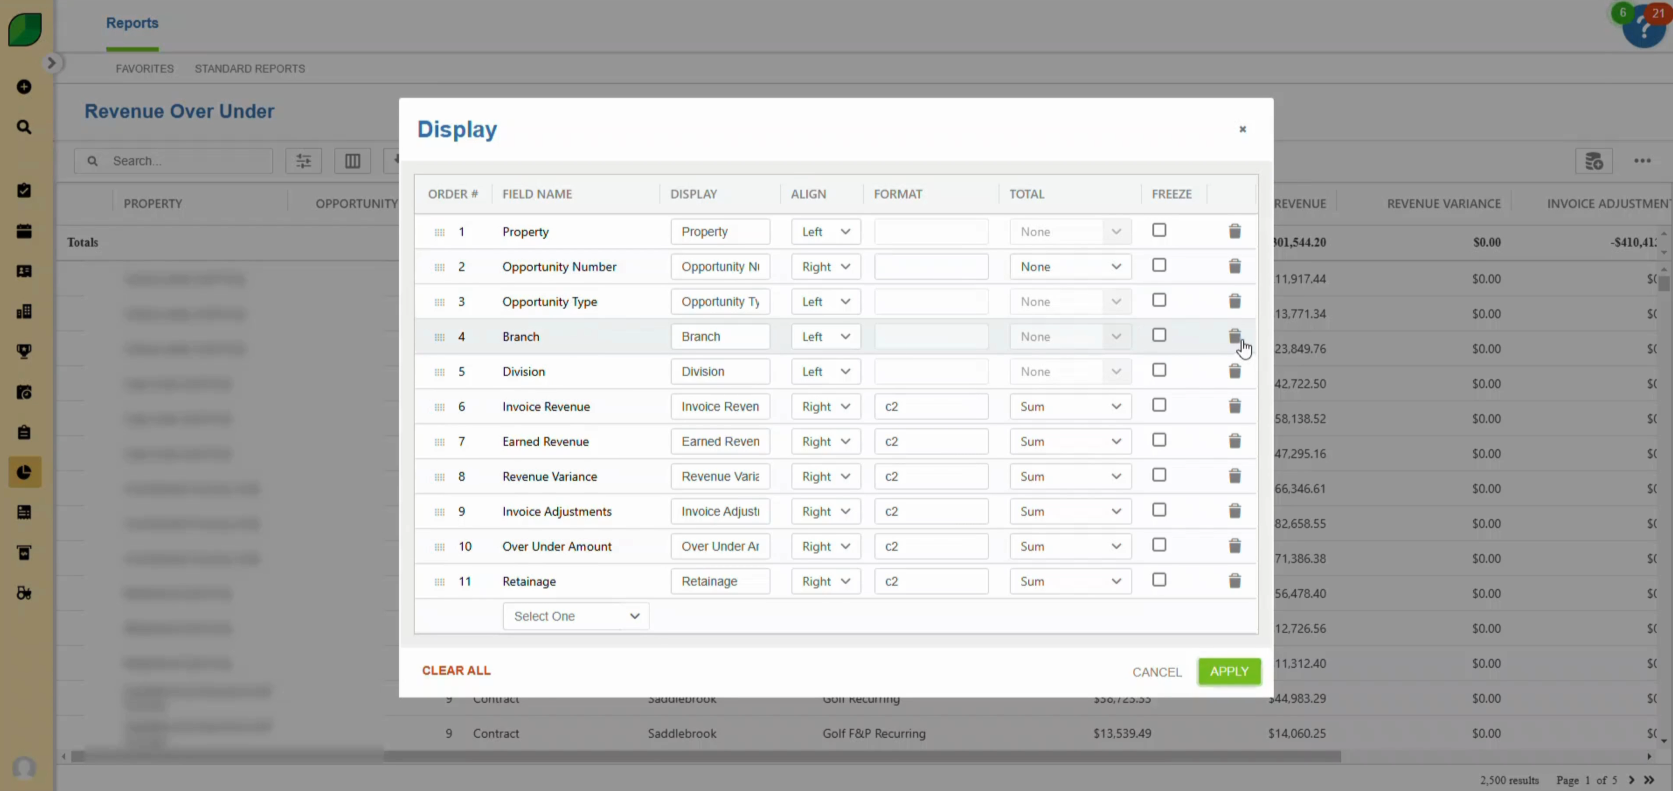
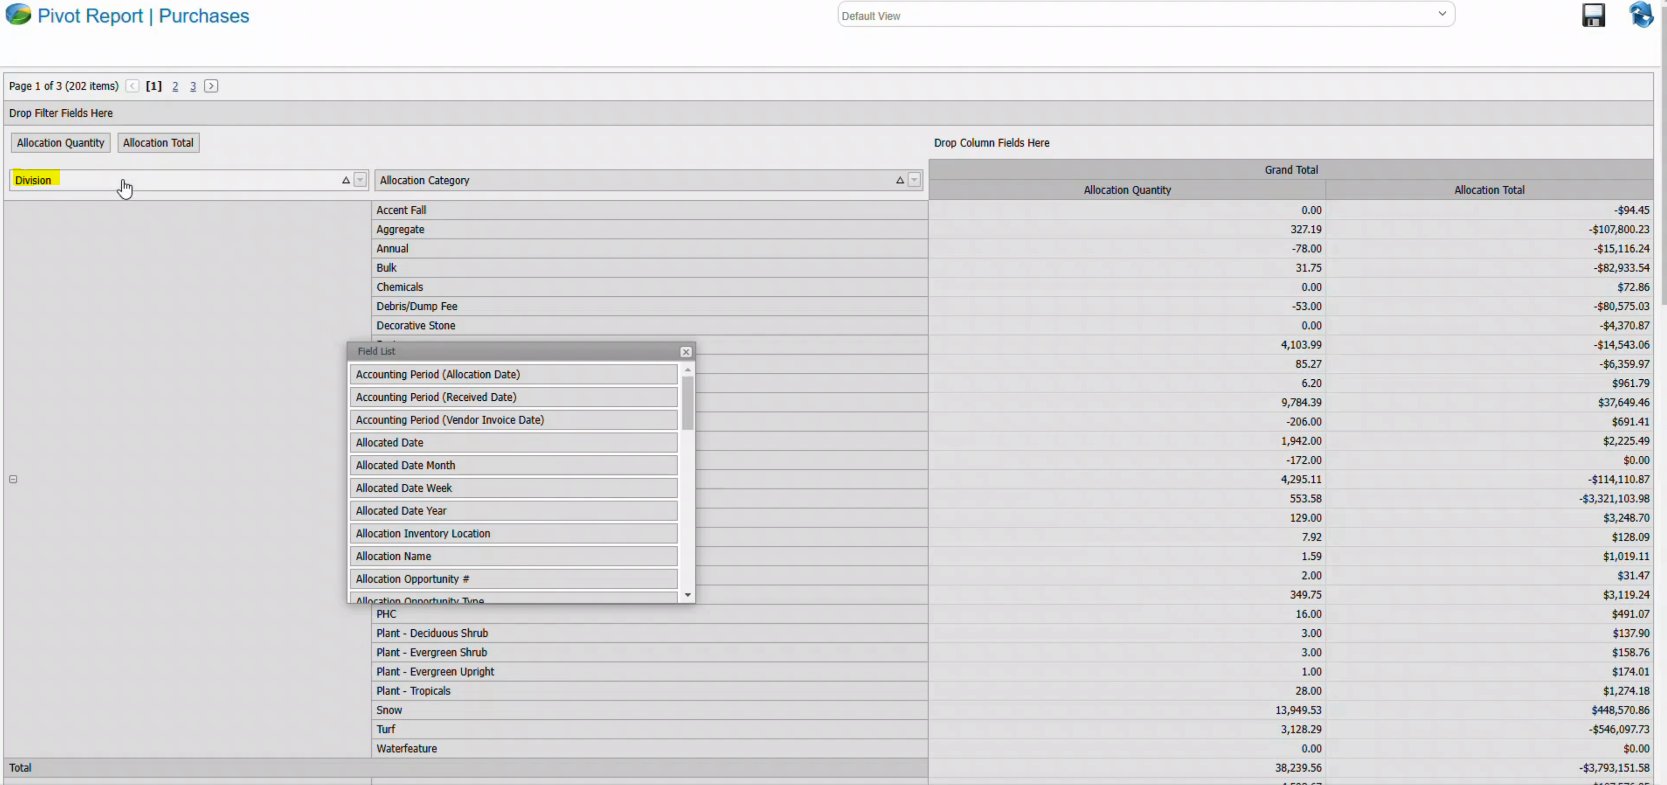
- Delete the Field Names
- Remove any existing field names to prepare for customization.
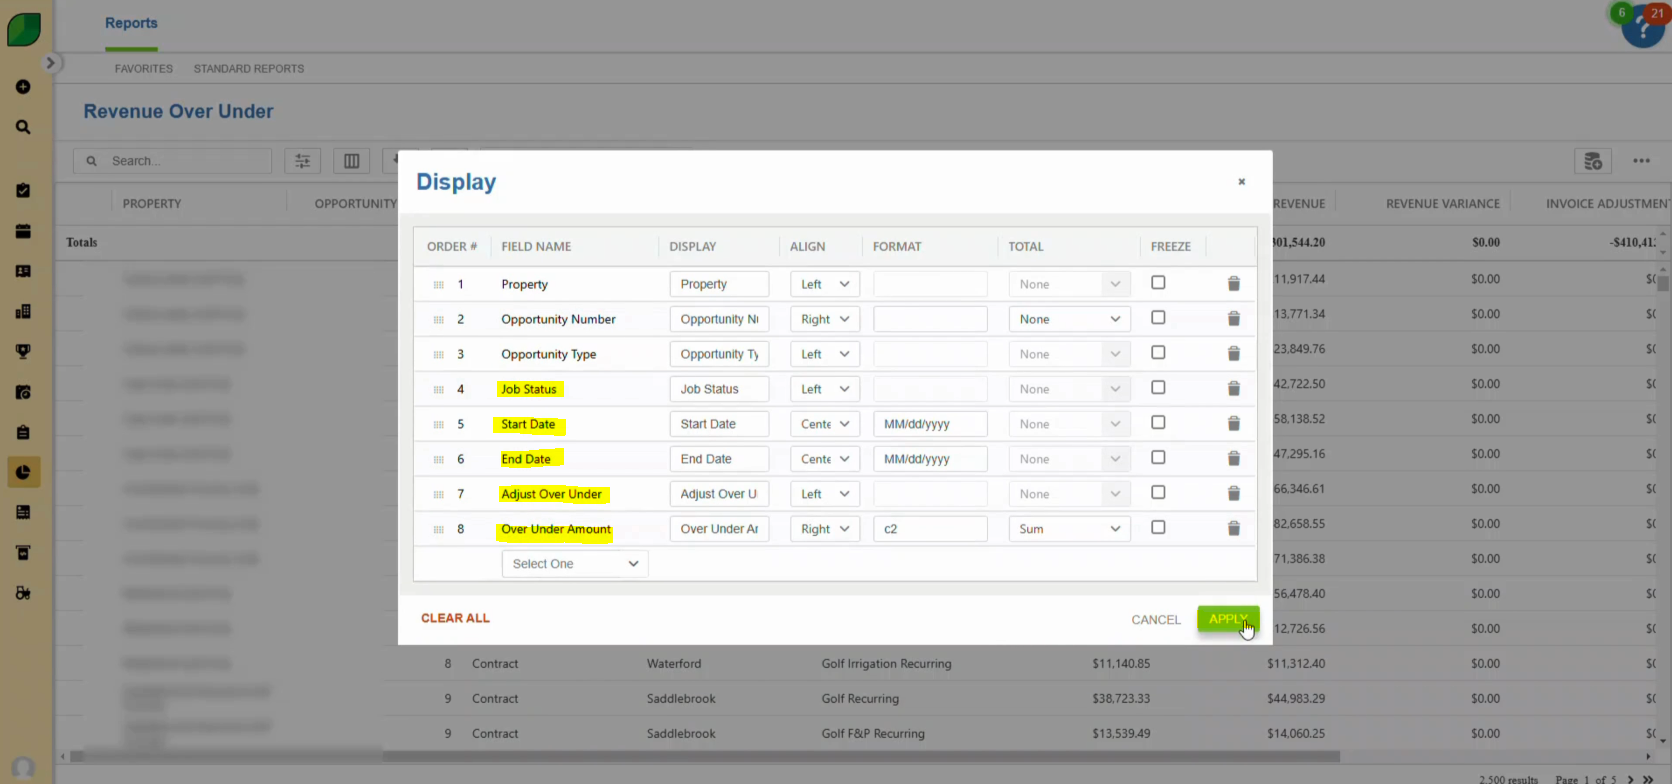
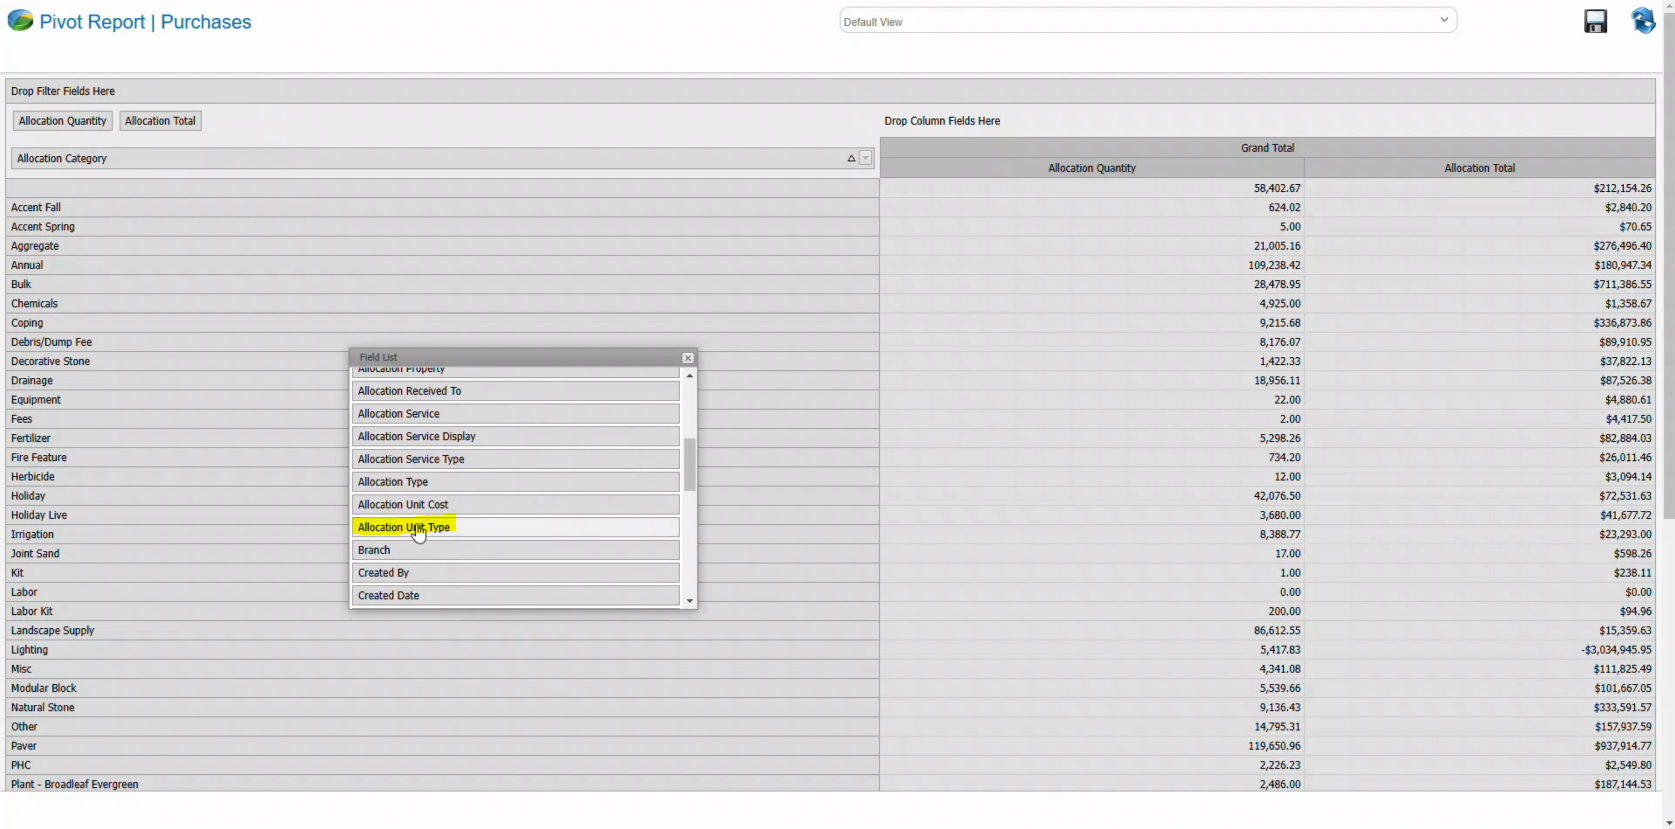
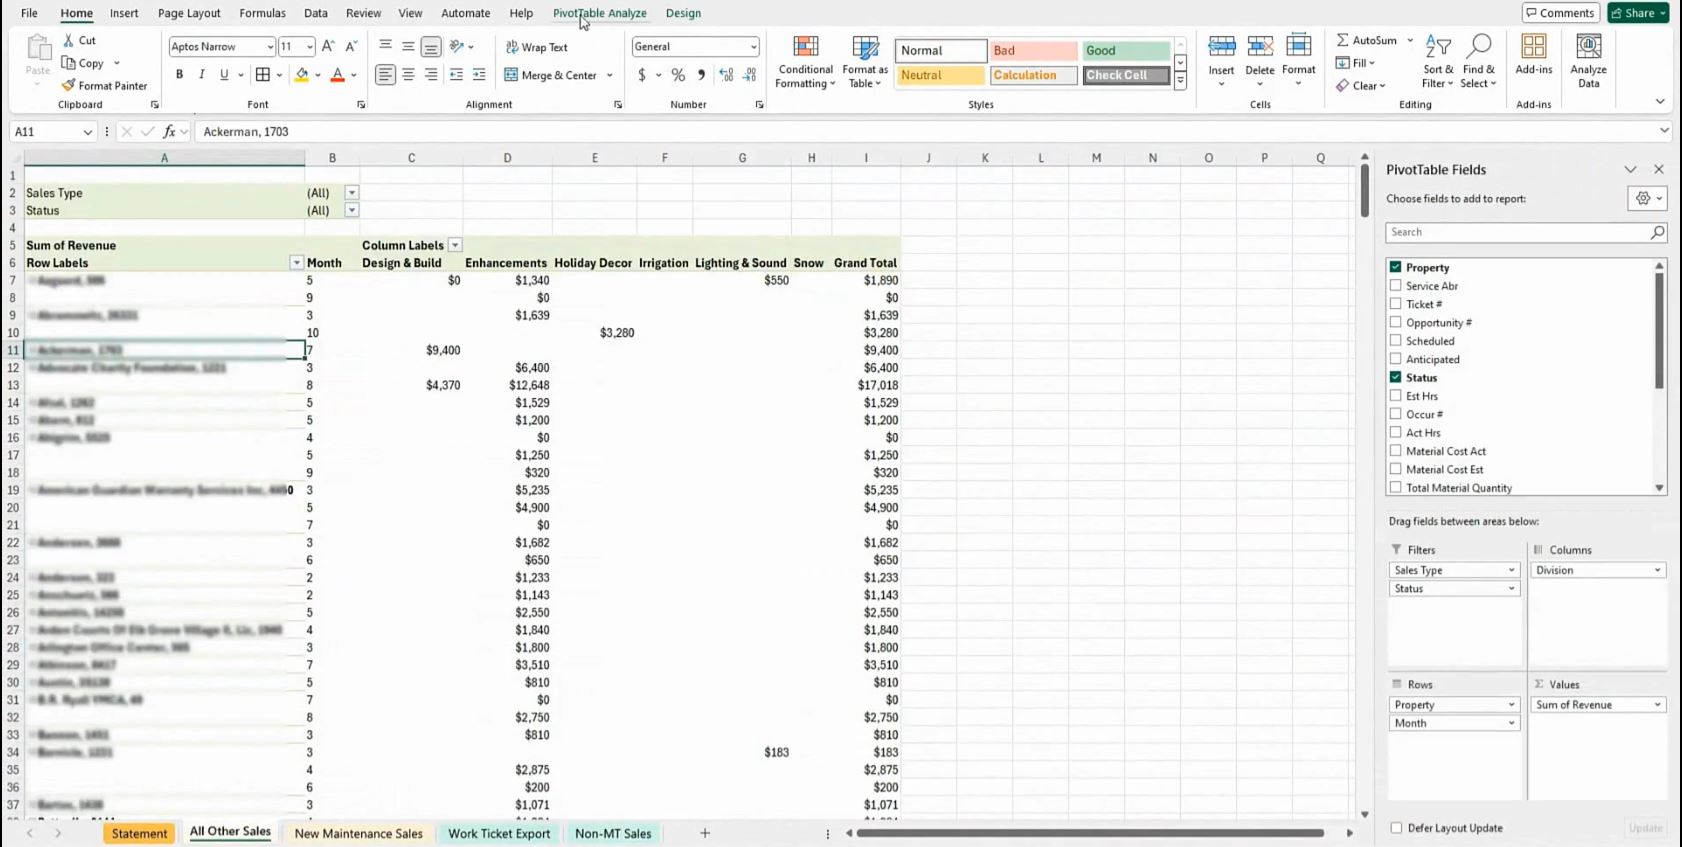
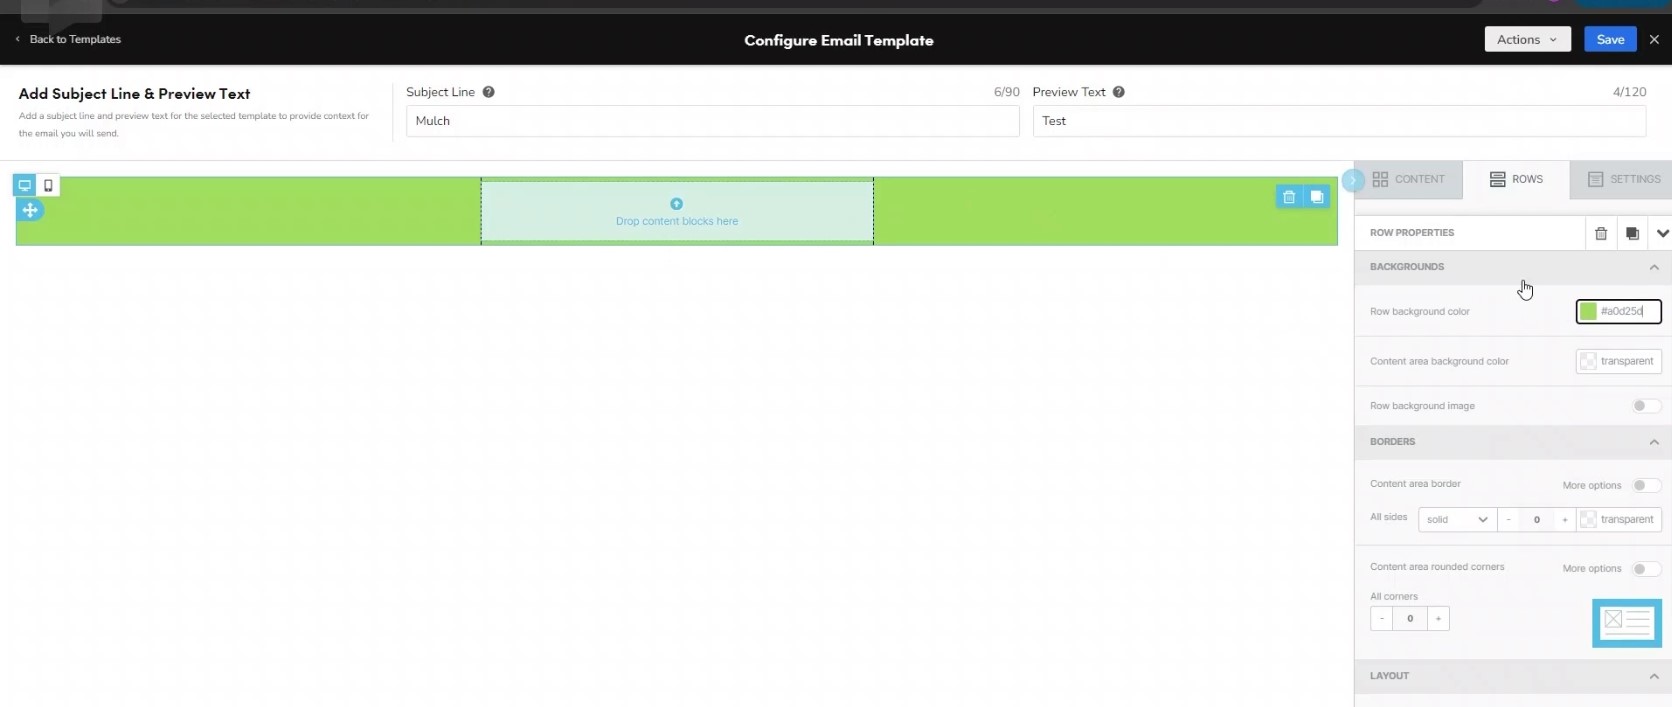
- Click on Select, Add Field Names Such As Job Type, Start Date, End Date, Adjust Over and Under, Then Click Apply
- Select and add the following field names:
- Job Type
- Start Date
- End Date
- Adjust Over and Under
- Click “Apply” to save the changes.

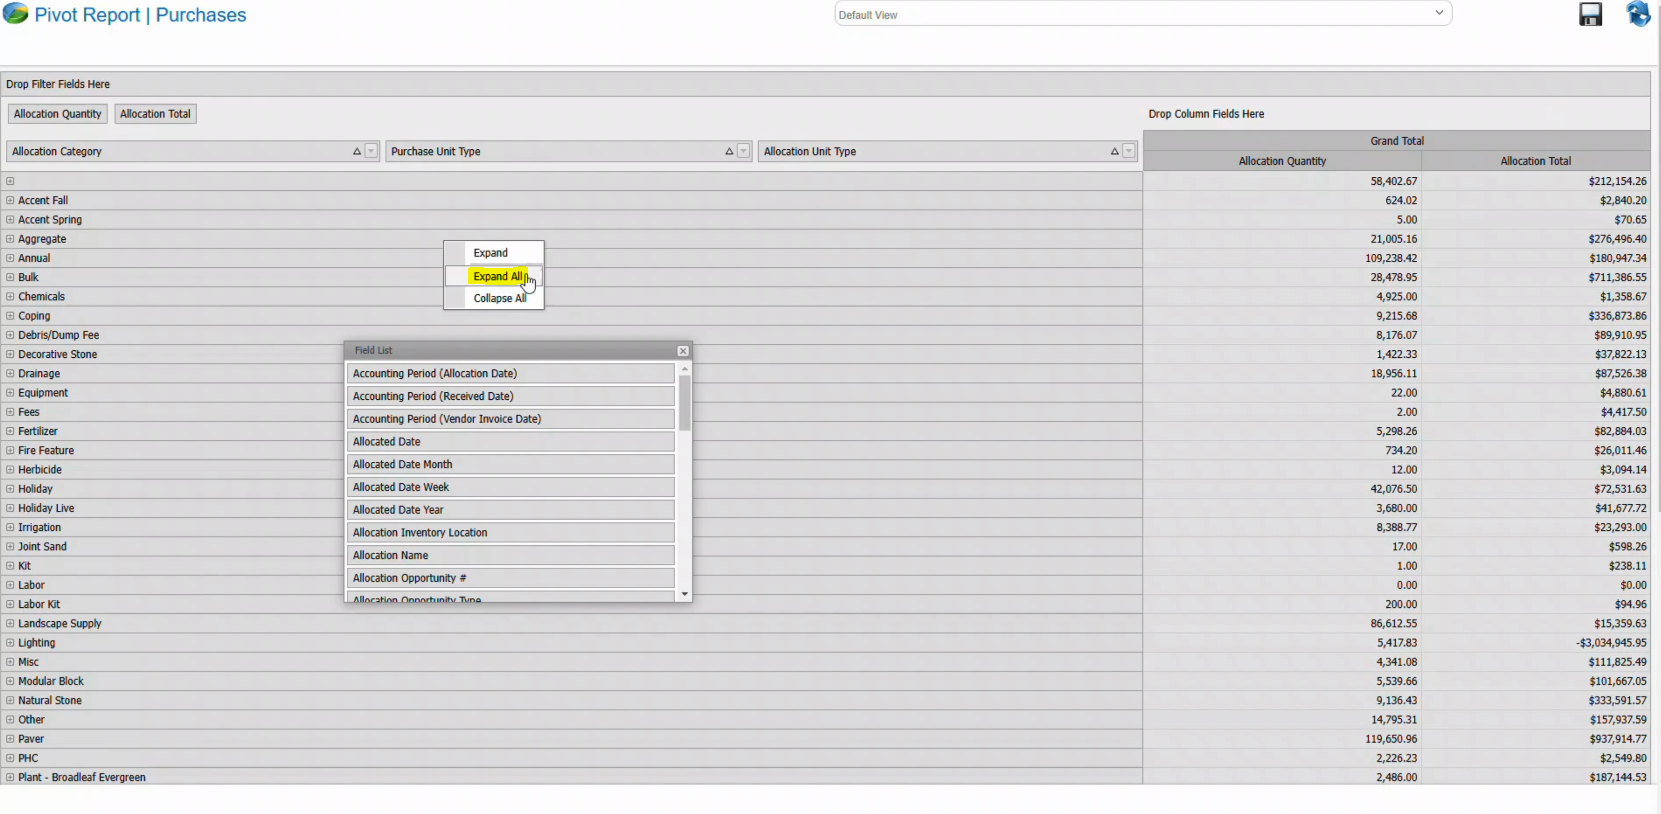
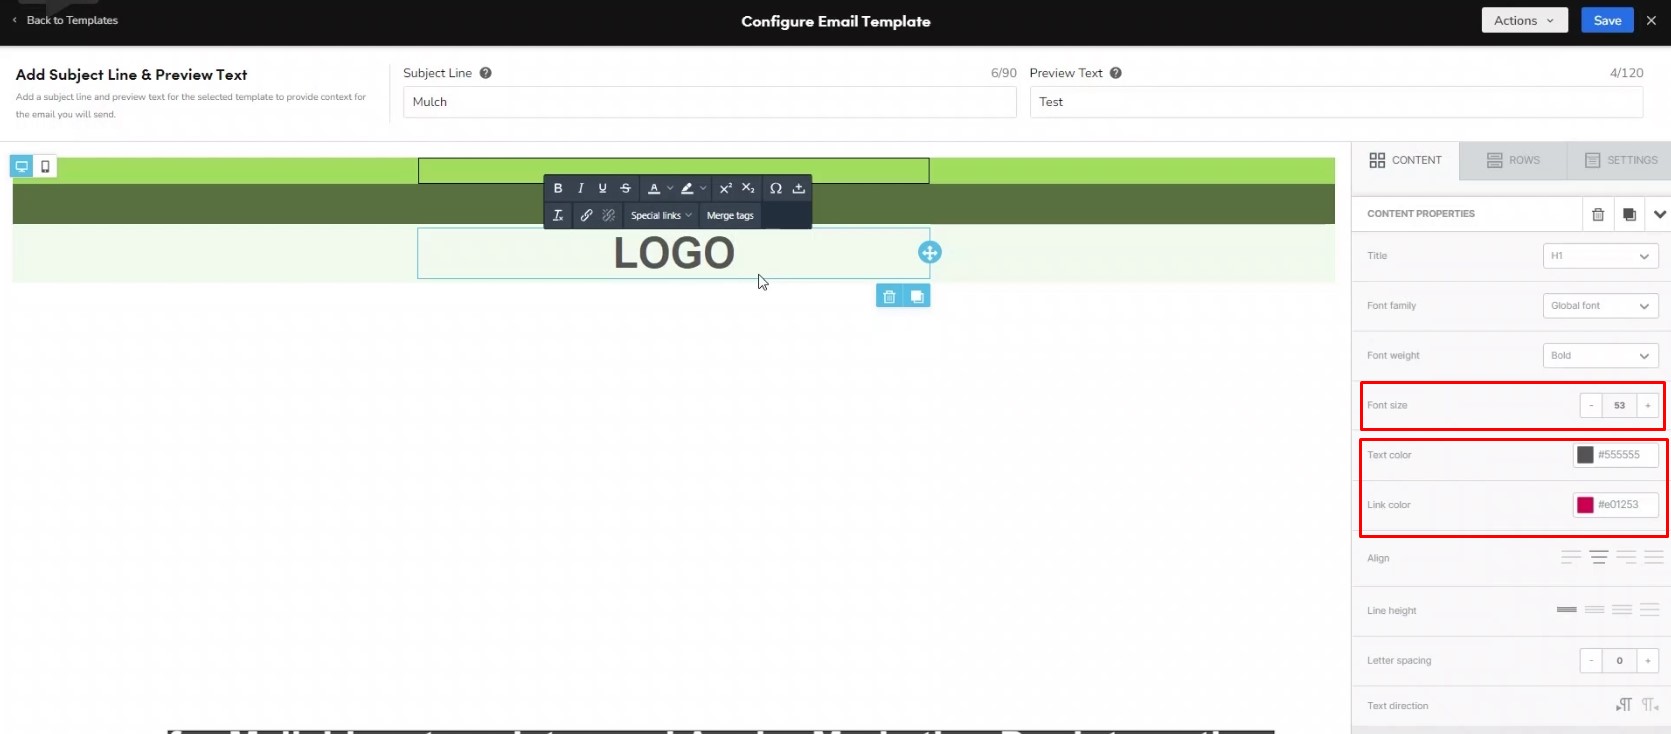
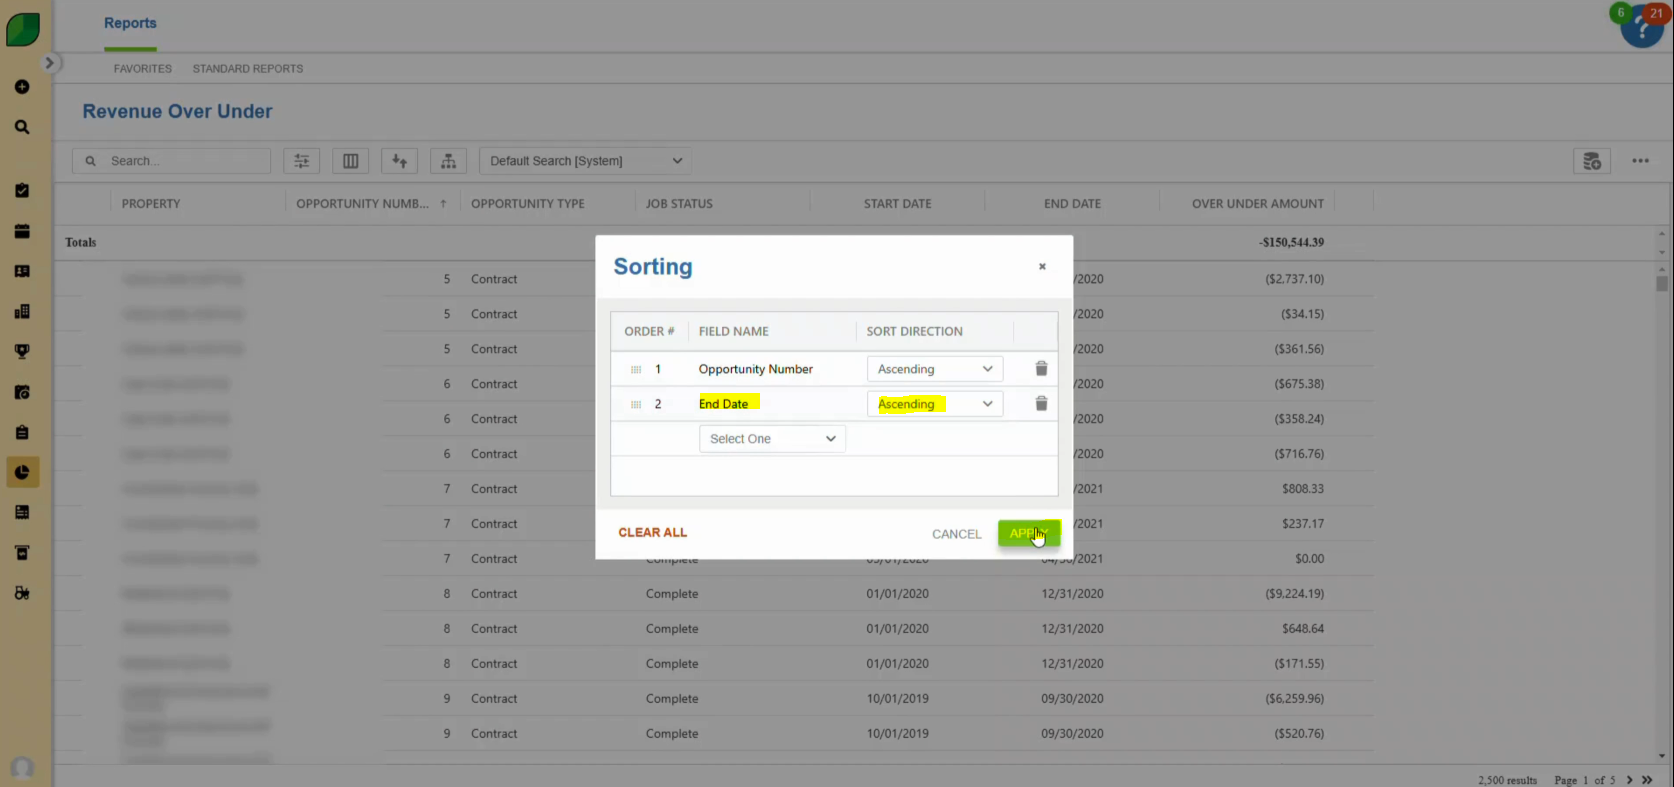
- Click on Sorting Icon and Sort as Per Opportunity Number in Ascending Order
- Open the sorting menu using the up and down arrow icon.
- Arrange the report data by “Opportunity Number” in ascending order.

- Again Click on Sort Icon and Select End Date in Ascending Order and Click Apply
- Perform a second sort by “End Date” in ascending order. Click “Apply” to finalize.
Following these steps ensures your Over/Under Revenue reports are accurate and customized for effective analysis. Properly adjusted reports provide clarity on earned and invoiced revenue, enabling better financial decision-making.
Download a PDF version of the job aide here.