

Effectively managing tasks in Aspire helps streamline workflows and ensure important activities are completed efficiently. This job aid provides step-by-step instructions on how to create and track tasks in Aspire.
Steps to Create a Task in Aspire:
1. Log in to Aspire
- Access your Aspire account.
- Navigate to the Tasks section from the Quick Menu.
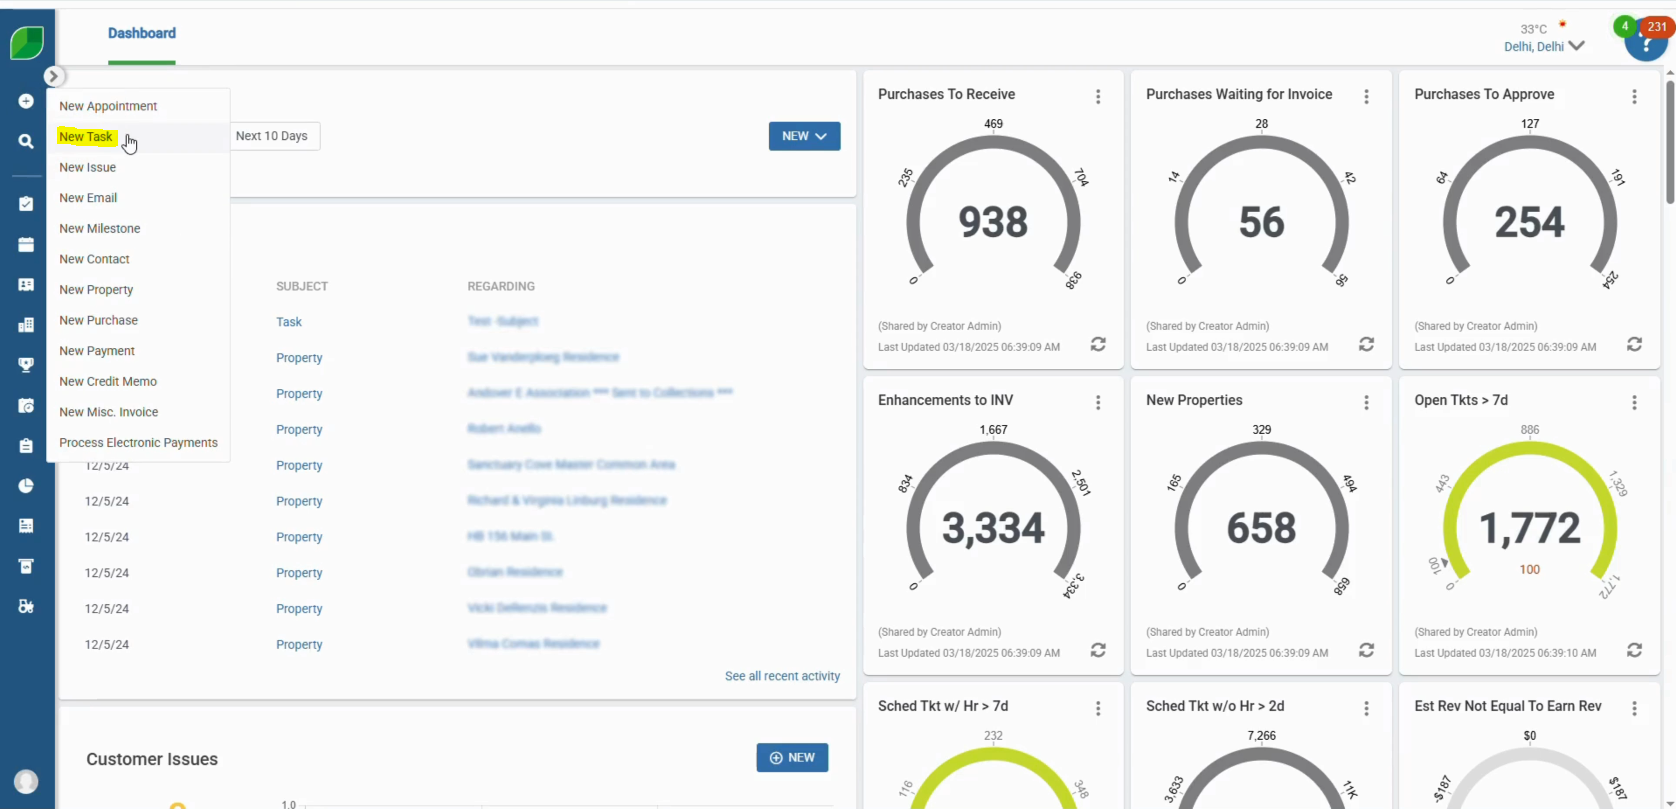
2. Add a New Task
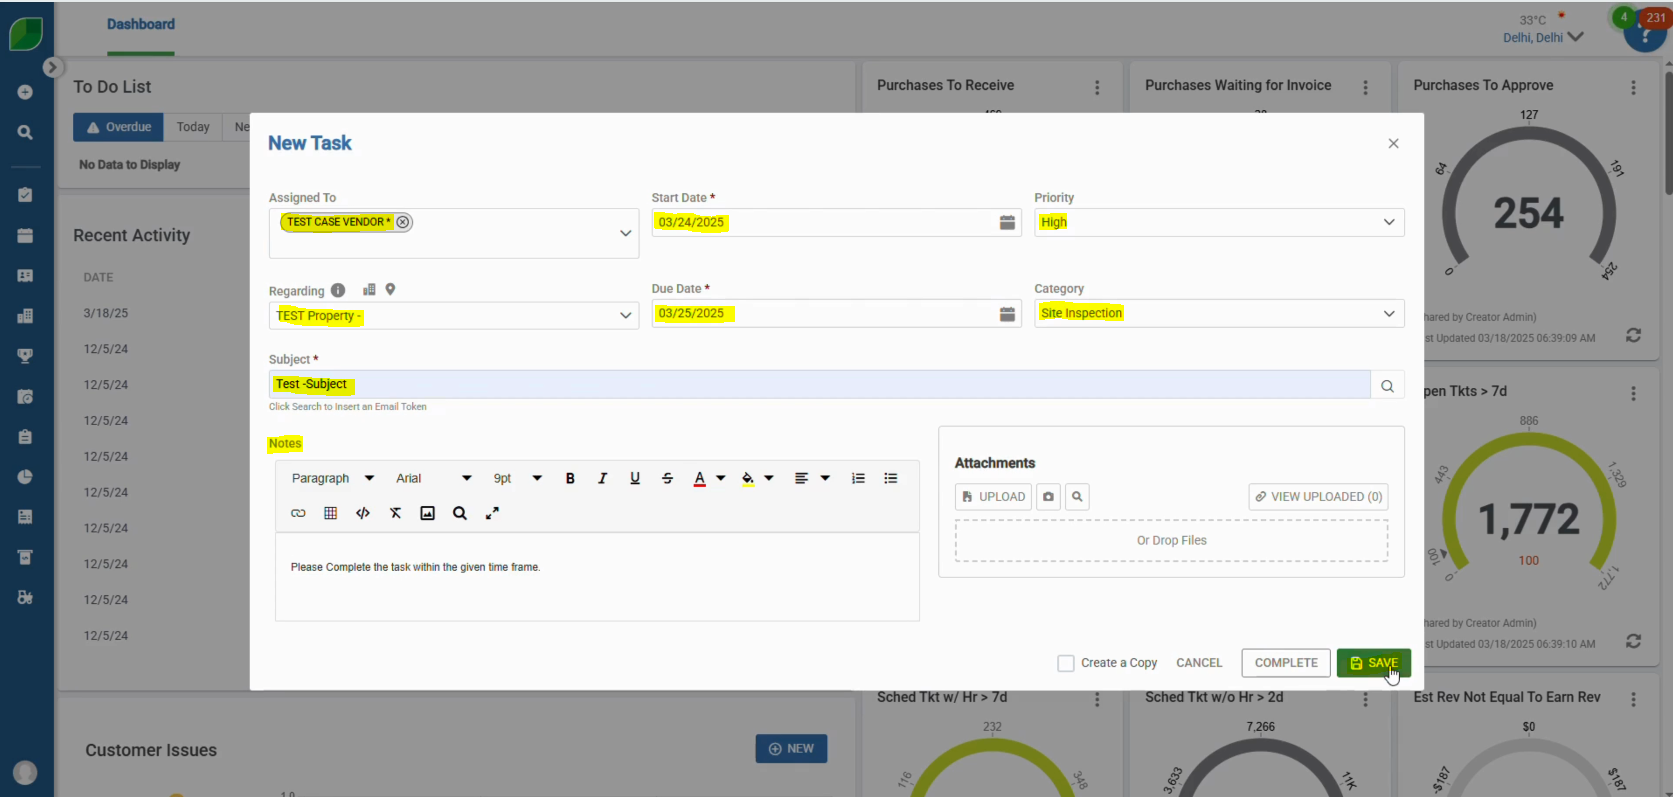
- Select the contact in the “Assigned To” field.
- Choose the “Regarding” option from the dropdown menu.
- Select the Start Date and Due Date for the task.
- Choose the Priority and Category of the task.
- Enter a Subject for the task.
- Add a note if necessary.
- Click “Save” to finalize the task. The task is now saved successfully.
3. Manage and Complete Tasks
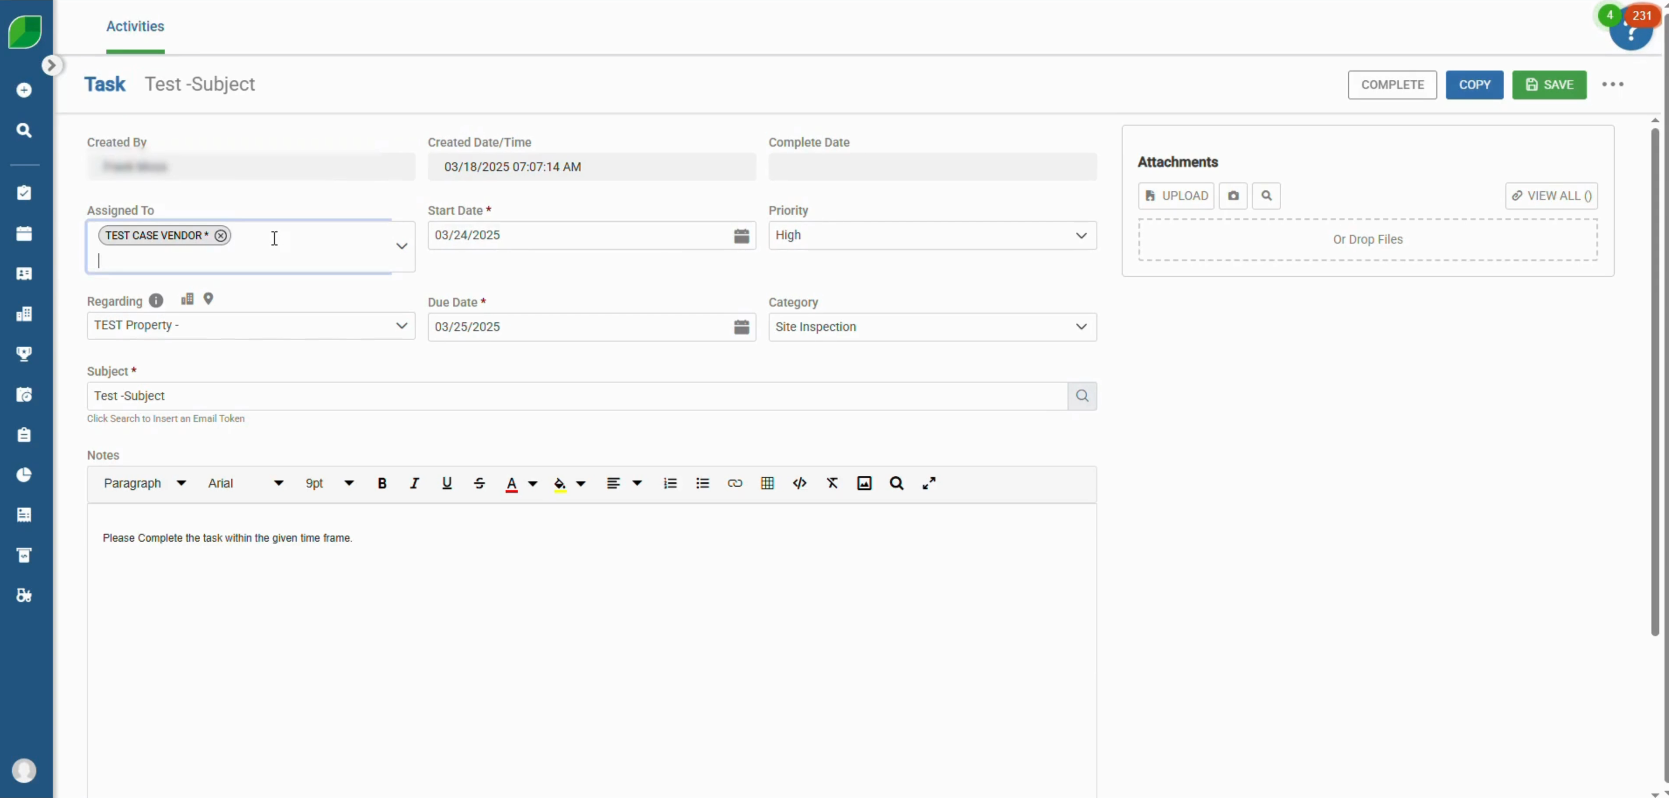
Return to the Aspire dashboard and navigate to the “Activities” section to find created tasks.
- Go to the “Activities” section.
Use the search function to locate the task by entering its “Regarding” details. This will display the task for tracking and management.
- Select the newly added task.
- Click “Save” to update the task status.
Managing and Completing Tasks:
- Tasks will remain on your To-Do List until marked as complete.
- Completed tasks stay linked to their associated records for tracking purposes.
- Use dashboard views to monitor and manage tasks efficiently.
Effectively utilizing tasks in Aspire helps maintain organized workflows and ensures timely completion of internal activities. Following these steps will enhance task management within your organization.
Download a PDF version of the job aide here.