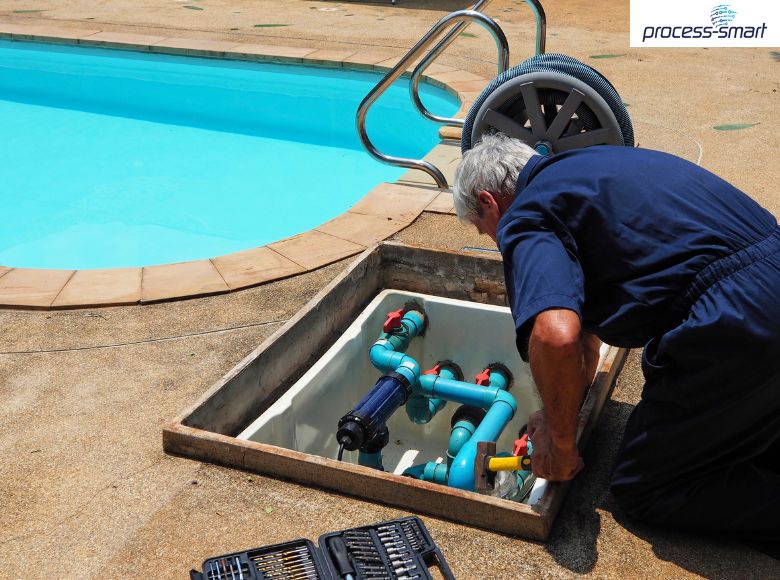
Managing pool maintenance goes beyond routine cleaning—it requires precise scheduling, accurate documentation, and consistent customer communication. For many pool maintenance companies, juggling these responsibilities often leads to inefficiencies and increased operational costs. Offshoring provides a transformative solution, enabling businesses to streamline operations, enhance service quality, and focus on growth.
Why Offshoring is the Key to Efficiency for Pool Maintenance Companies
1. Lower Operational Costs
Offshoring eliminates the need for additional office space, equipment, and in-house staff. Routine administrative tasks like billing, customer support, and record-keeping can be efficiently managed by offshore teams at a fraction of the cost.
2. Optimized Scheduling and Follow-Ups
Dedicated offshore teams ensure appointments are scheduled, reminders are sent, and follow-ups are conducted seamlessly, reducing no-shows and maximizing efficiency.
3. Enhanced Customer Service
With 24/7 offshore support, inquiries, complaints, and emergency calls are handled promptly, ensuring a positive and reliable experience for your customers.
4. Focus on Core Services
By outsourcing administrative and marketing tasks, your on-ground team can concentrate on delivering high-quality maintenance services and nurturing customer relationships.
5. Scalability for Seasonal Demand
Offshoring provides the flexibility to scale up or down depending on seasonal demand, ensuring your business remains agile and prepared for any fluctuations.
How Process-Smart Elevates Pool Maintenance Operations
At Process-Smart, we specialize in providing tailored offshoring solutions for pool maintenance companies. Our services are designed to tackle your operational challenges and deliver measurable results.
Key Offshoring Services We Offer
- Estimates and Quotations
- Assisting with preparation of cost estimates.
- Creating detailed analyses for potential customers.
- Lead Generation and Research
- Identifying and profiling leads.
- Prioritizing opportunities to maximize conversions.
- Data and Administrative Support
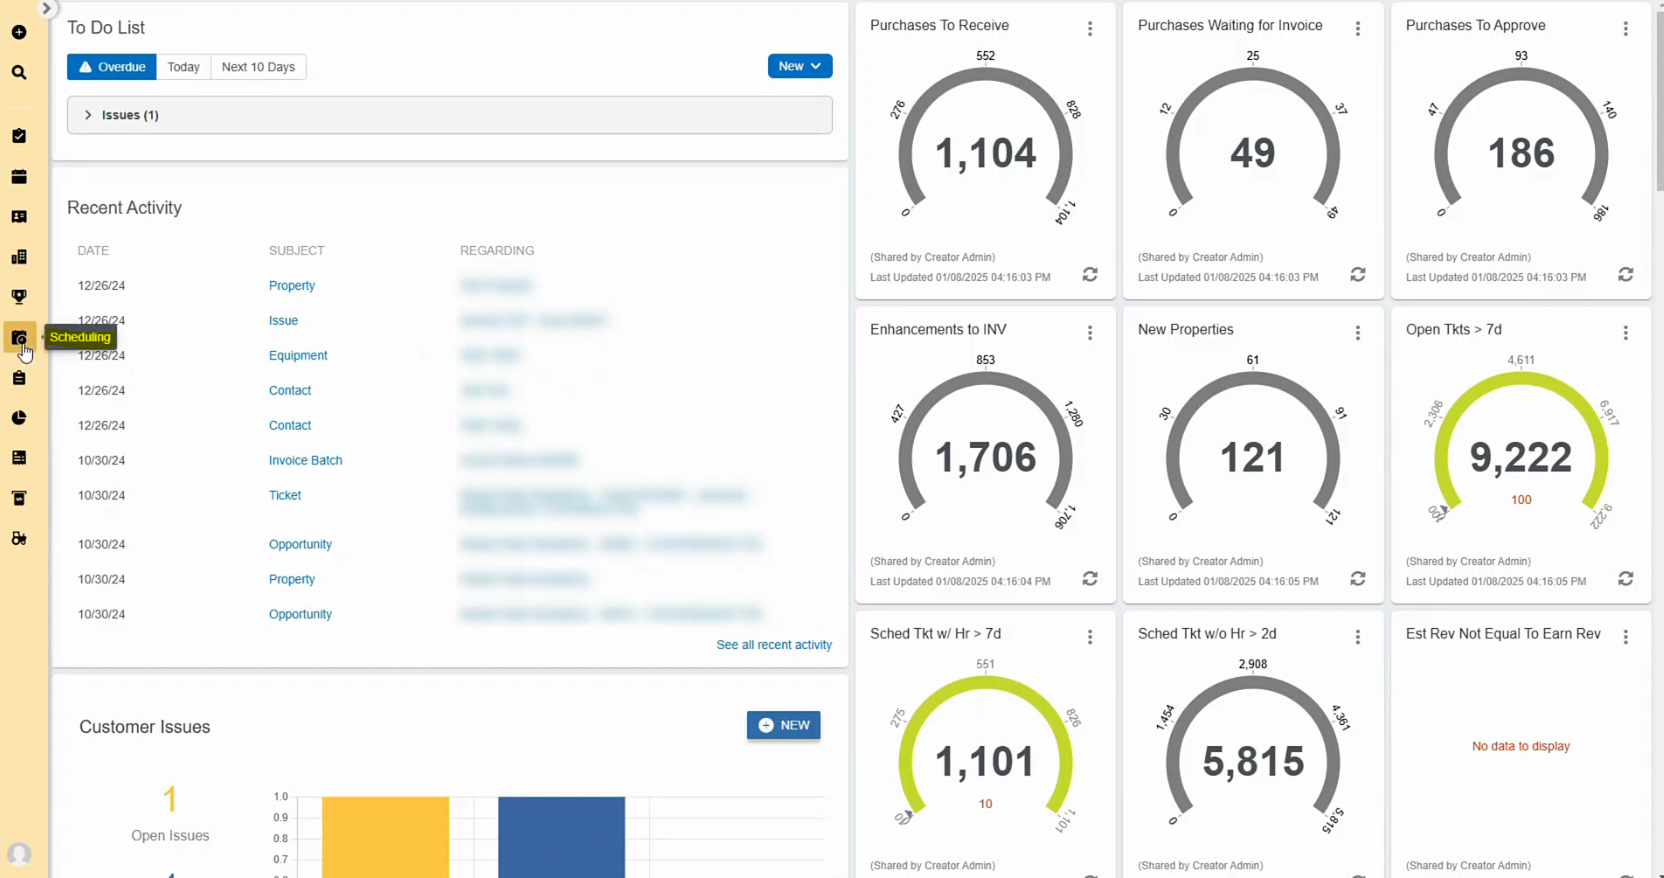
- Maintaining accurate CRM/ERP records.
- Uploading maintenance logs and tracking recurring service needs.
- Flagging potential issues to prevent service disruptions.
- Accounting and Bookkeeping
- Managing invoices, payments, and collections.
- Processing payroll and auditing financial records.
- Back Office Support
- Data migration, survey collection, and onboarding assistance.
- Drafting detailed reports and maintaining dashboards.
- Customer Support / Virtual Assistance
- 24/7 support for inquiries, scheduling, and emergencies.
- Handling follow-ups and appointment reminders professionally.
- Quality Assurance
- Reviewing service logs for accuracy and compliance.
- Flagging inconsistencies and performing virtual checks.
- Digital Marketing Services
- Creating SEO-optimized content and managing social media.
- Running email campaigns and cold outreach to generate leads.
- Enhancing website functionality and visibility.
Why Choose Process-Smart for Offshoring Your Pool Maintenance Needs?
1. Industry Expertise
We have extensive experience supporting service-based businesses, including pool maintenance companies, ensuring we understand your unique challenges and requirements.
2. Customized Solutions
Our services are tailored to your specific goals, whether it’s improving customer service, enhancing marketing efforts, or streamlining administrative processes.
3. Performance Monitoring
With weekly scorecards, SOP reviews, and client calls, we ensure transparency and accountability in every task we undertake.
4. Cost-Effective and Reliable Execution
Cross-trained teams led by experienced managers guarantee uninterrupted service, helping you maintain consistent quality while reducing costs.
Partner with Process-Smart for Seamless Pool Maintenance Operations
Offshoring is not just a cost-saving measure—it’s a strategic approach to building efficiency and delivering superior customer service. With Process-Smart, you gain a trusted partner who understands your business and offers customized solutions to help you thrive in a competitive market.
Let us help you streamline operations, boost service quality, and achieve your growth goals with offshoring solutions tailored for success. Reach out to Process-Smart today to transform your pool maintenance operations!
