


Managing issues efficiently in Aspire is crucial for smooth operations in accounts receivable. This guide outlines the steps to create, update, and complete an issue in the Aspire dashboard. Follow these instructions to ensure accurate issue tracking and resolution.
Creating an Issue
Issues in Aspire allow for efficient tracking and resolution. Below are the steps to create a new issue in the system:
1. Access Your Dashboard and Click on “New”
- Log in to your Aspire account.
- Navigate to the dashboard where you can manage issues.
- In the Aspire dashboard, click on the “New” button.
- Select “New Issue” from the dropdown menu to begin creating an issue.

2. Mention Assigned To, then Set Priority and Mention Due Date
- Specify the person responsible for handling the issue.
- Choose the priority level for the issue (e.g., High, Medium, Low).
- Enter the deadline by which the issue should be resolved.

3. Add What the Issue is Regarding, Select Category and Mention Opportunity (if applicable)
- Provide relevant details about the issue to ensure clarity.
- Choose a category for the issue (e.g., “Complaint”).
- If applicable, select “Create New Opportunity” to associate the issue with an opportunity.
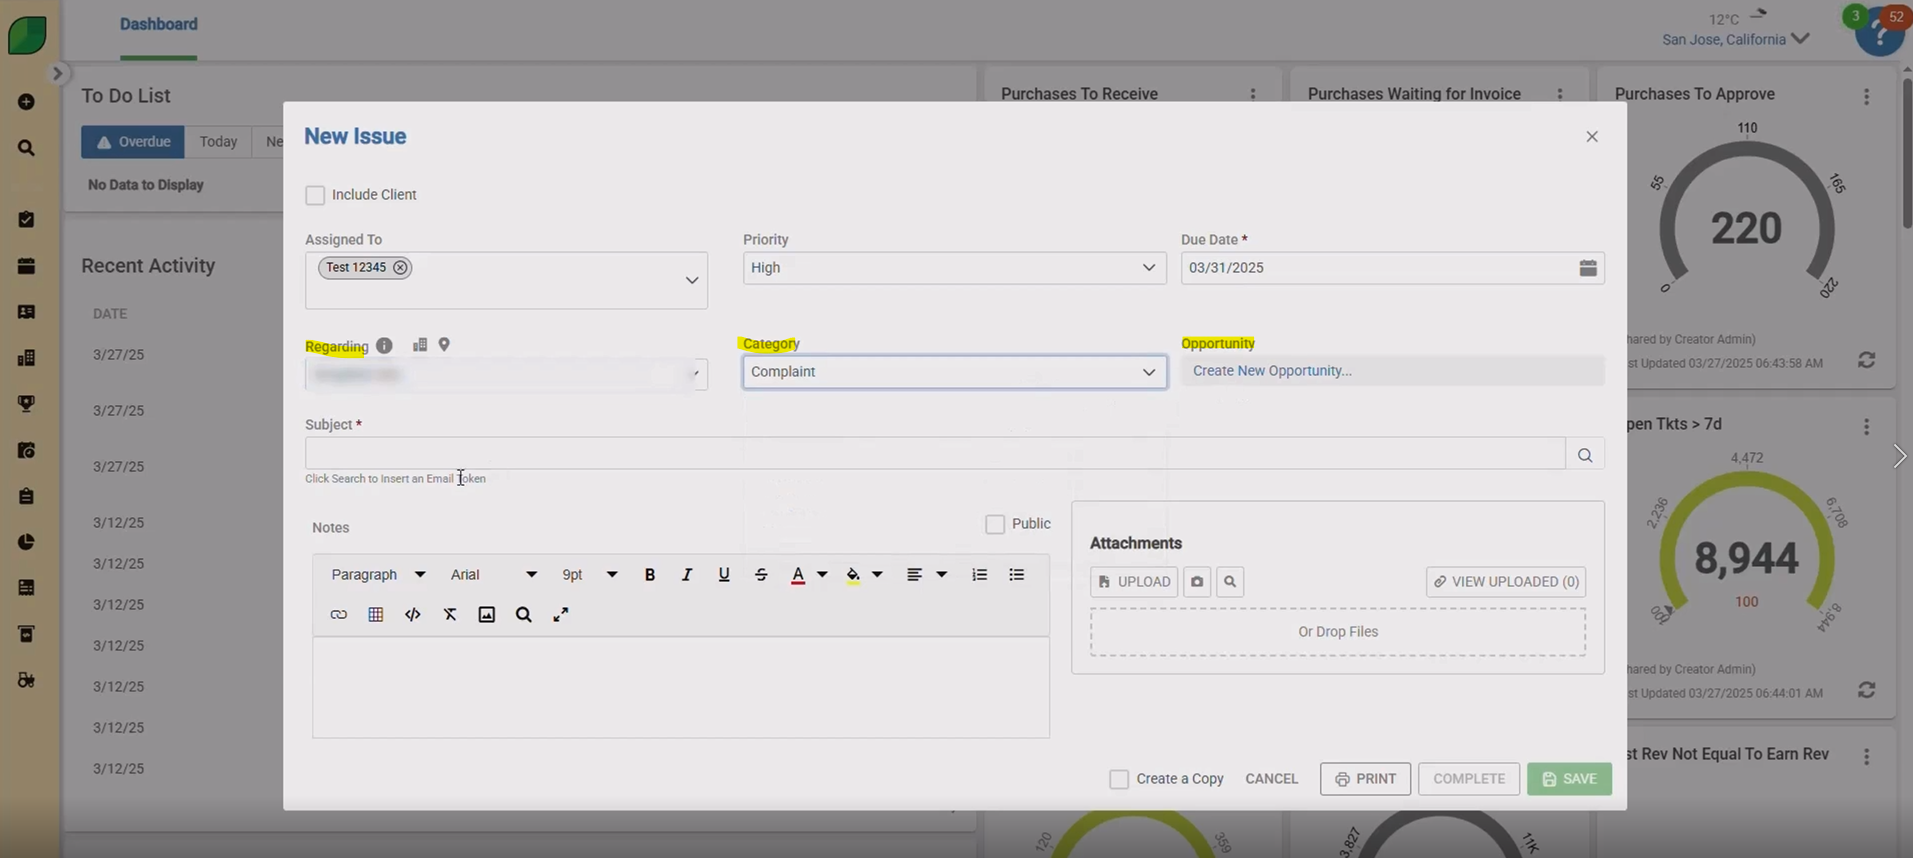
4. Enter Subject
- Provide a clear and concise subject for the issue.
- If client inclusion is needed, check the box at the top of the form.
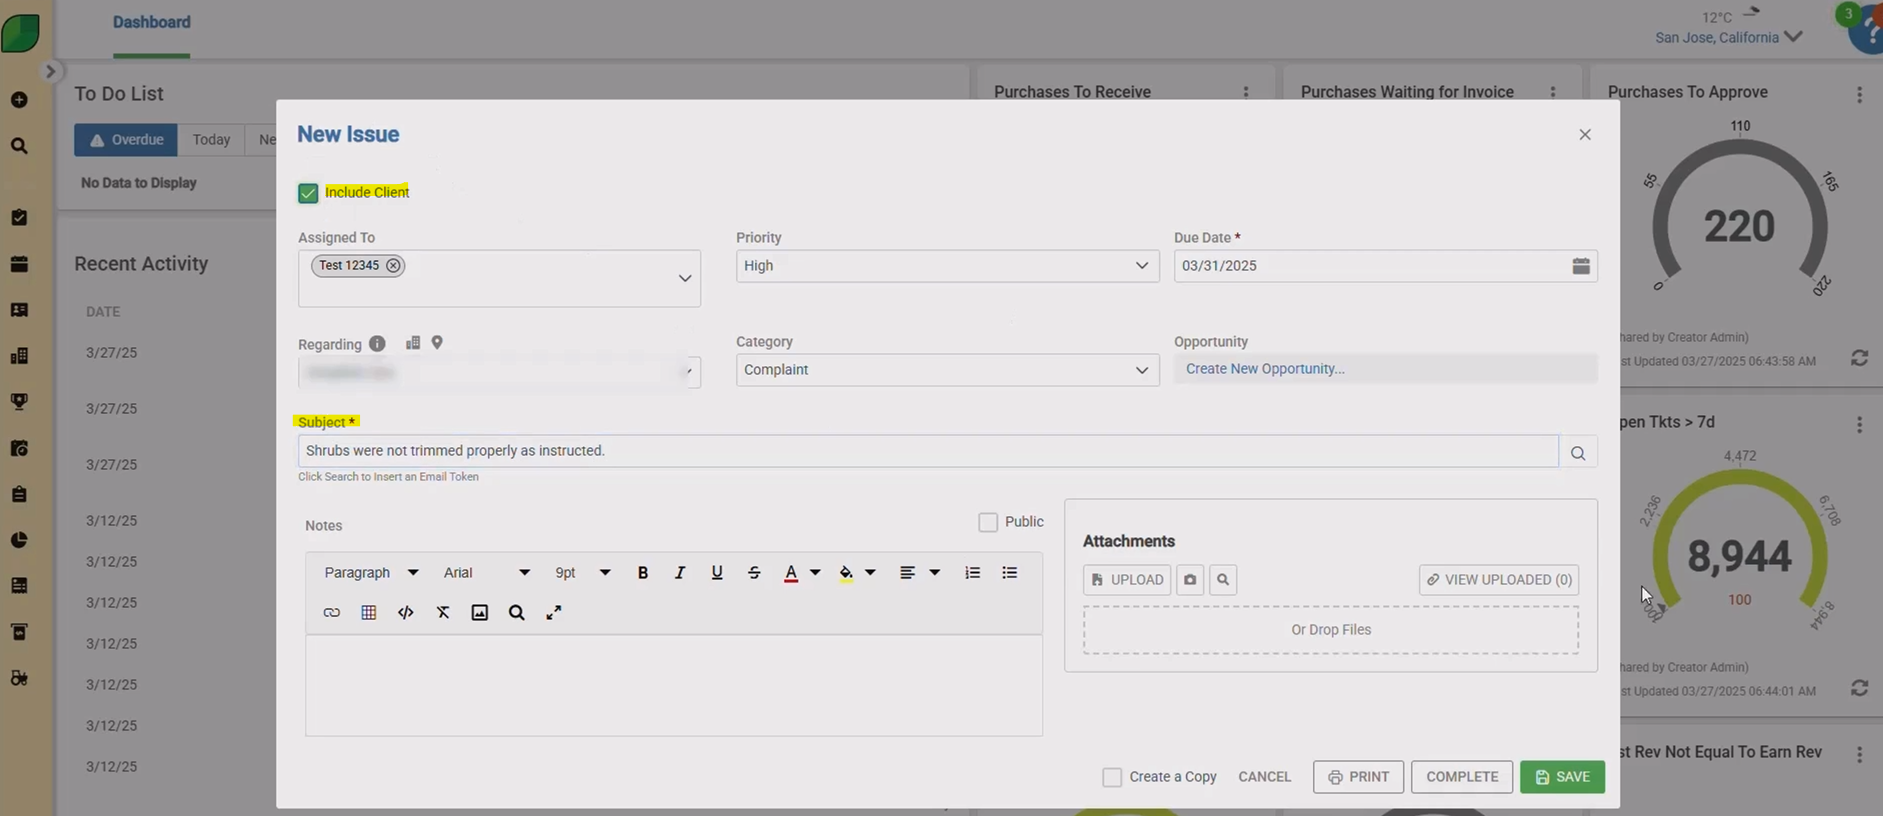
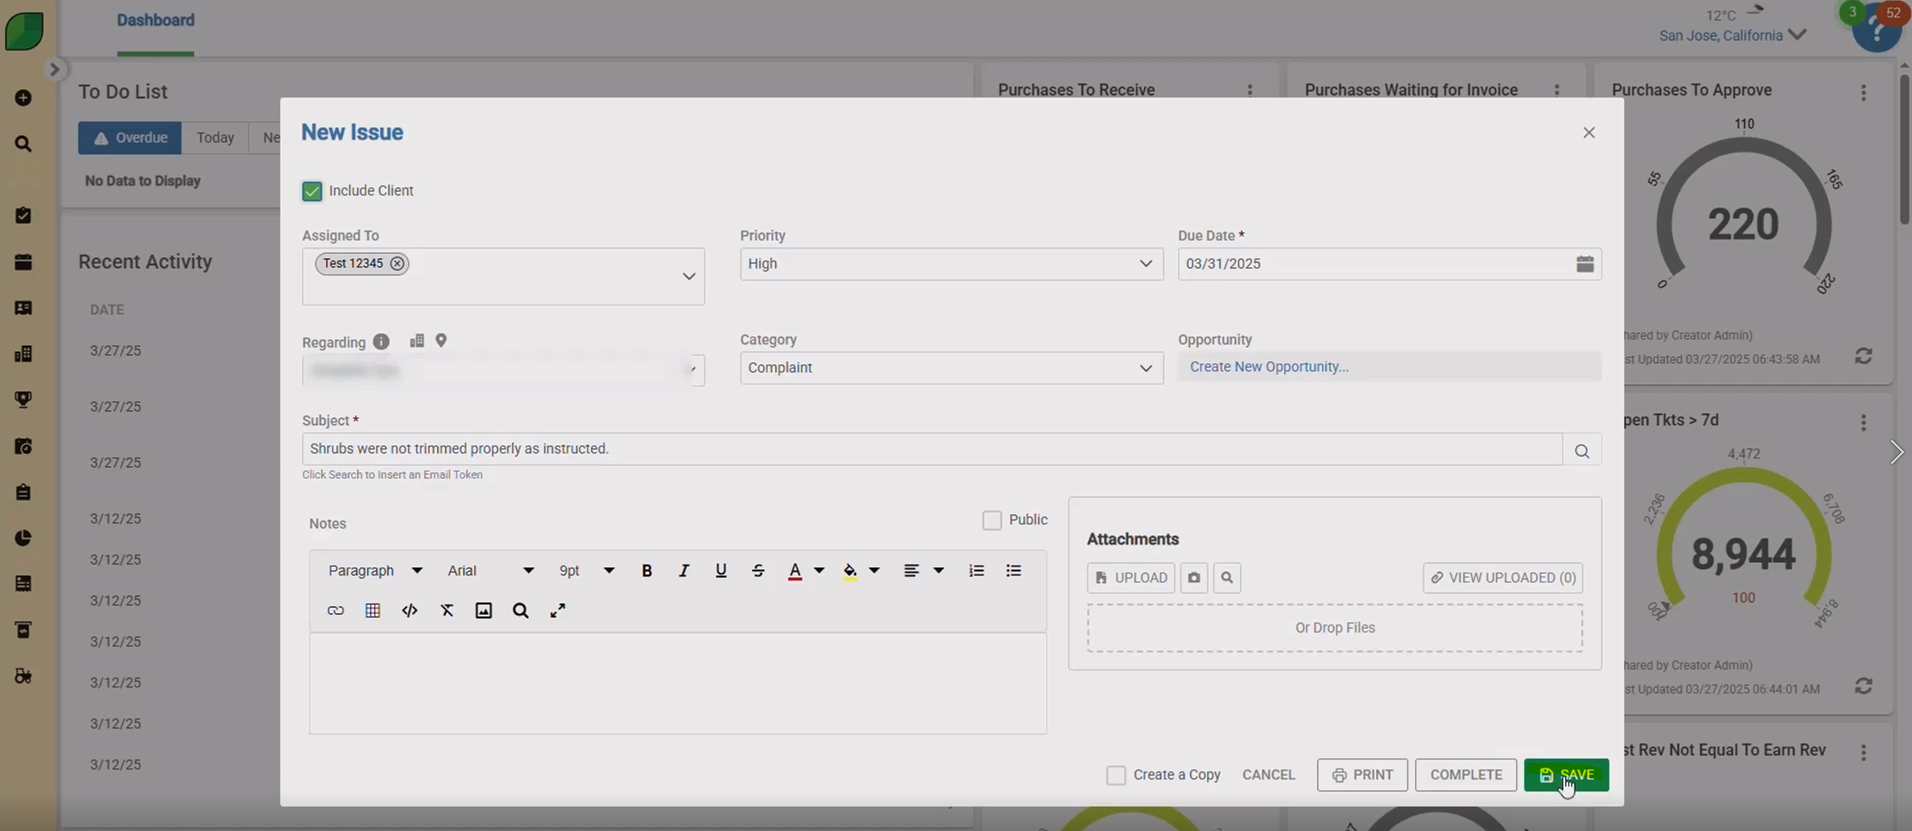
5. Click Save
- After filling out all the necessary information, click Save to log the issue into the system.
- Review the issue created on the dashboard.
By following these steps, you can efficiently create, update, and complete issues in Aspire. Proper issue management helps maintain accuracy in accounts receivable, ensuring seamless workflow and improved resolution tracking.
Download a PDF version of the job aide here.